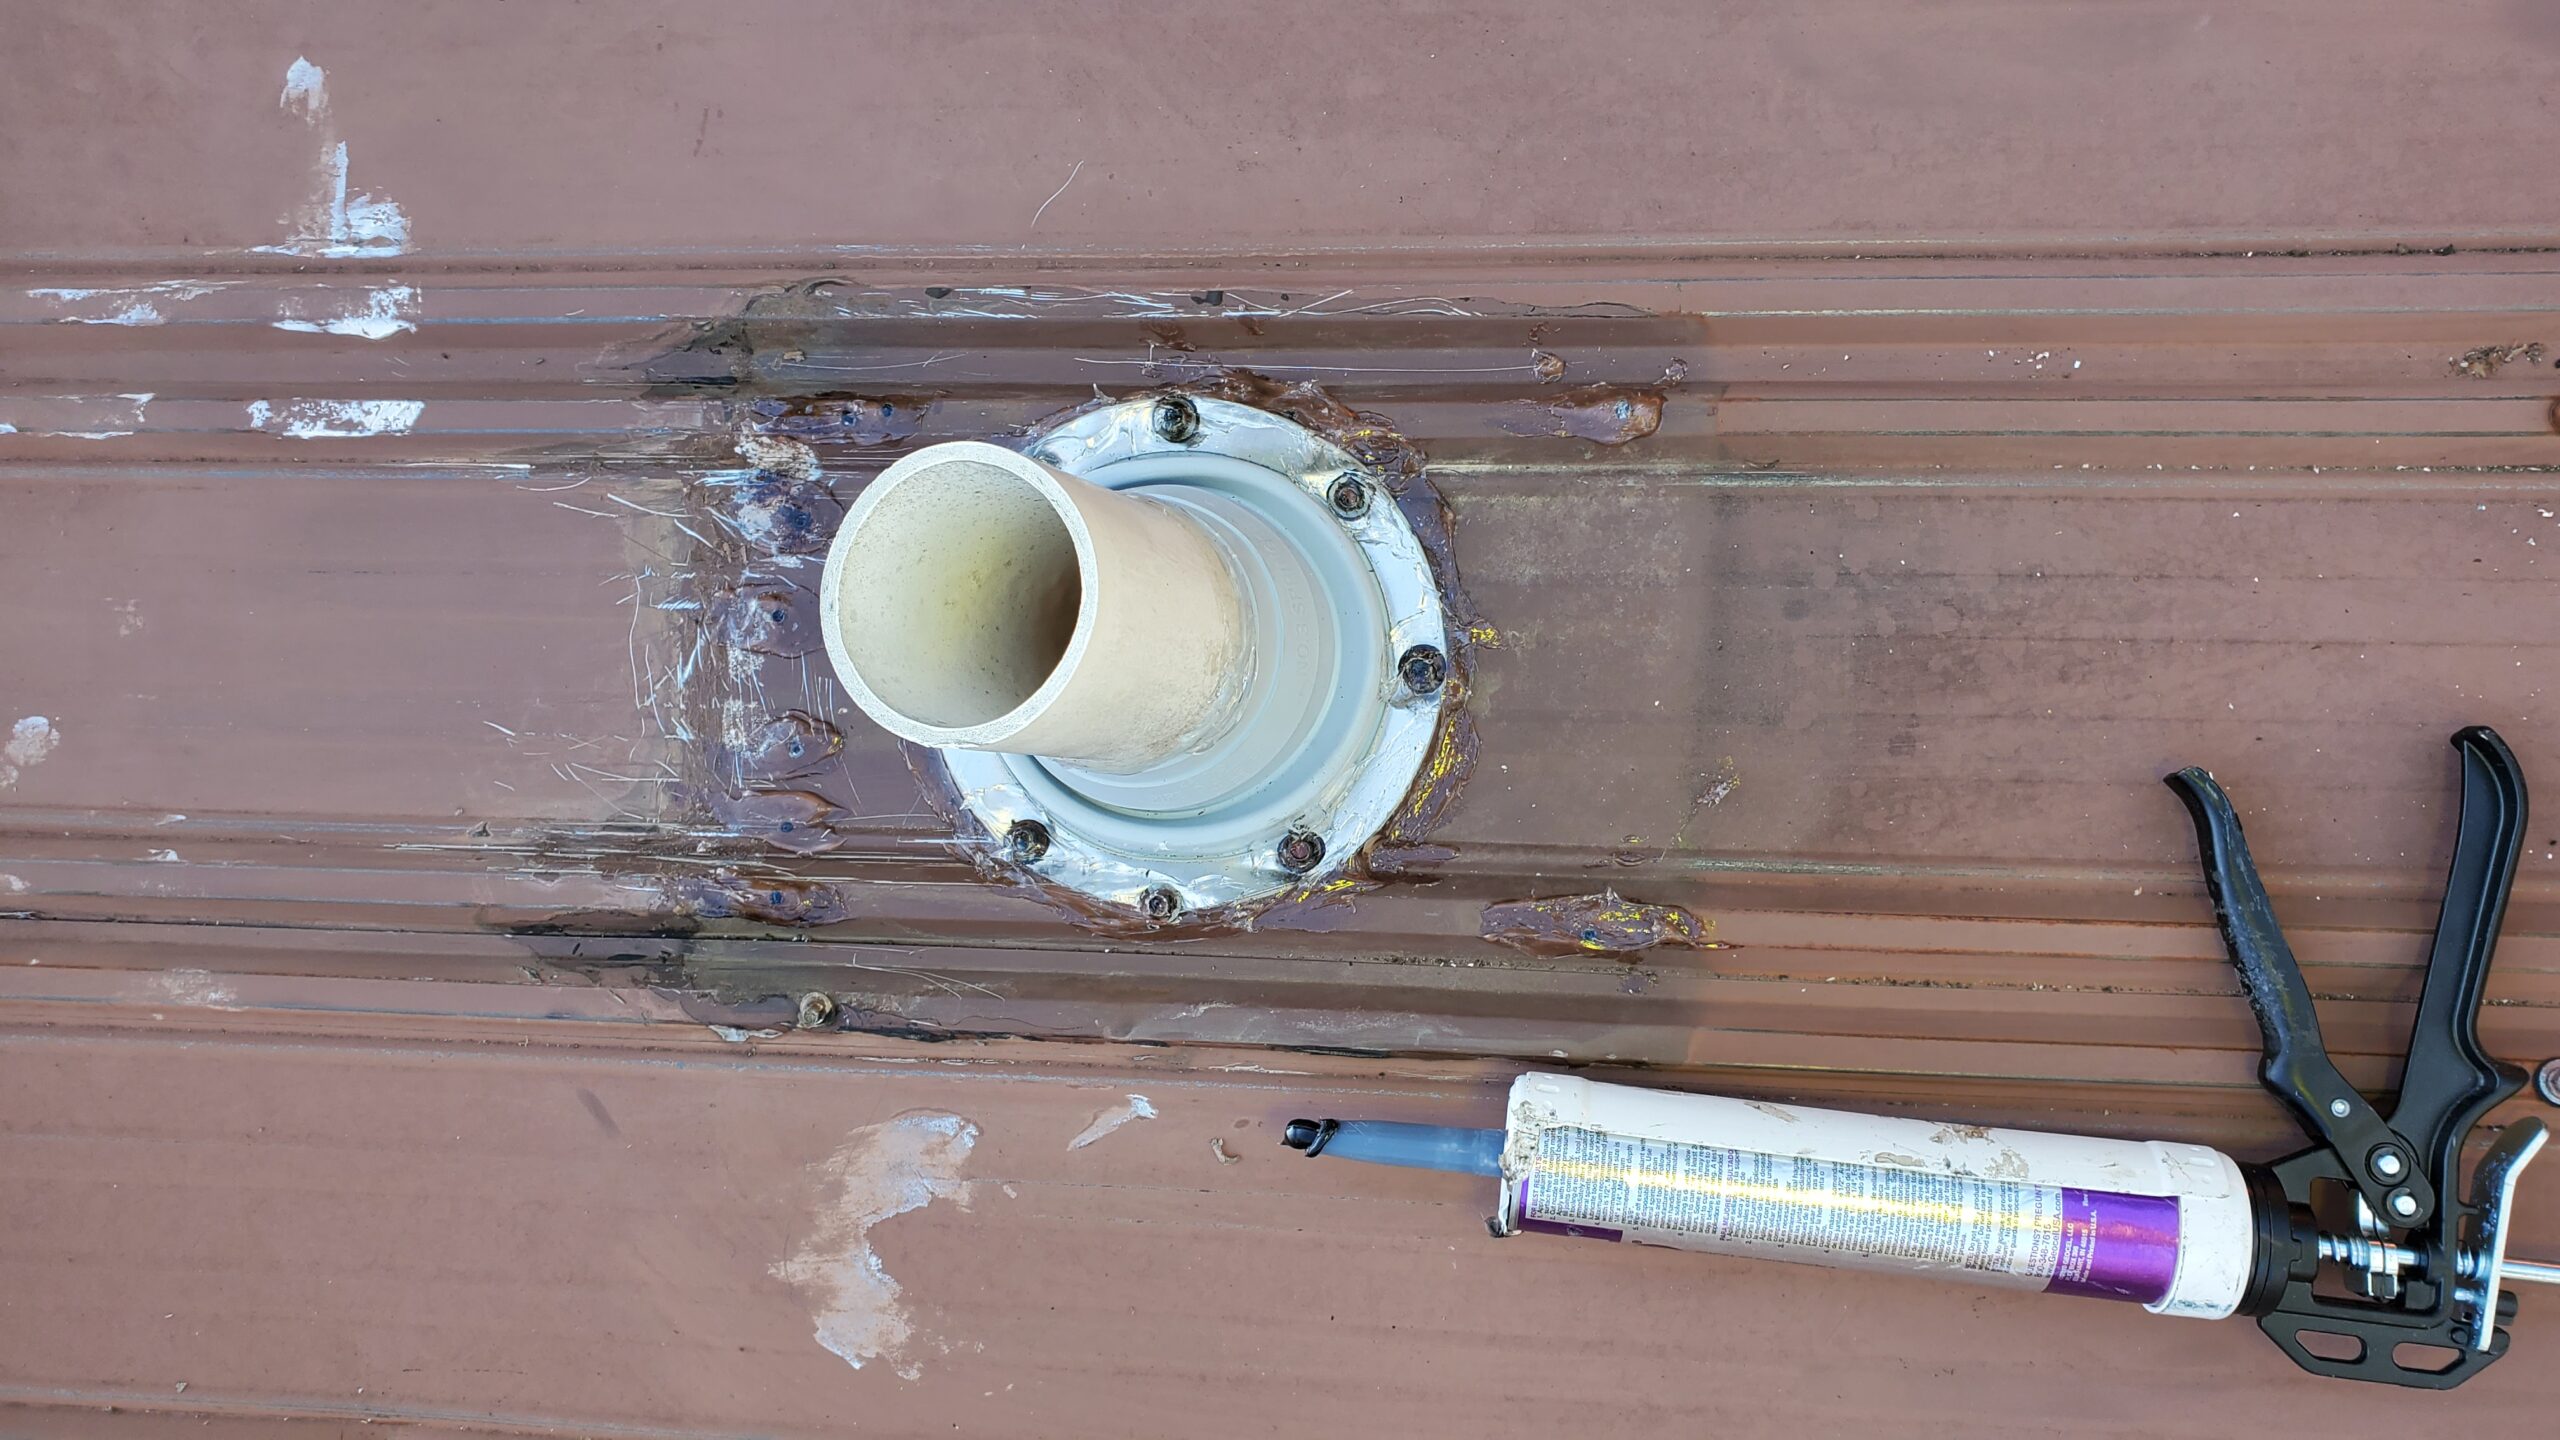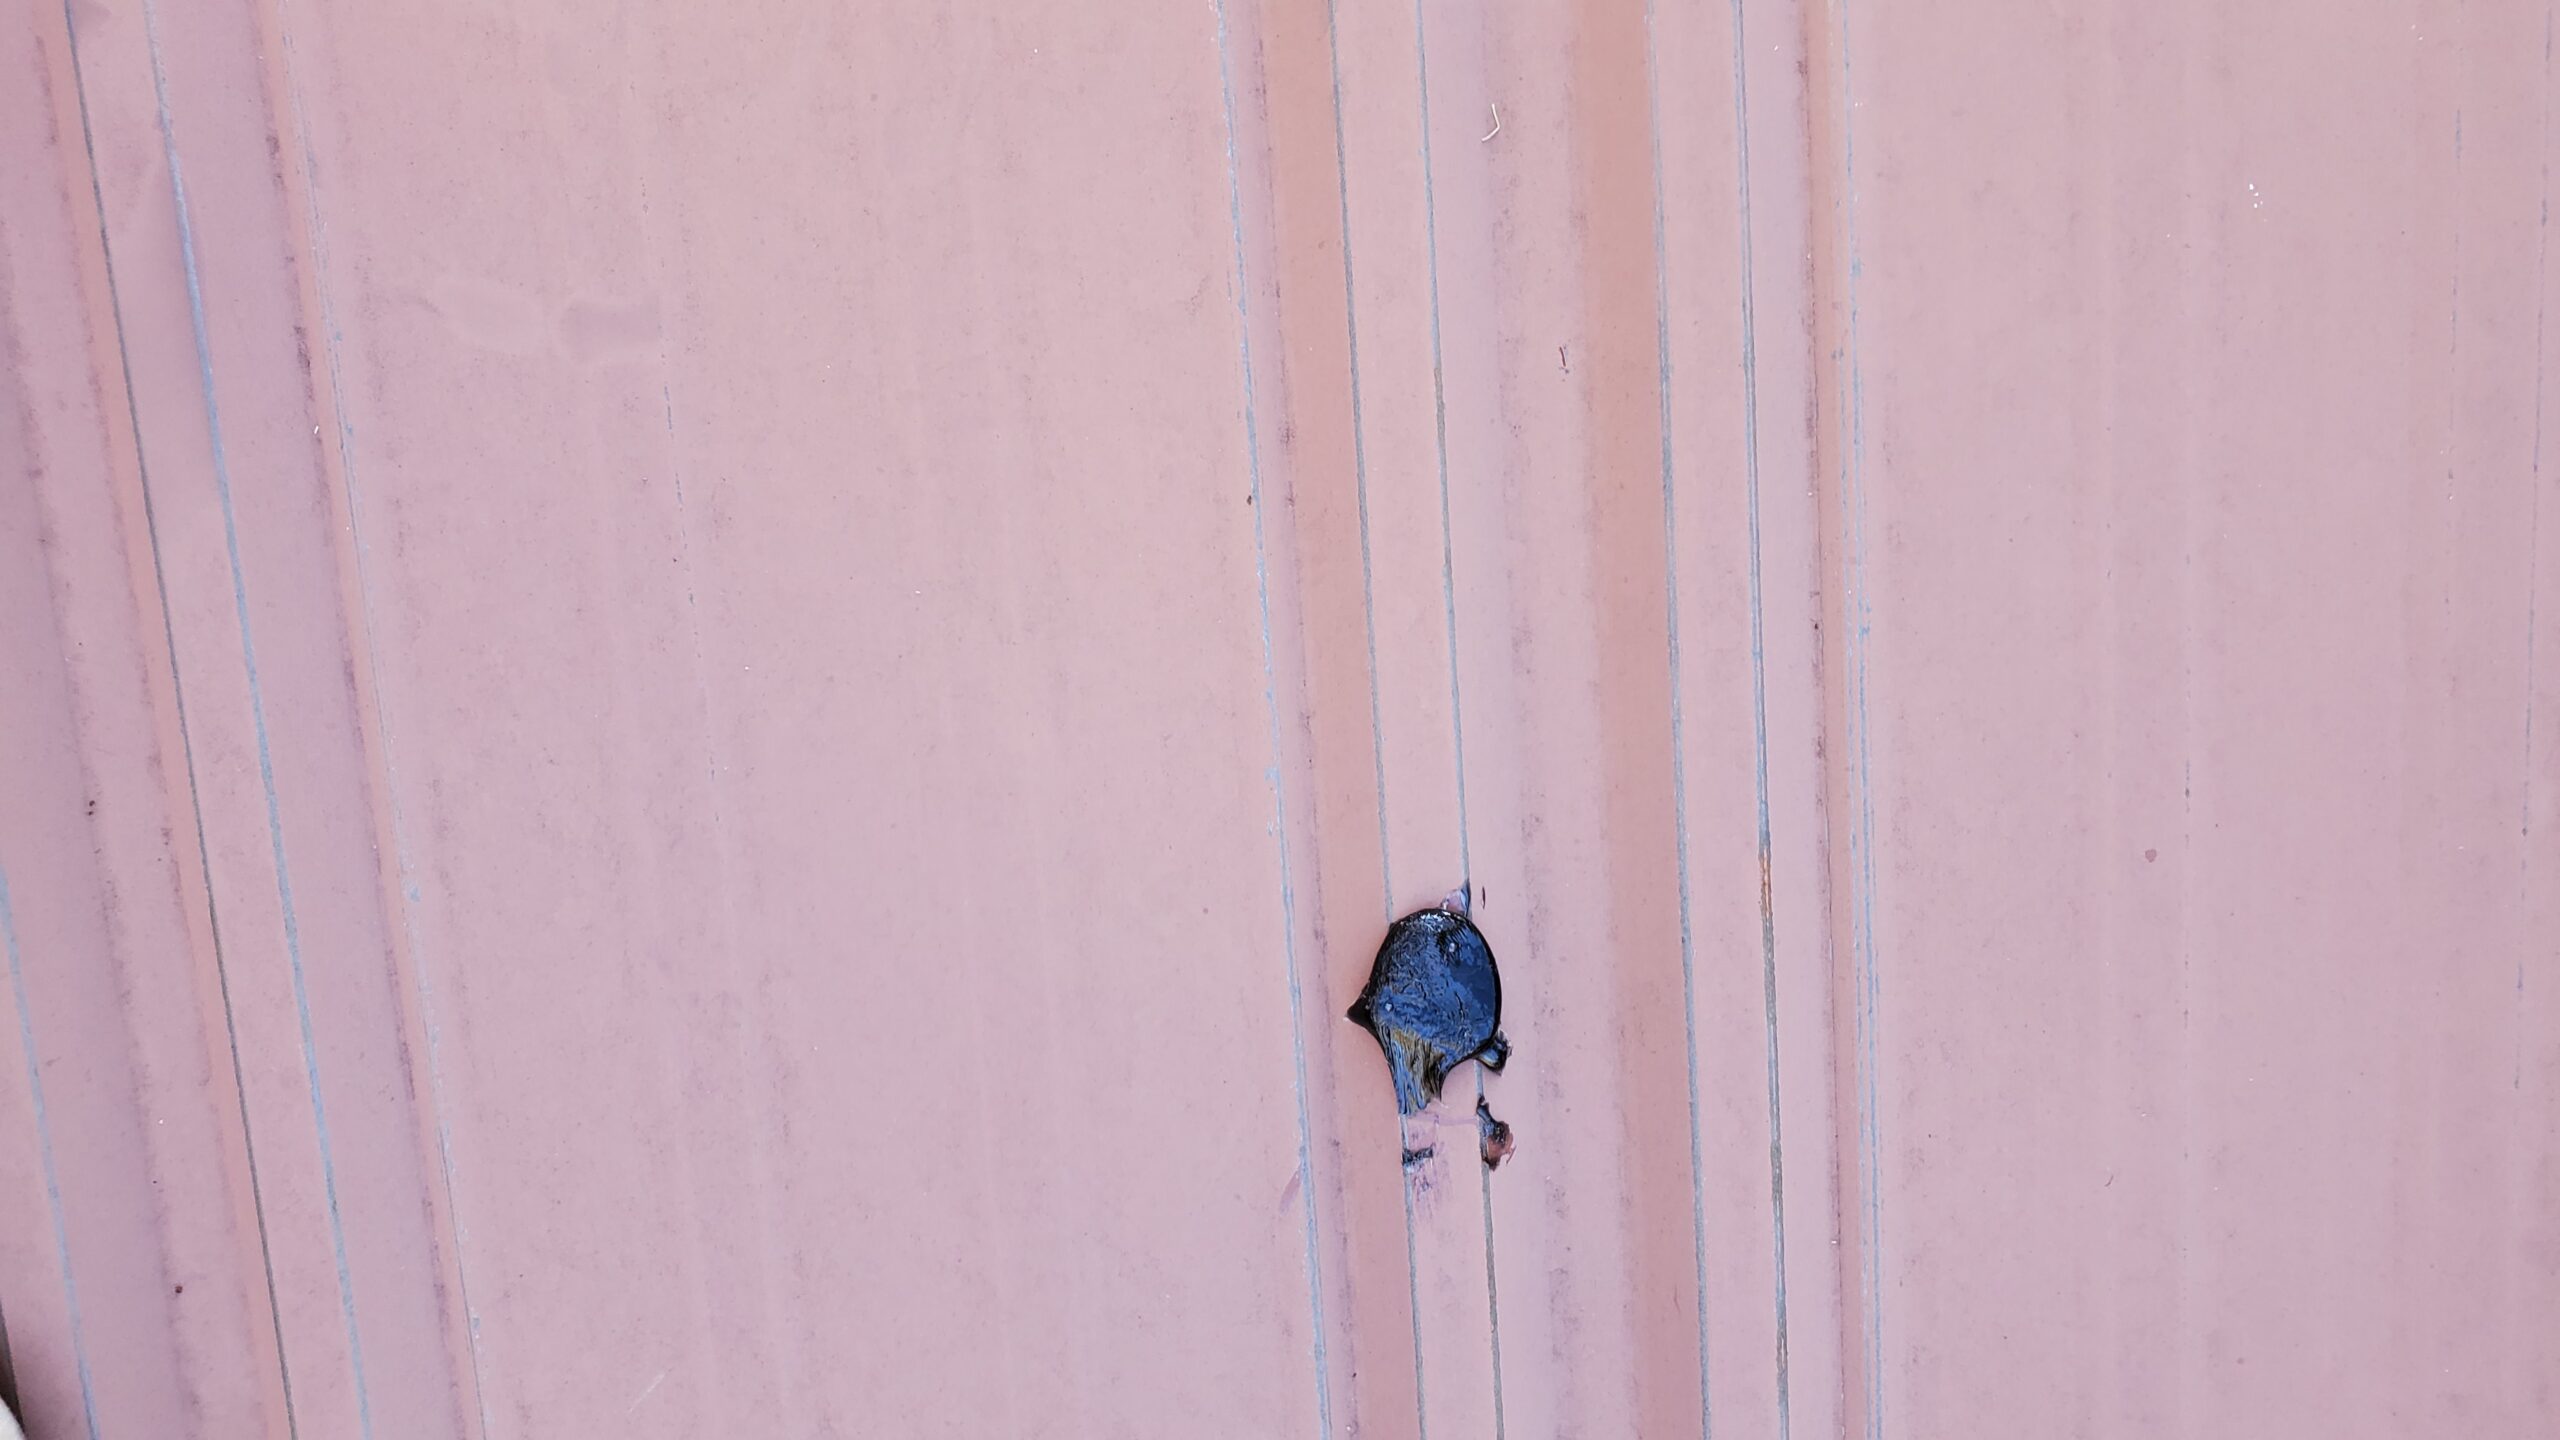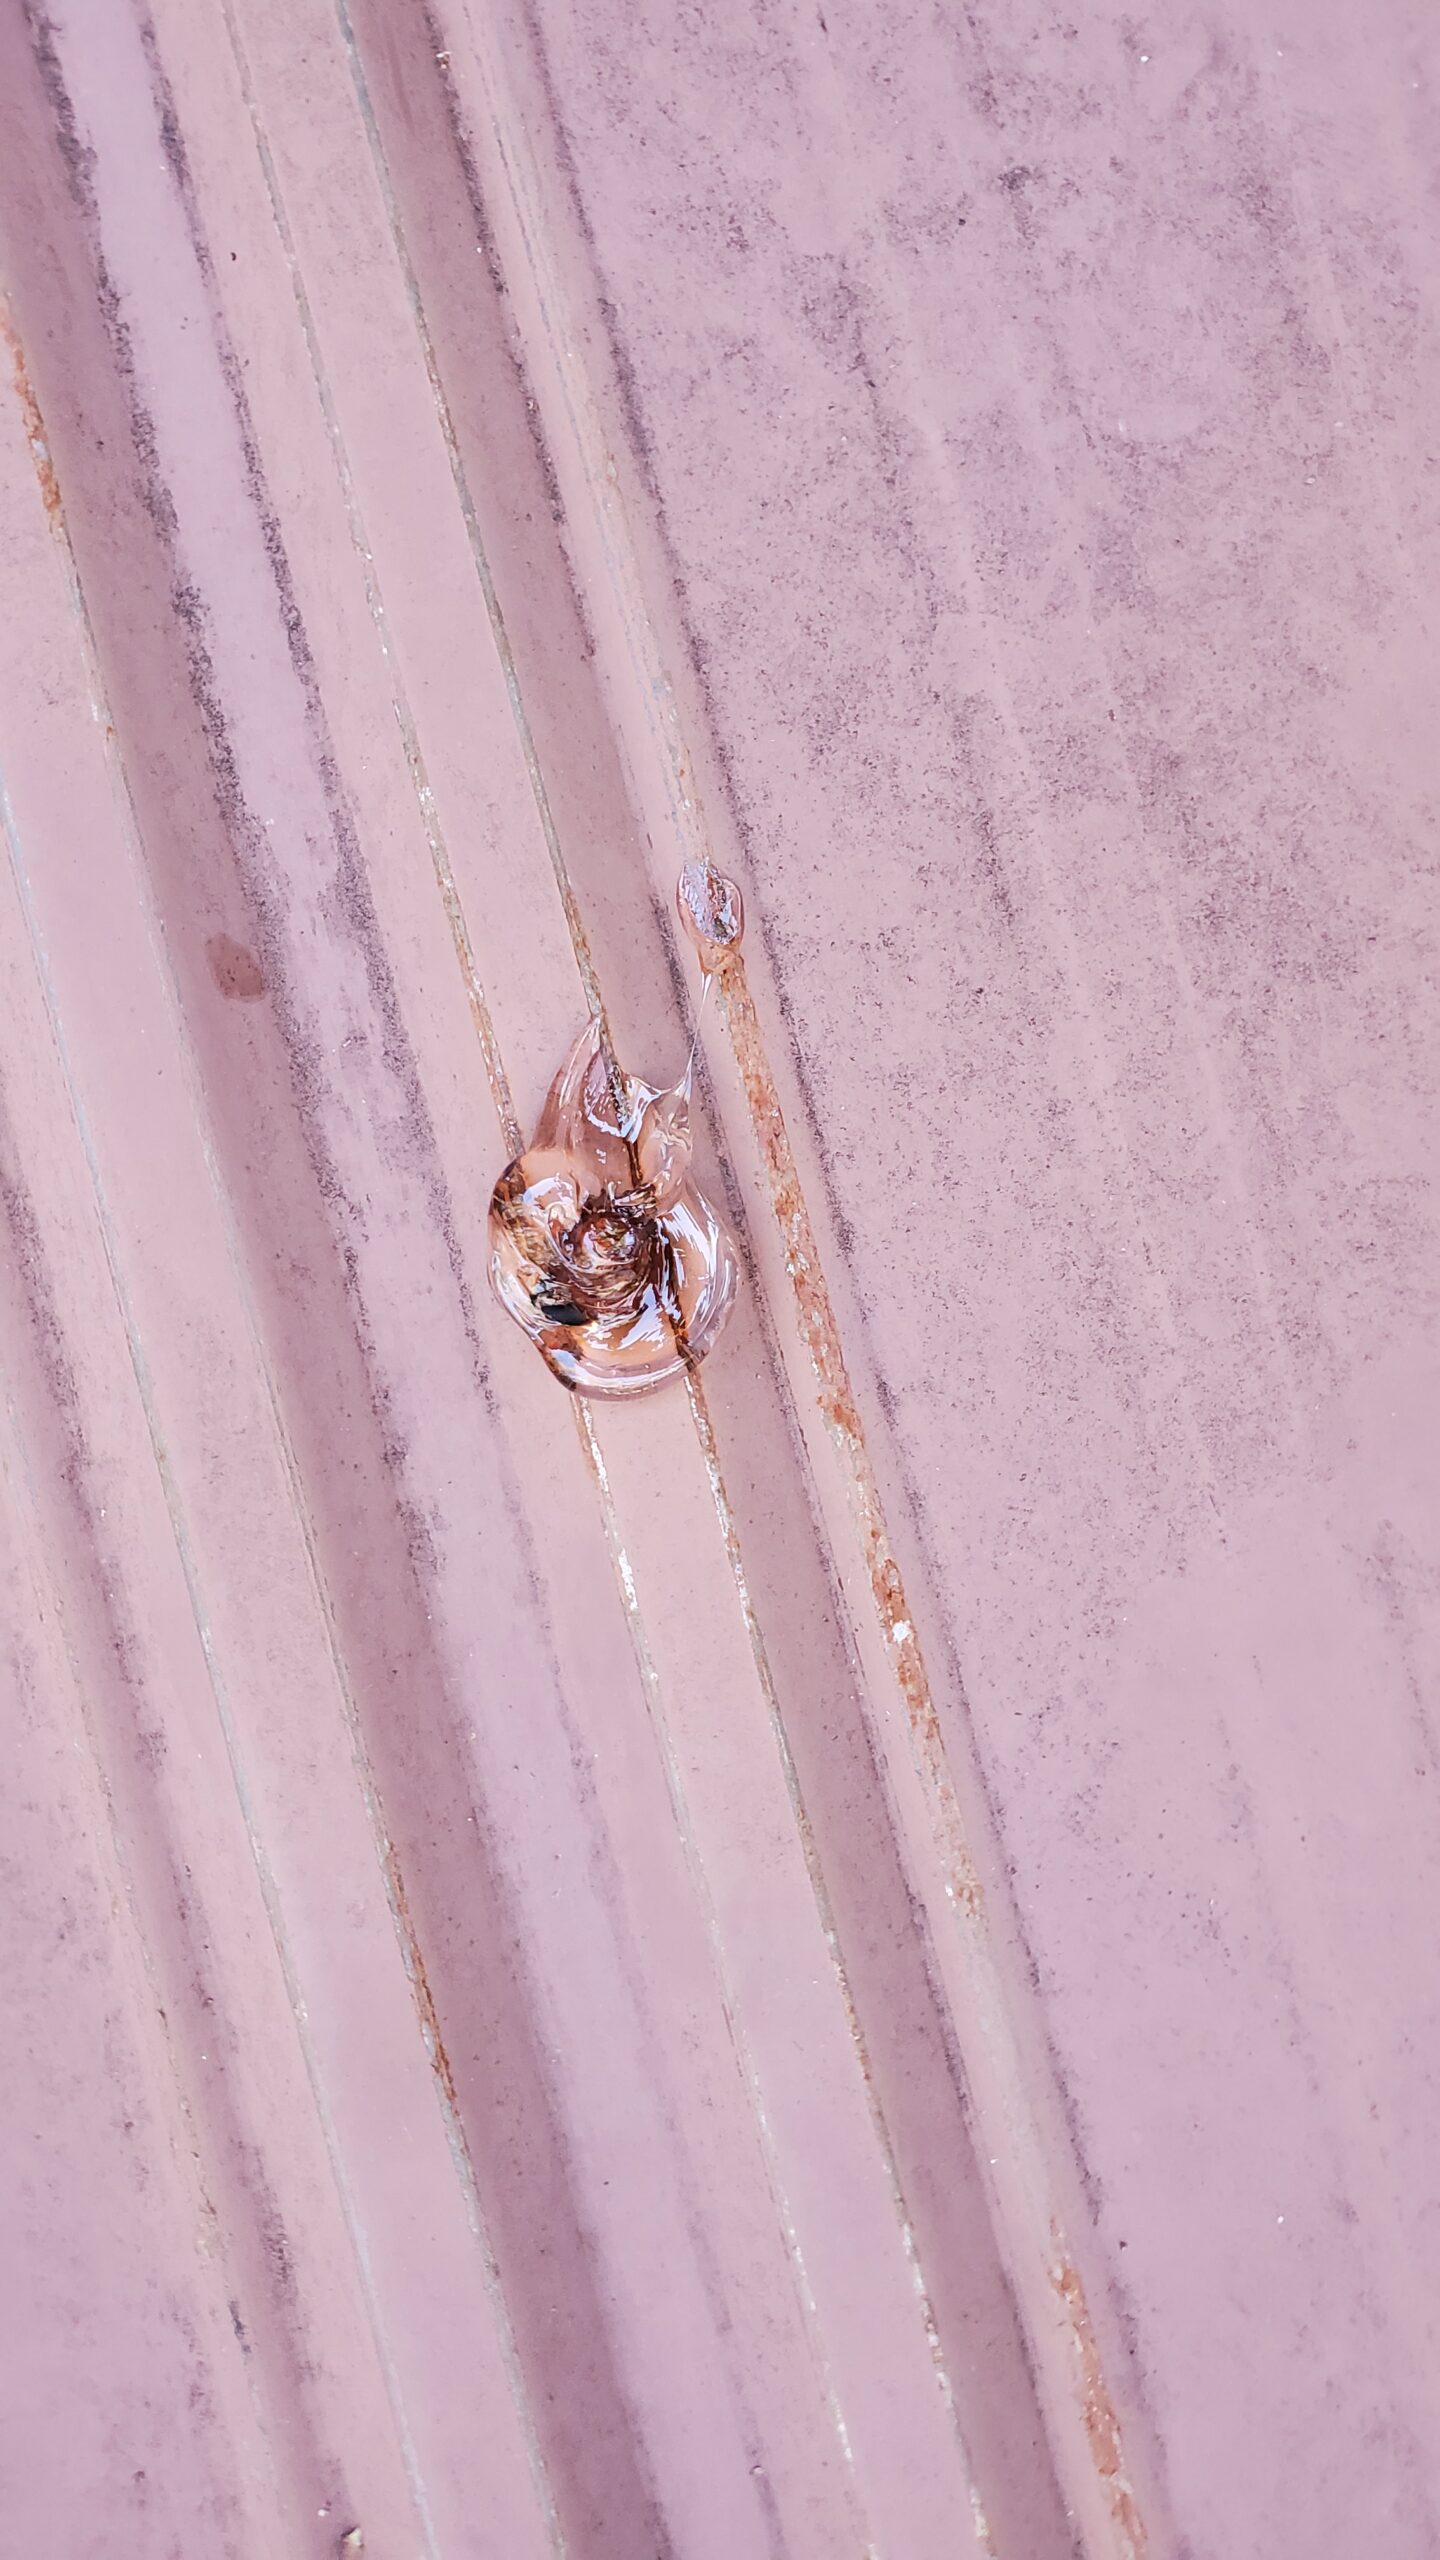
Residential Metal Roof Repair Sevierville, TN This roof was in pretty bad shape, we caulked old screw holes, old screws, installed 2 new pipe boots, fixed a 8 foot section of transition metal, put a metal cover on back of chimney, among a few other small things.
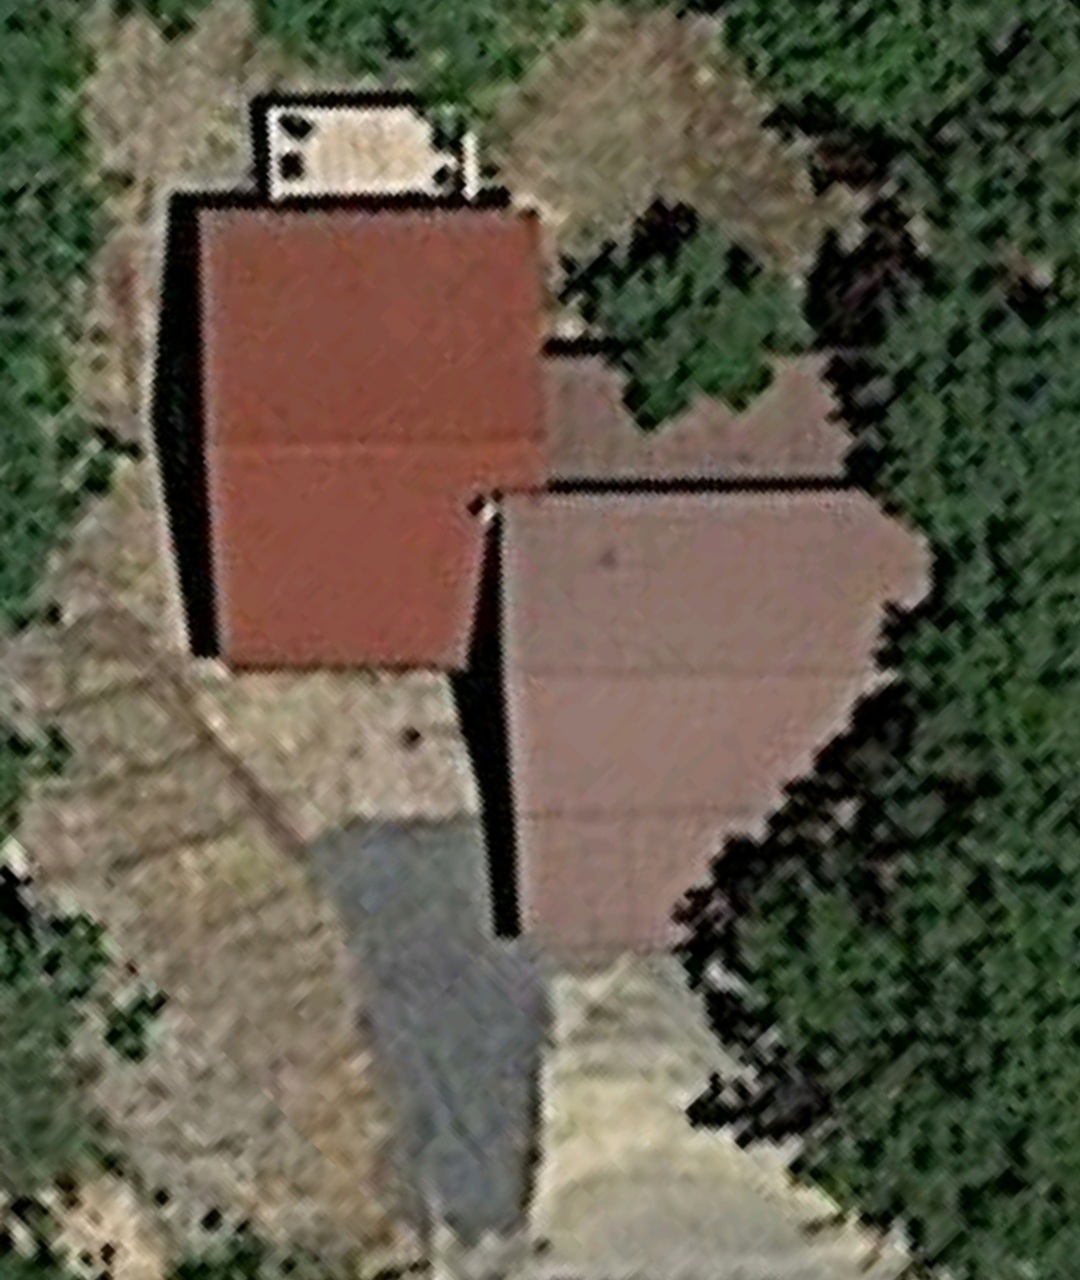
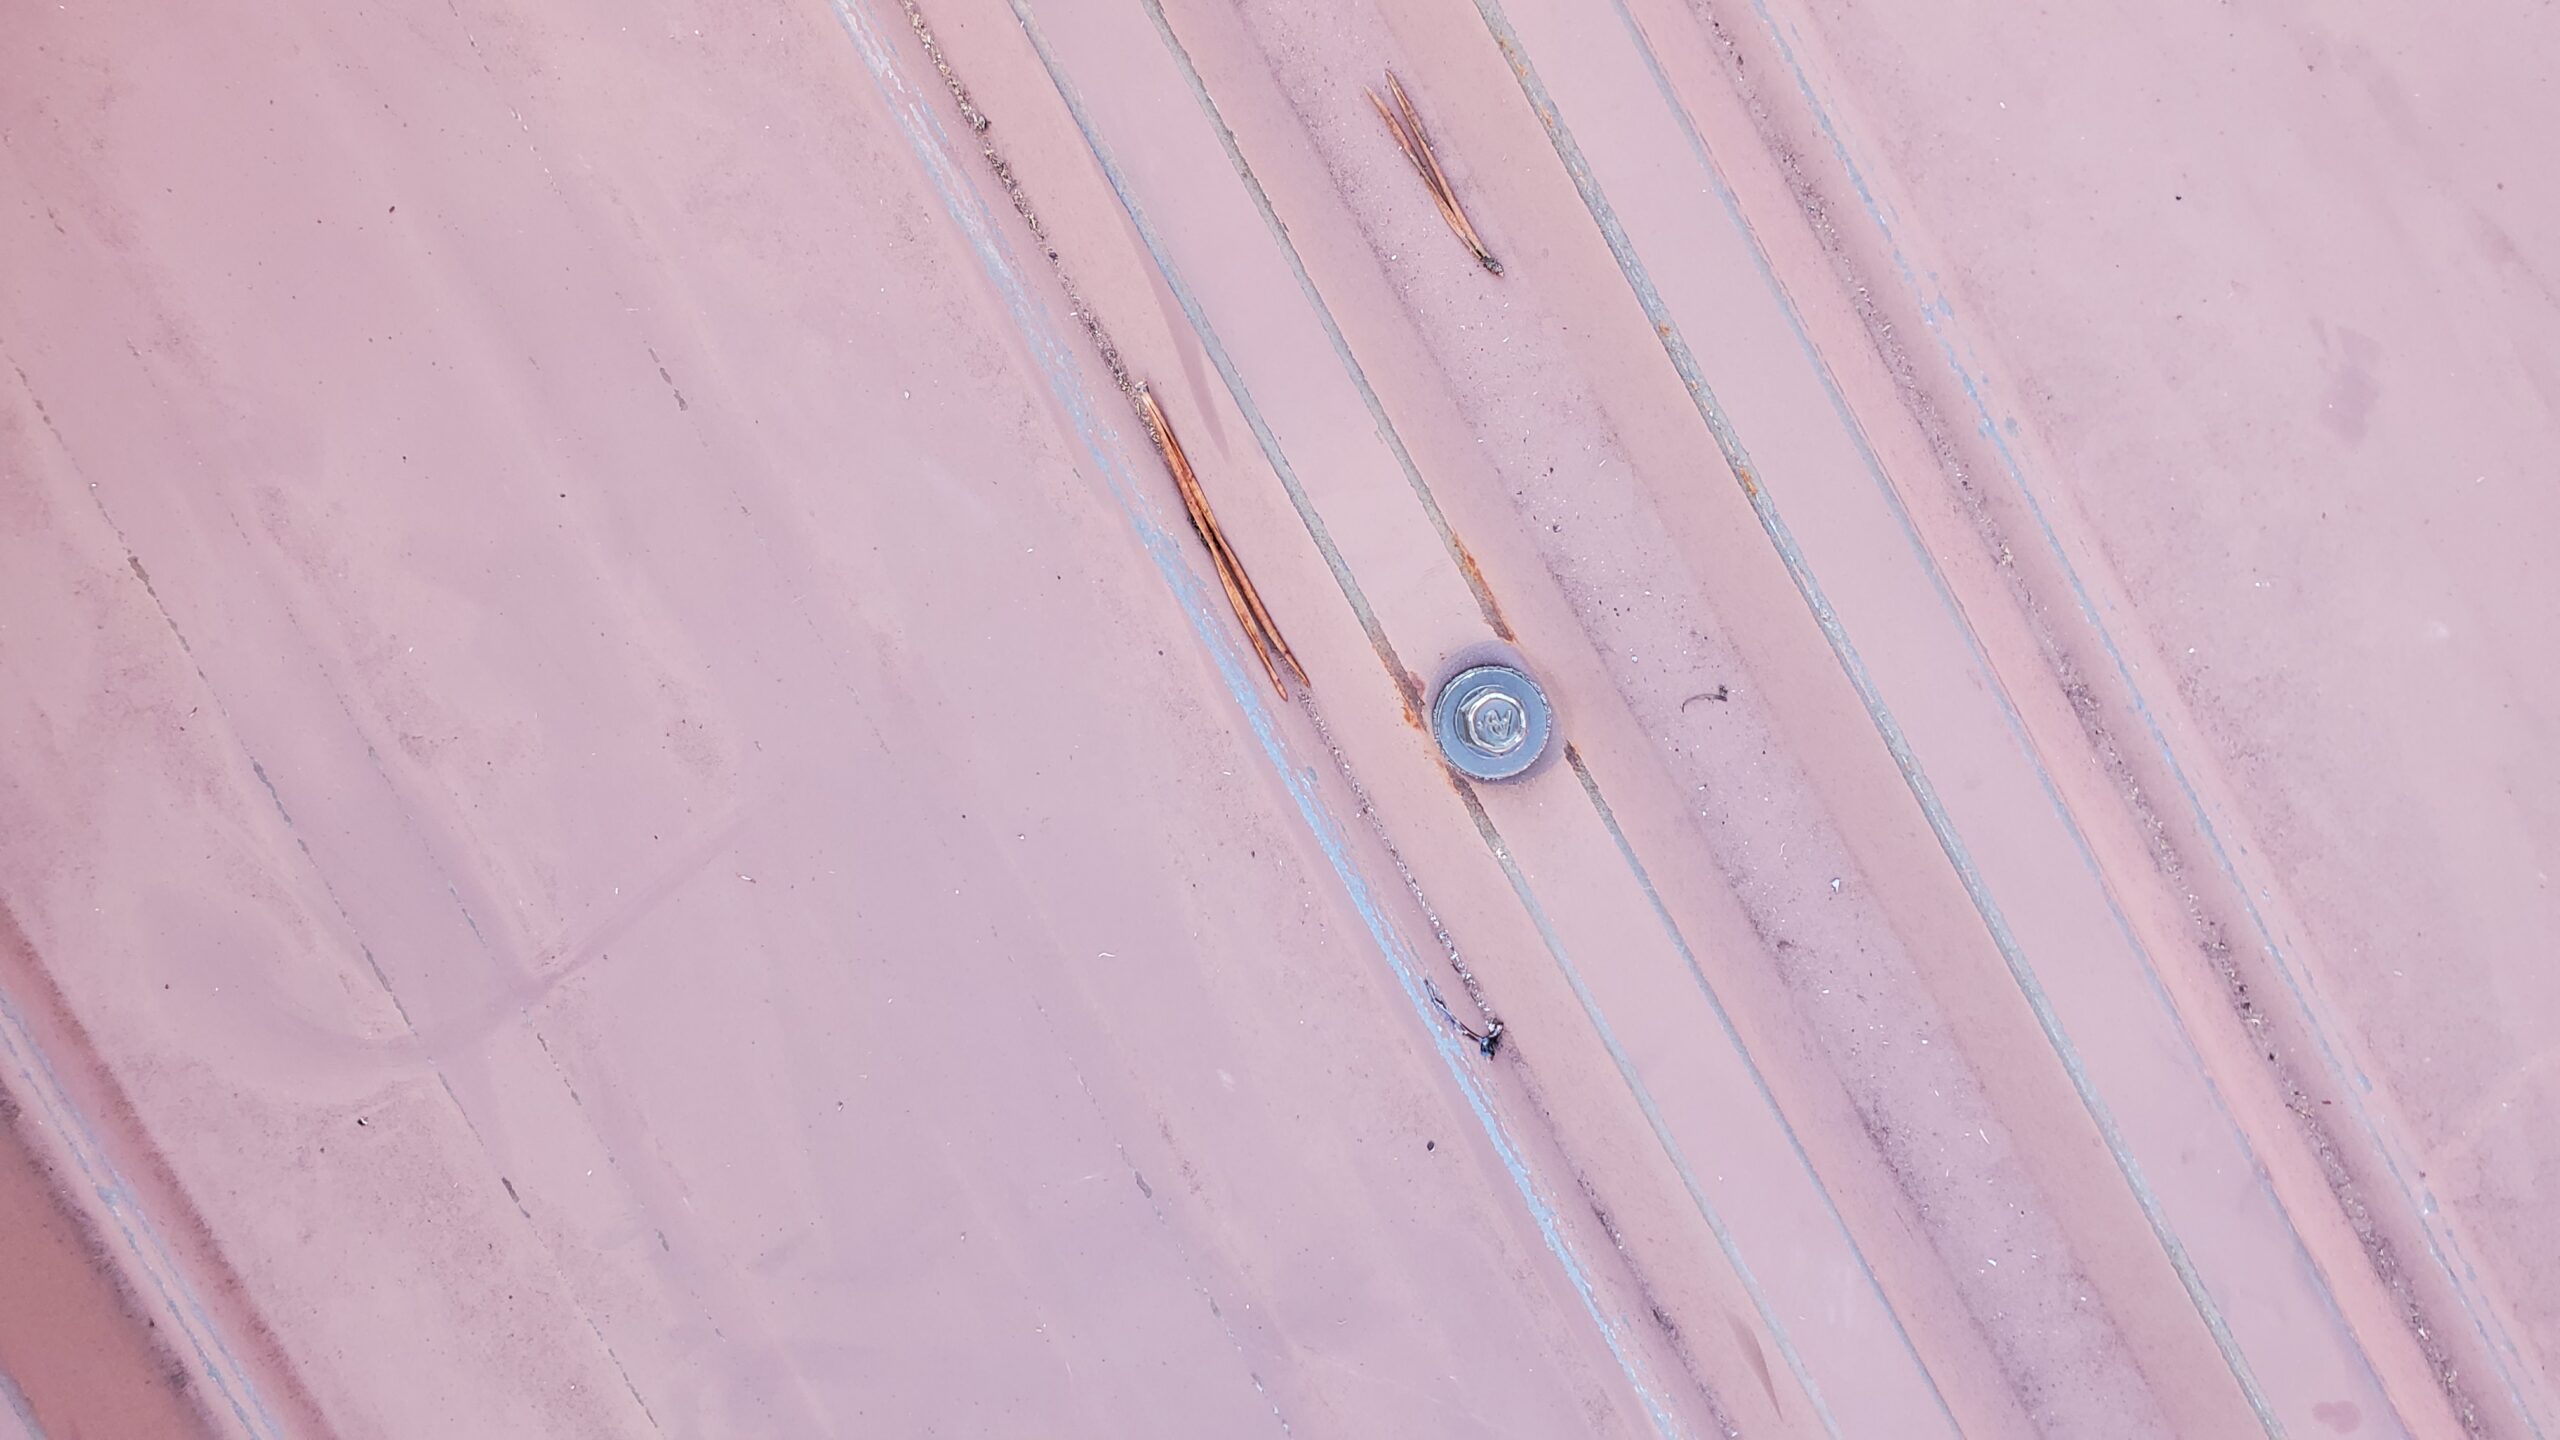
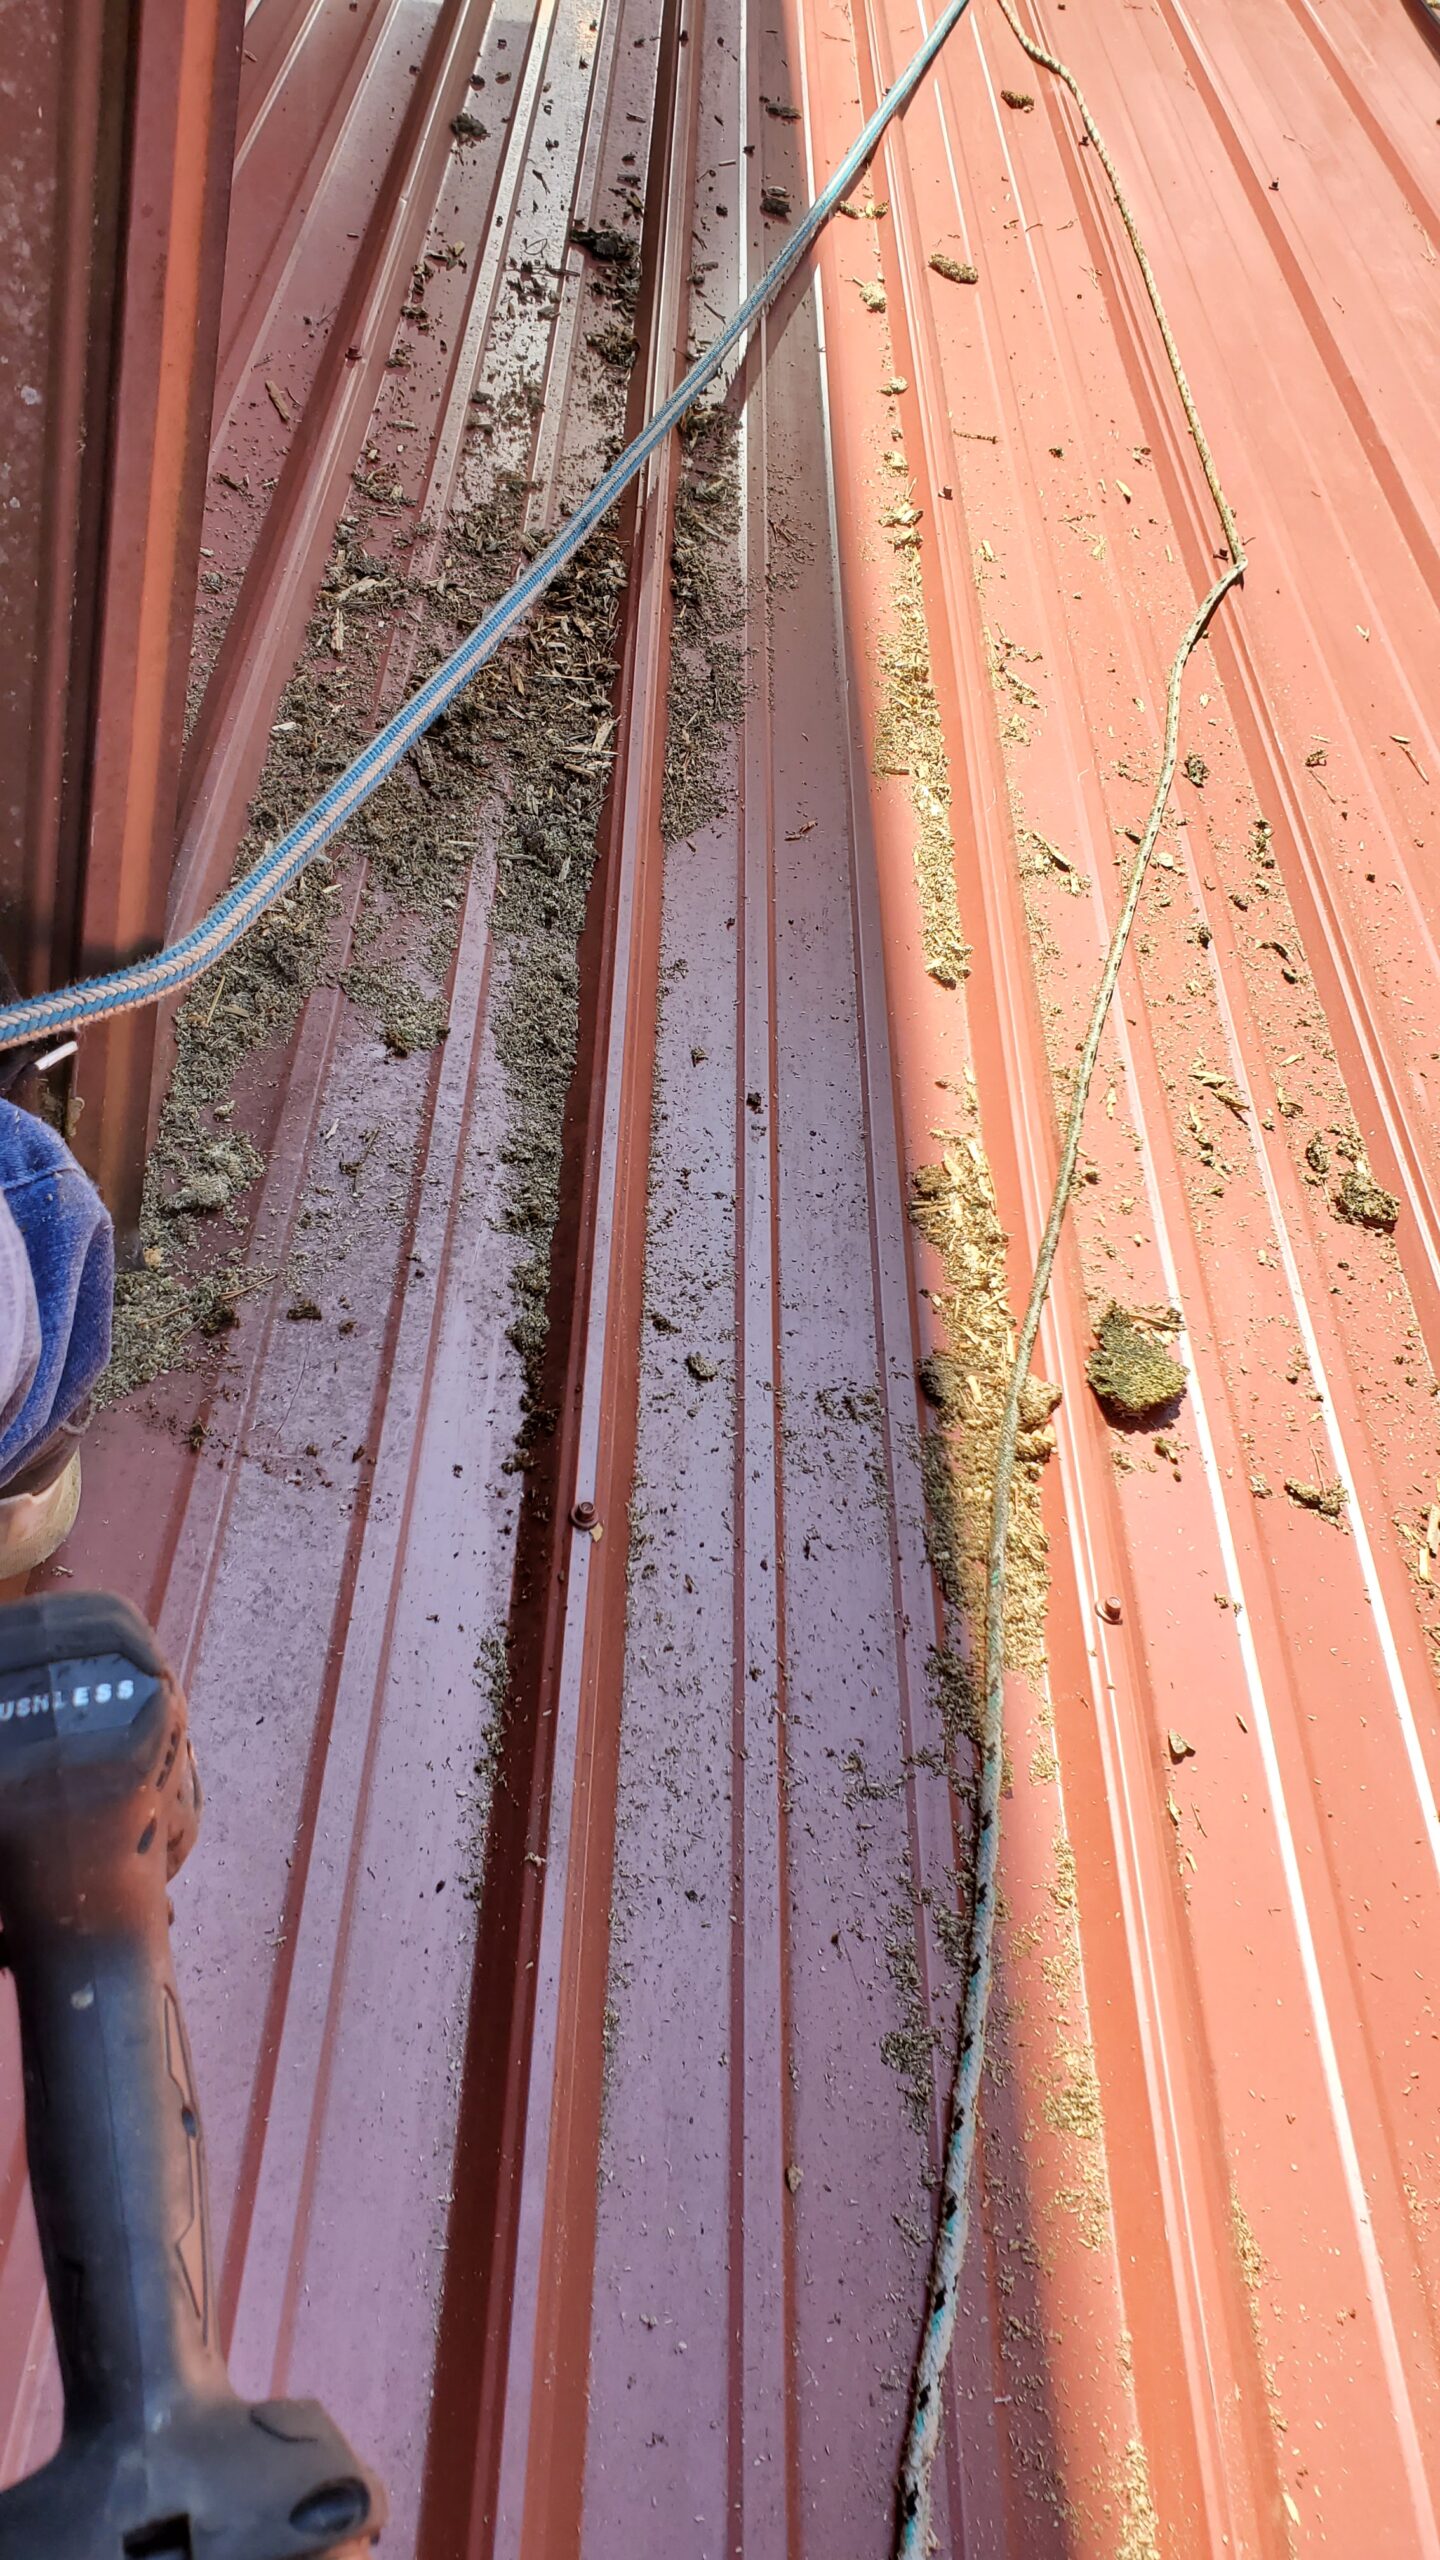
Aerial of the Metal Roof we Worked on

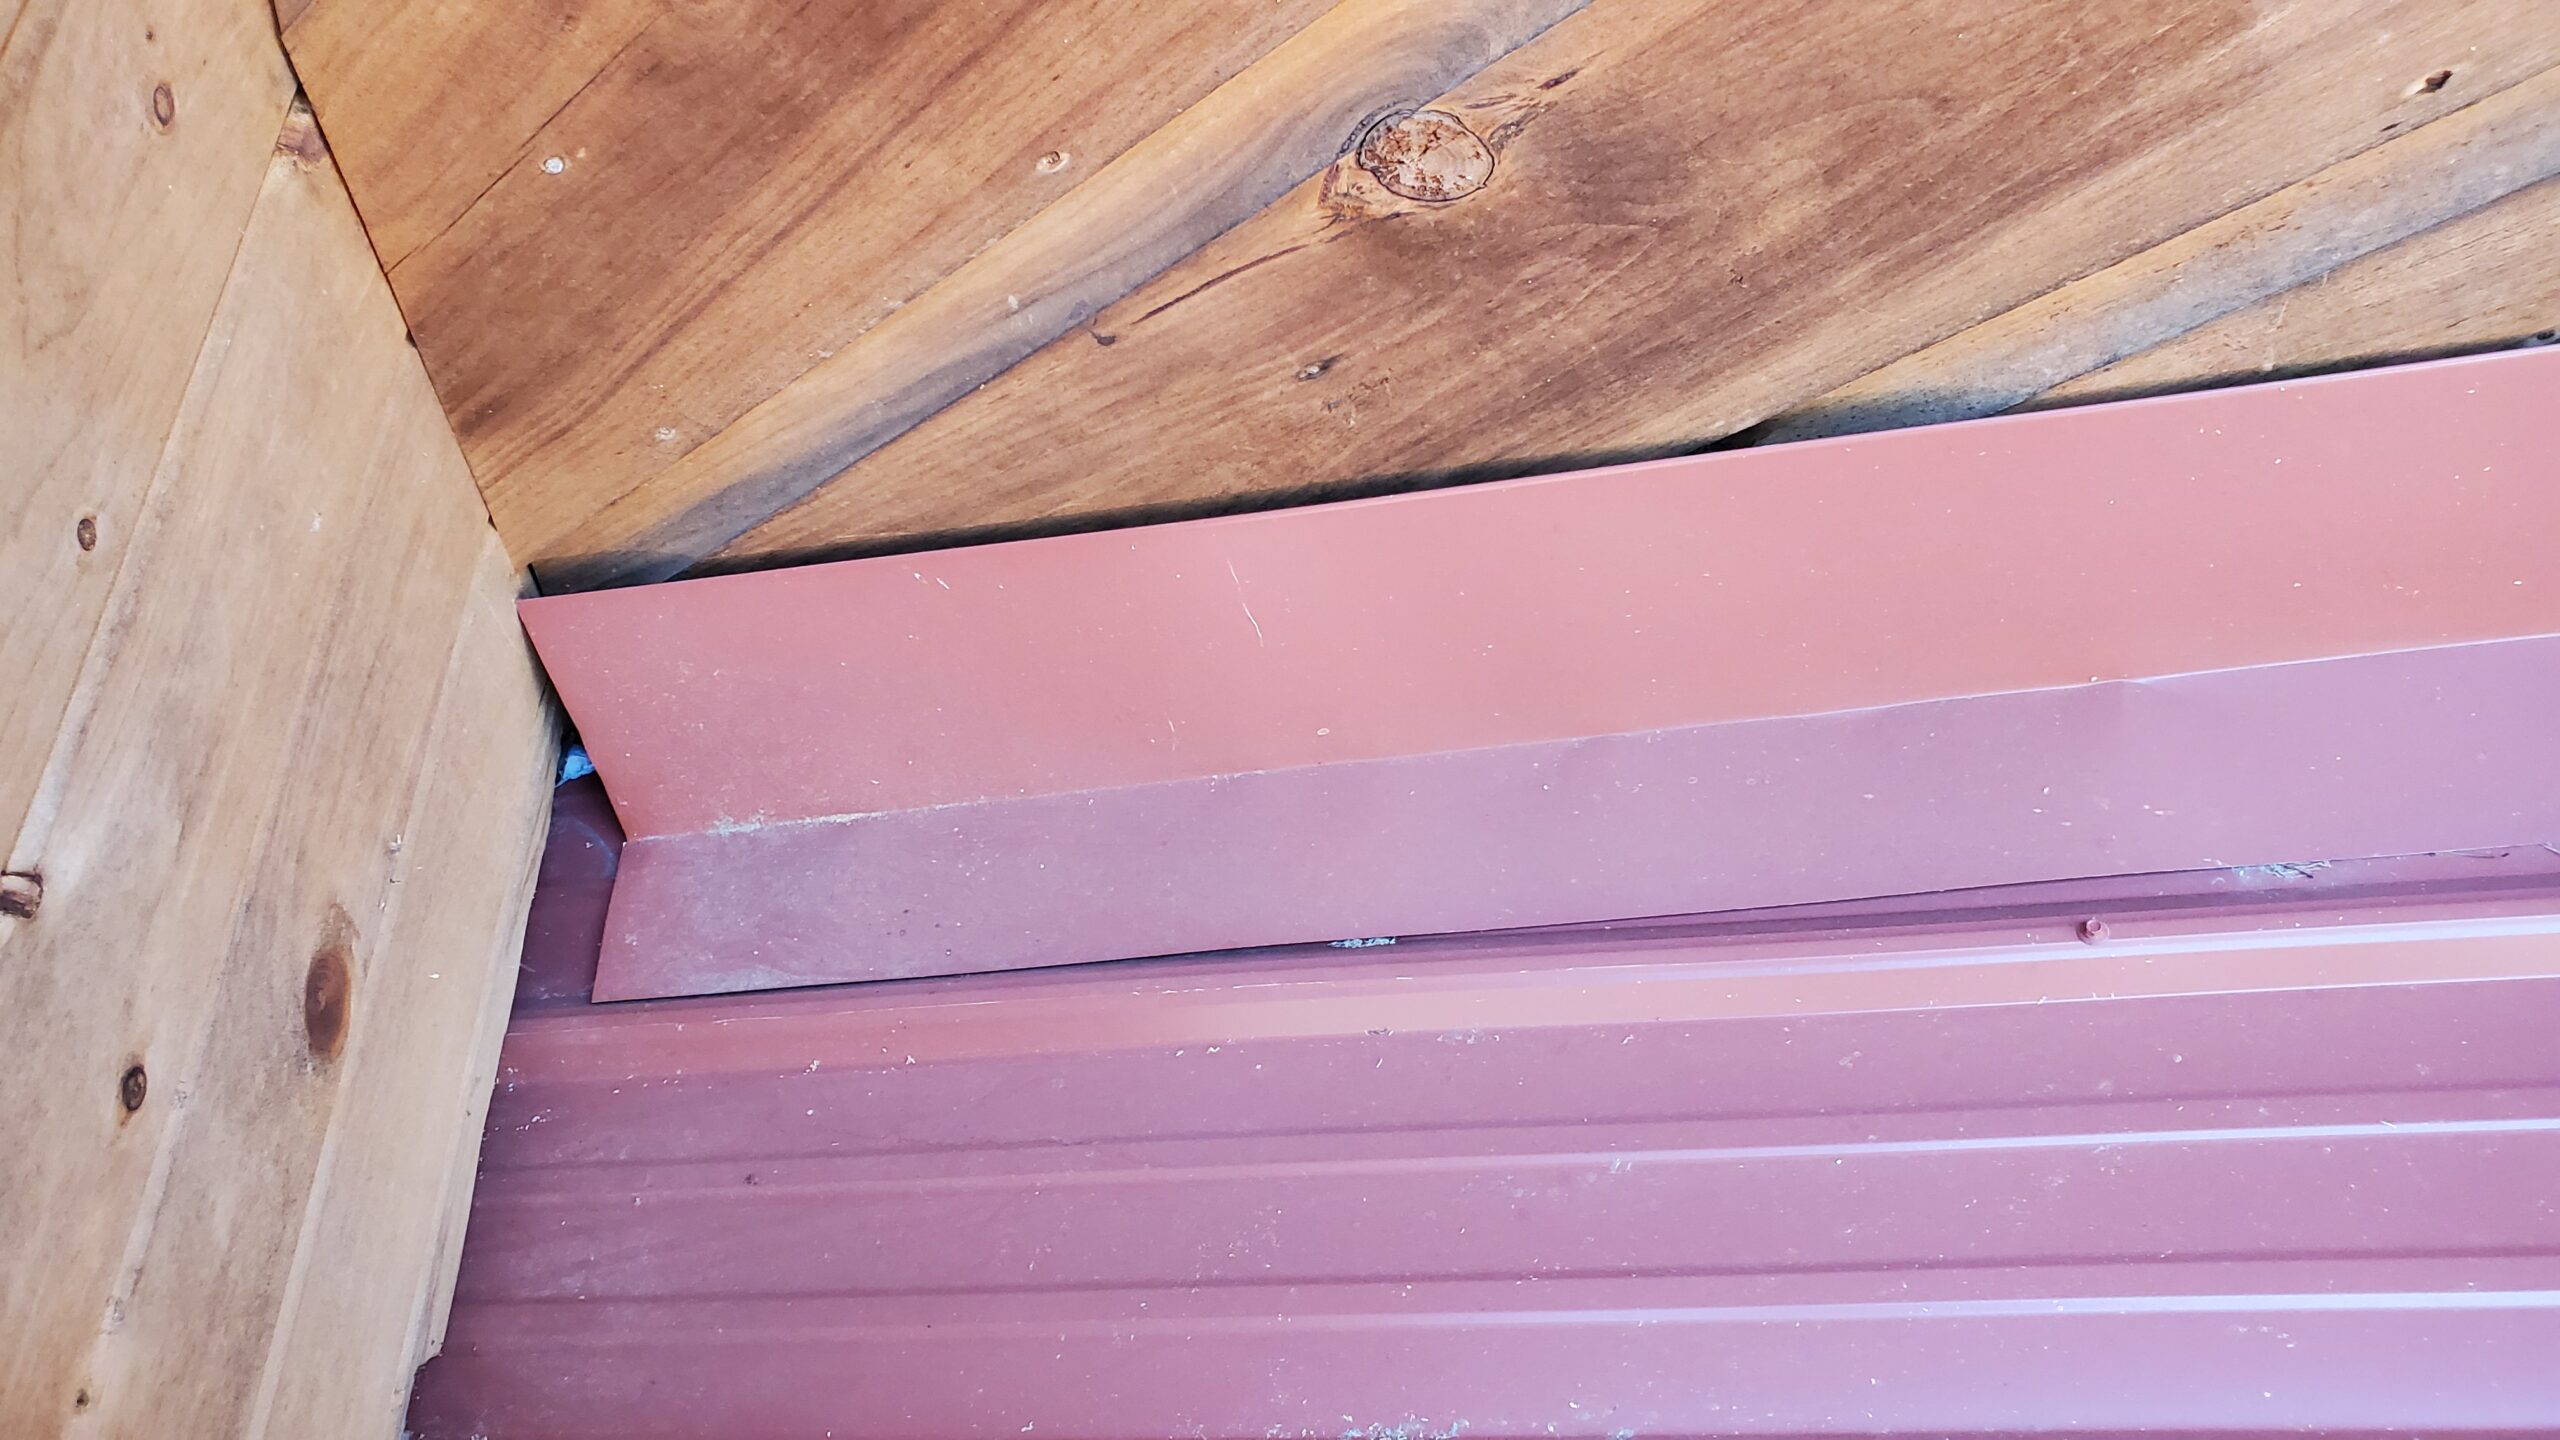
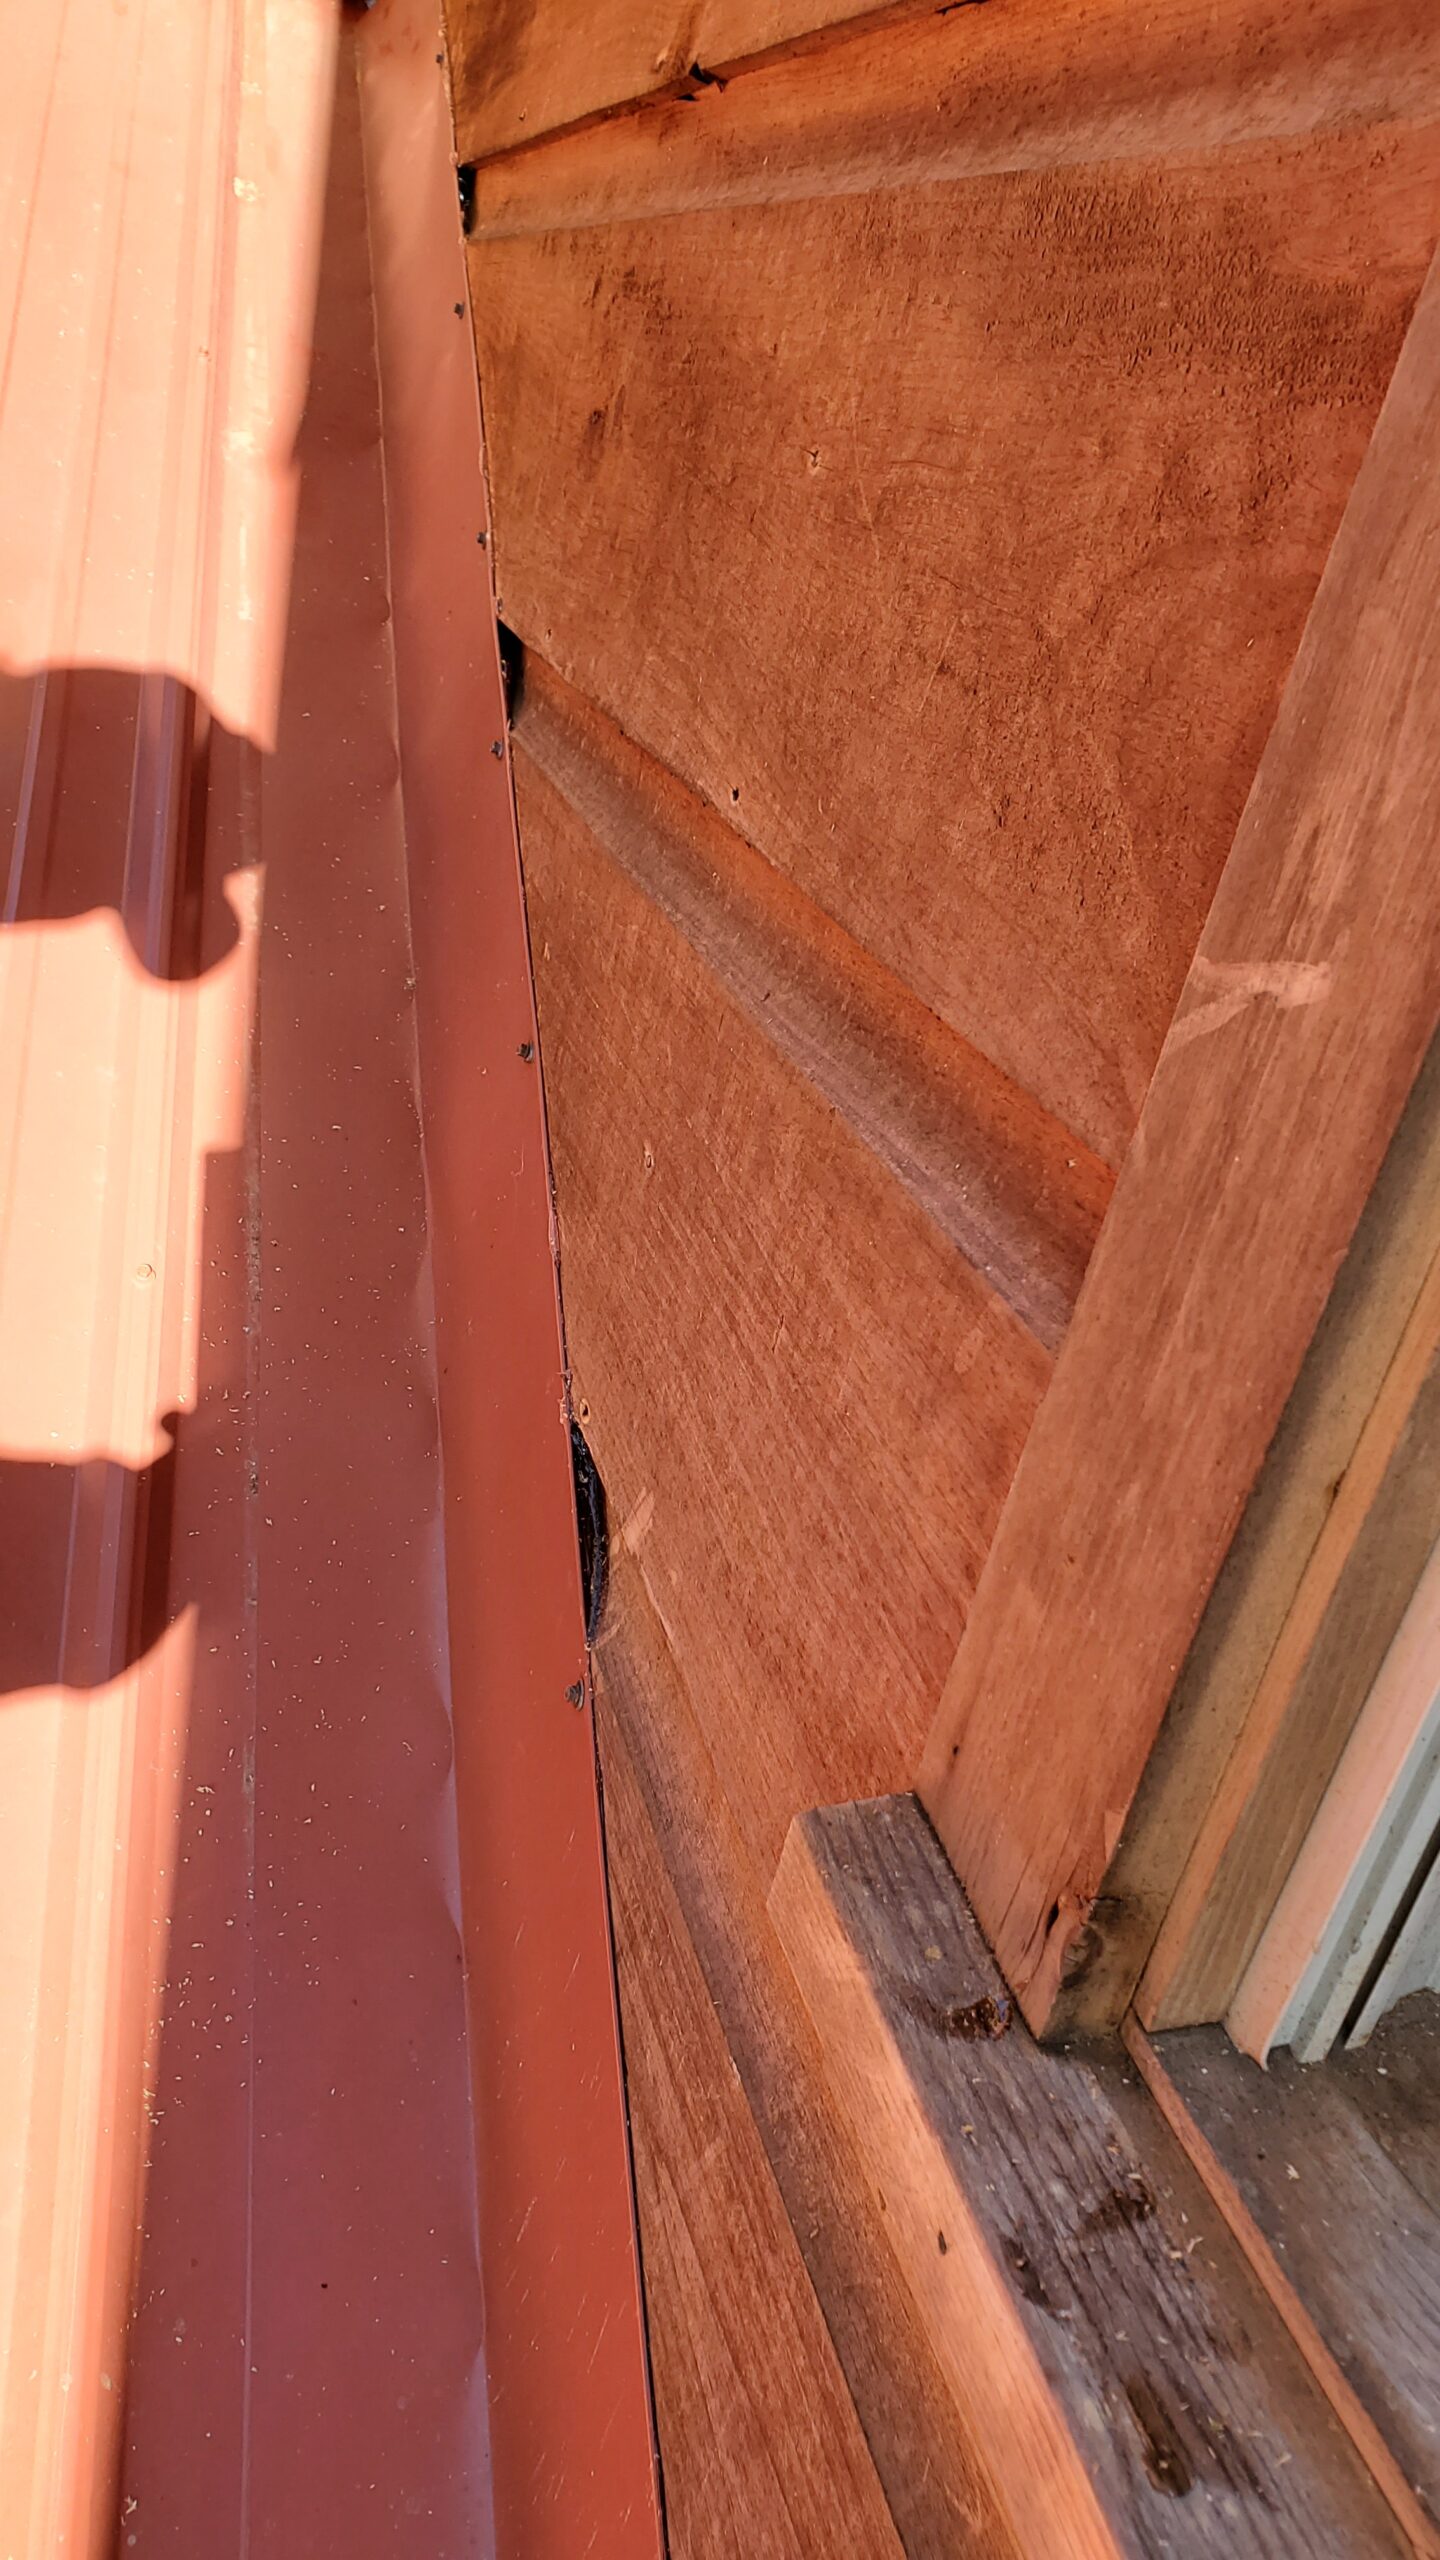
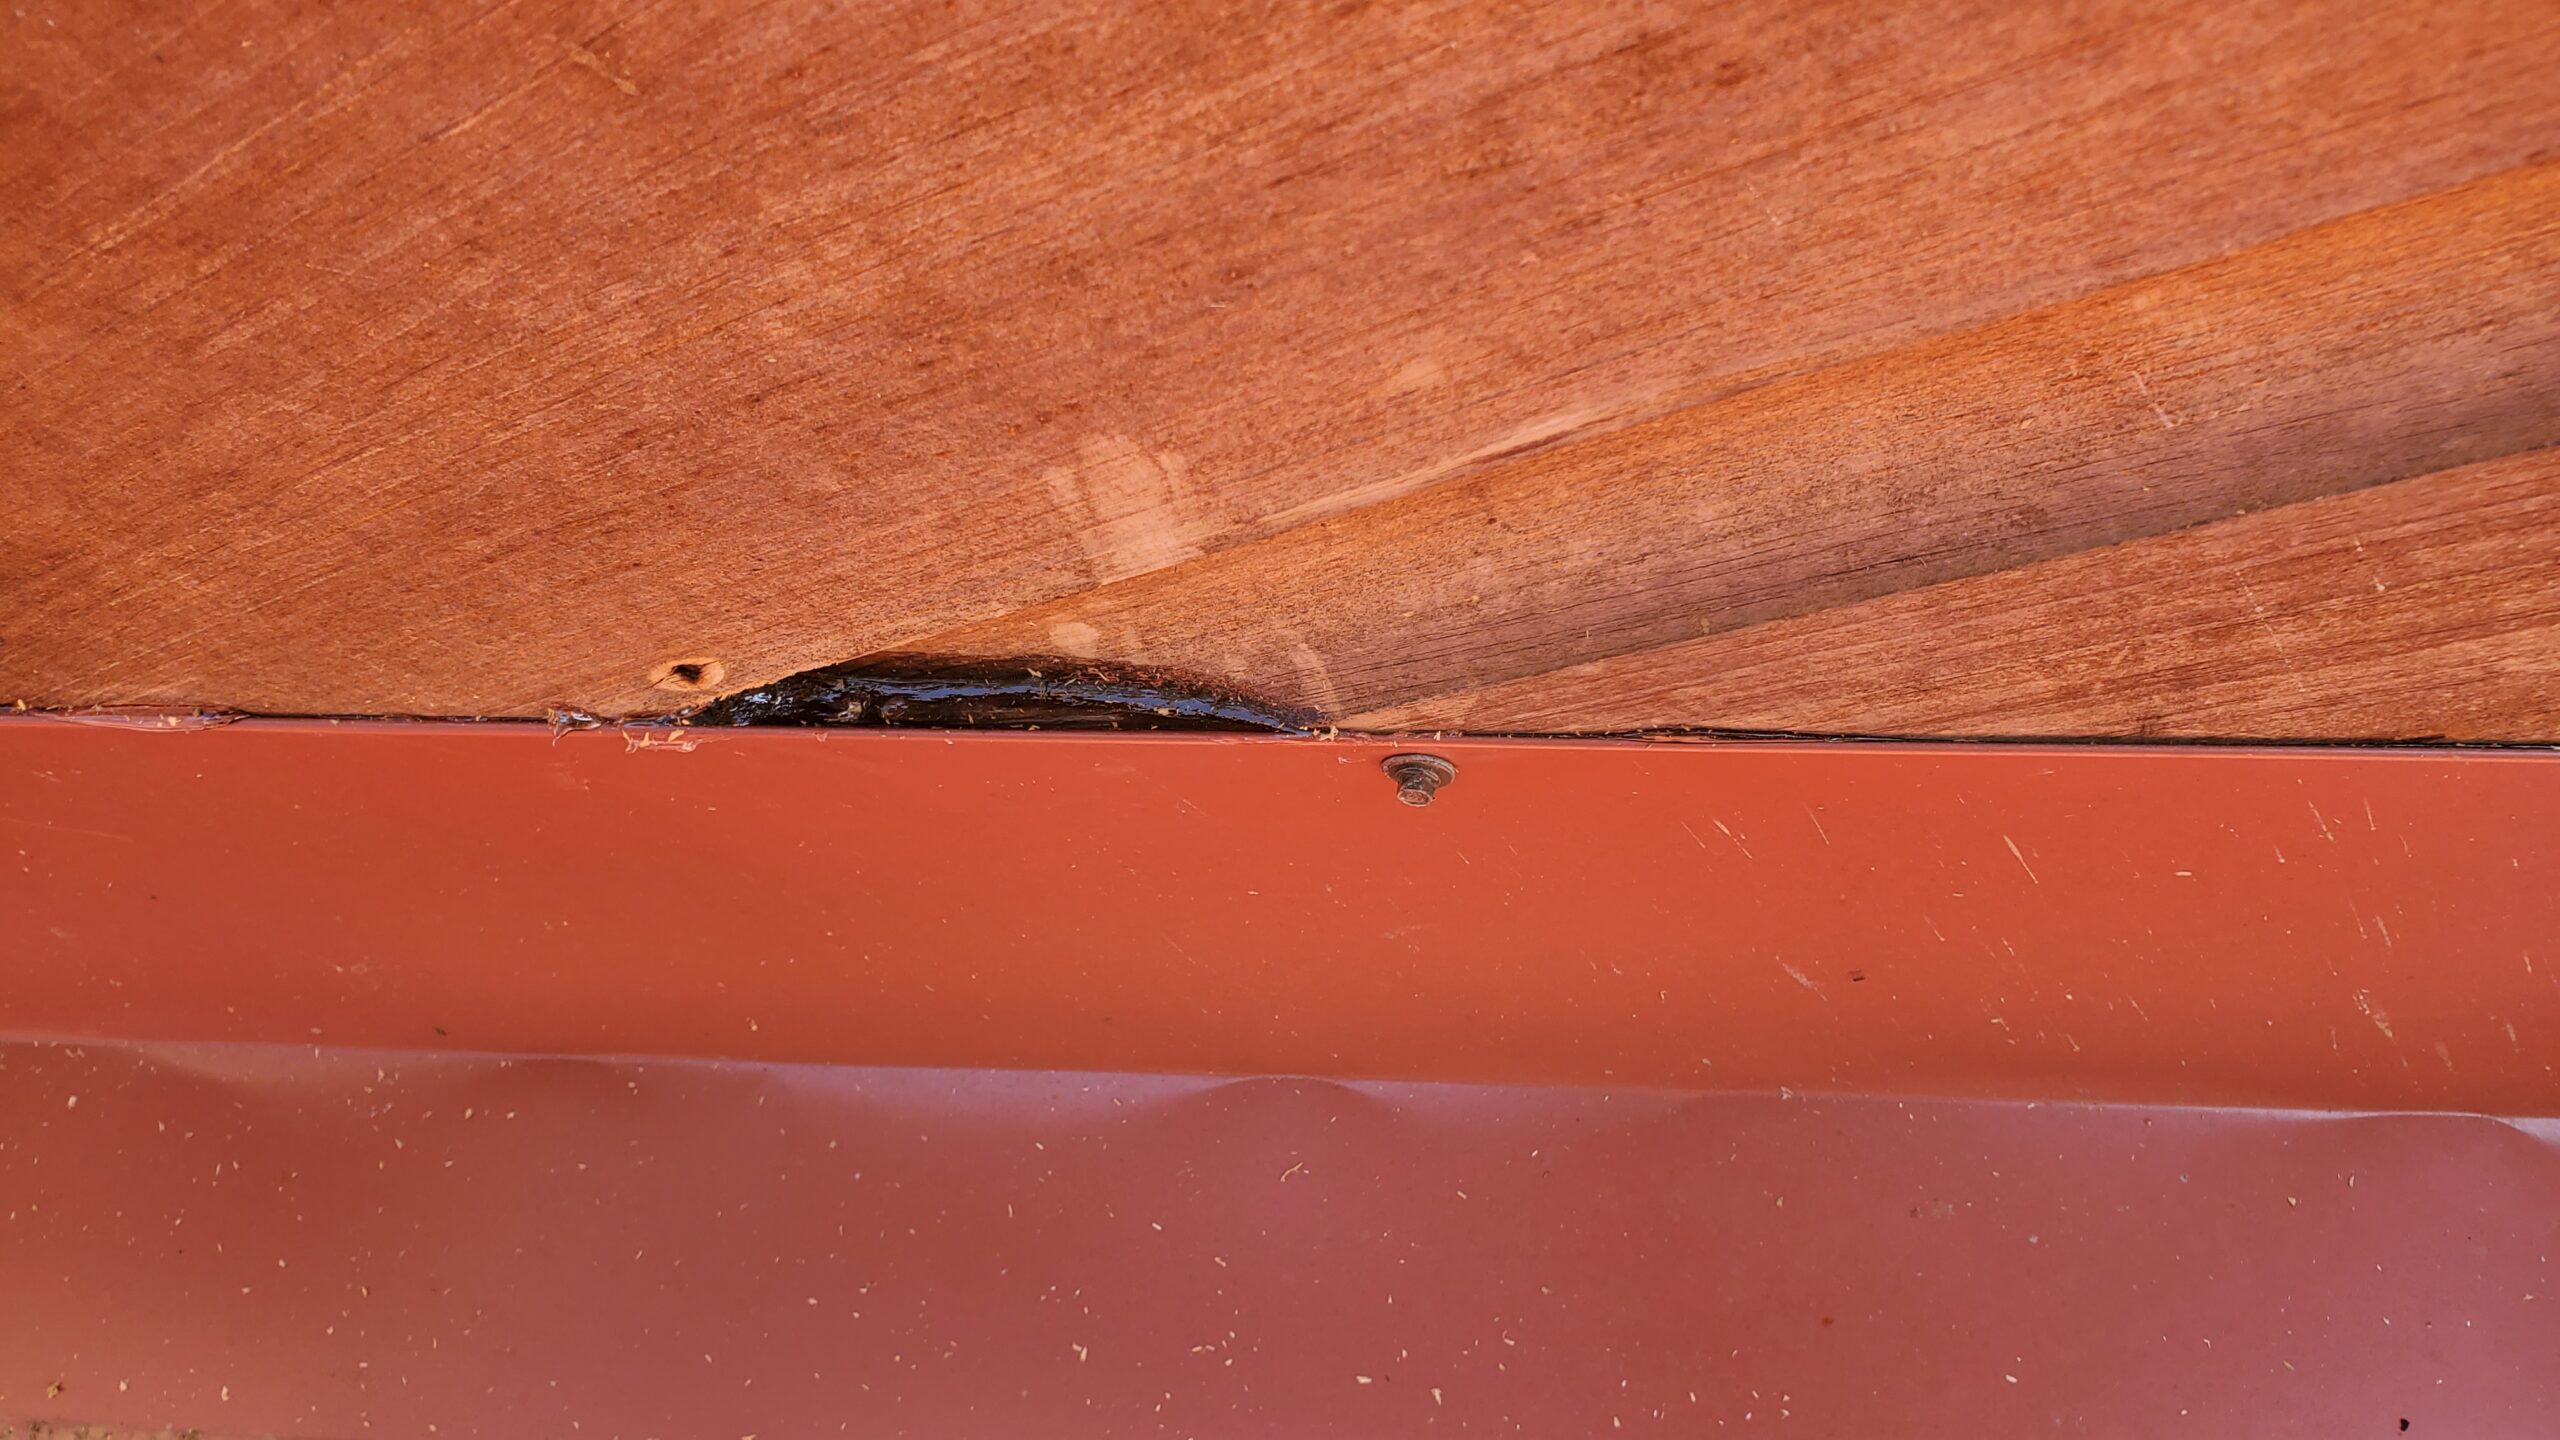
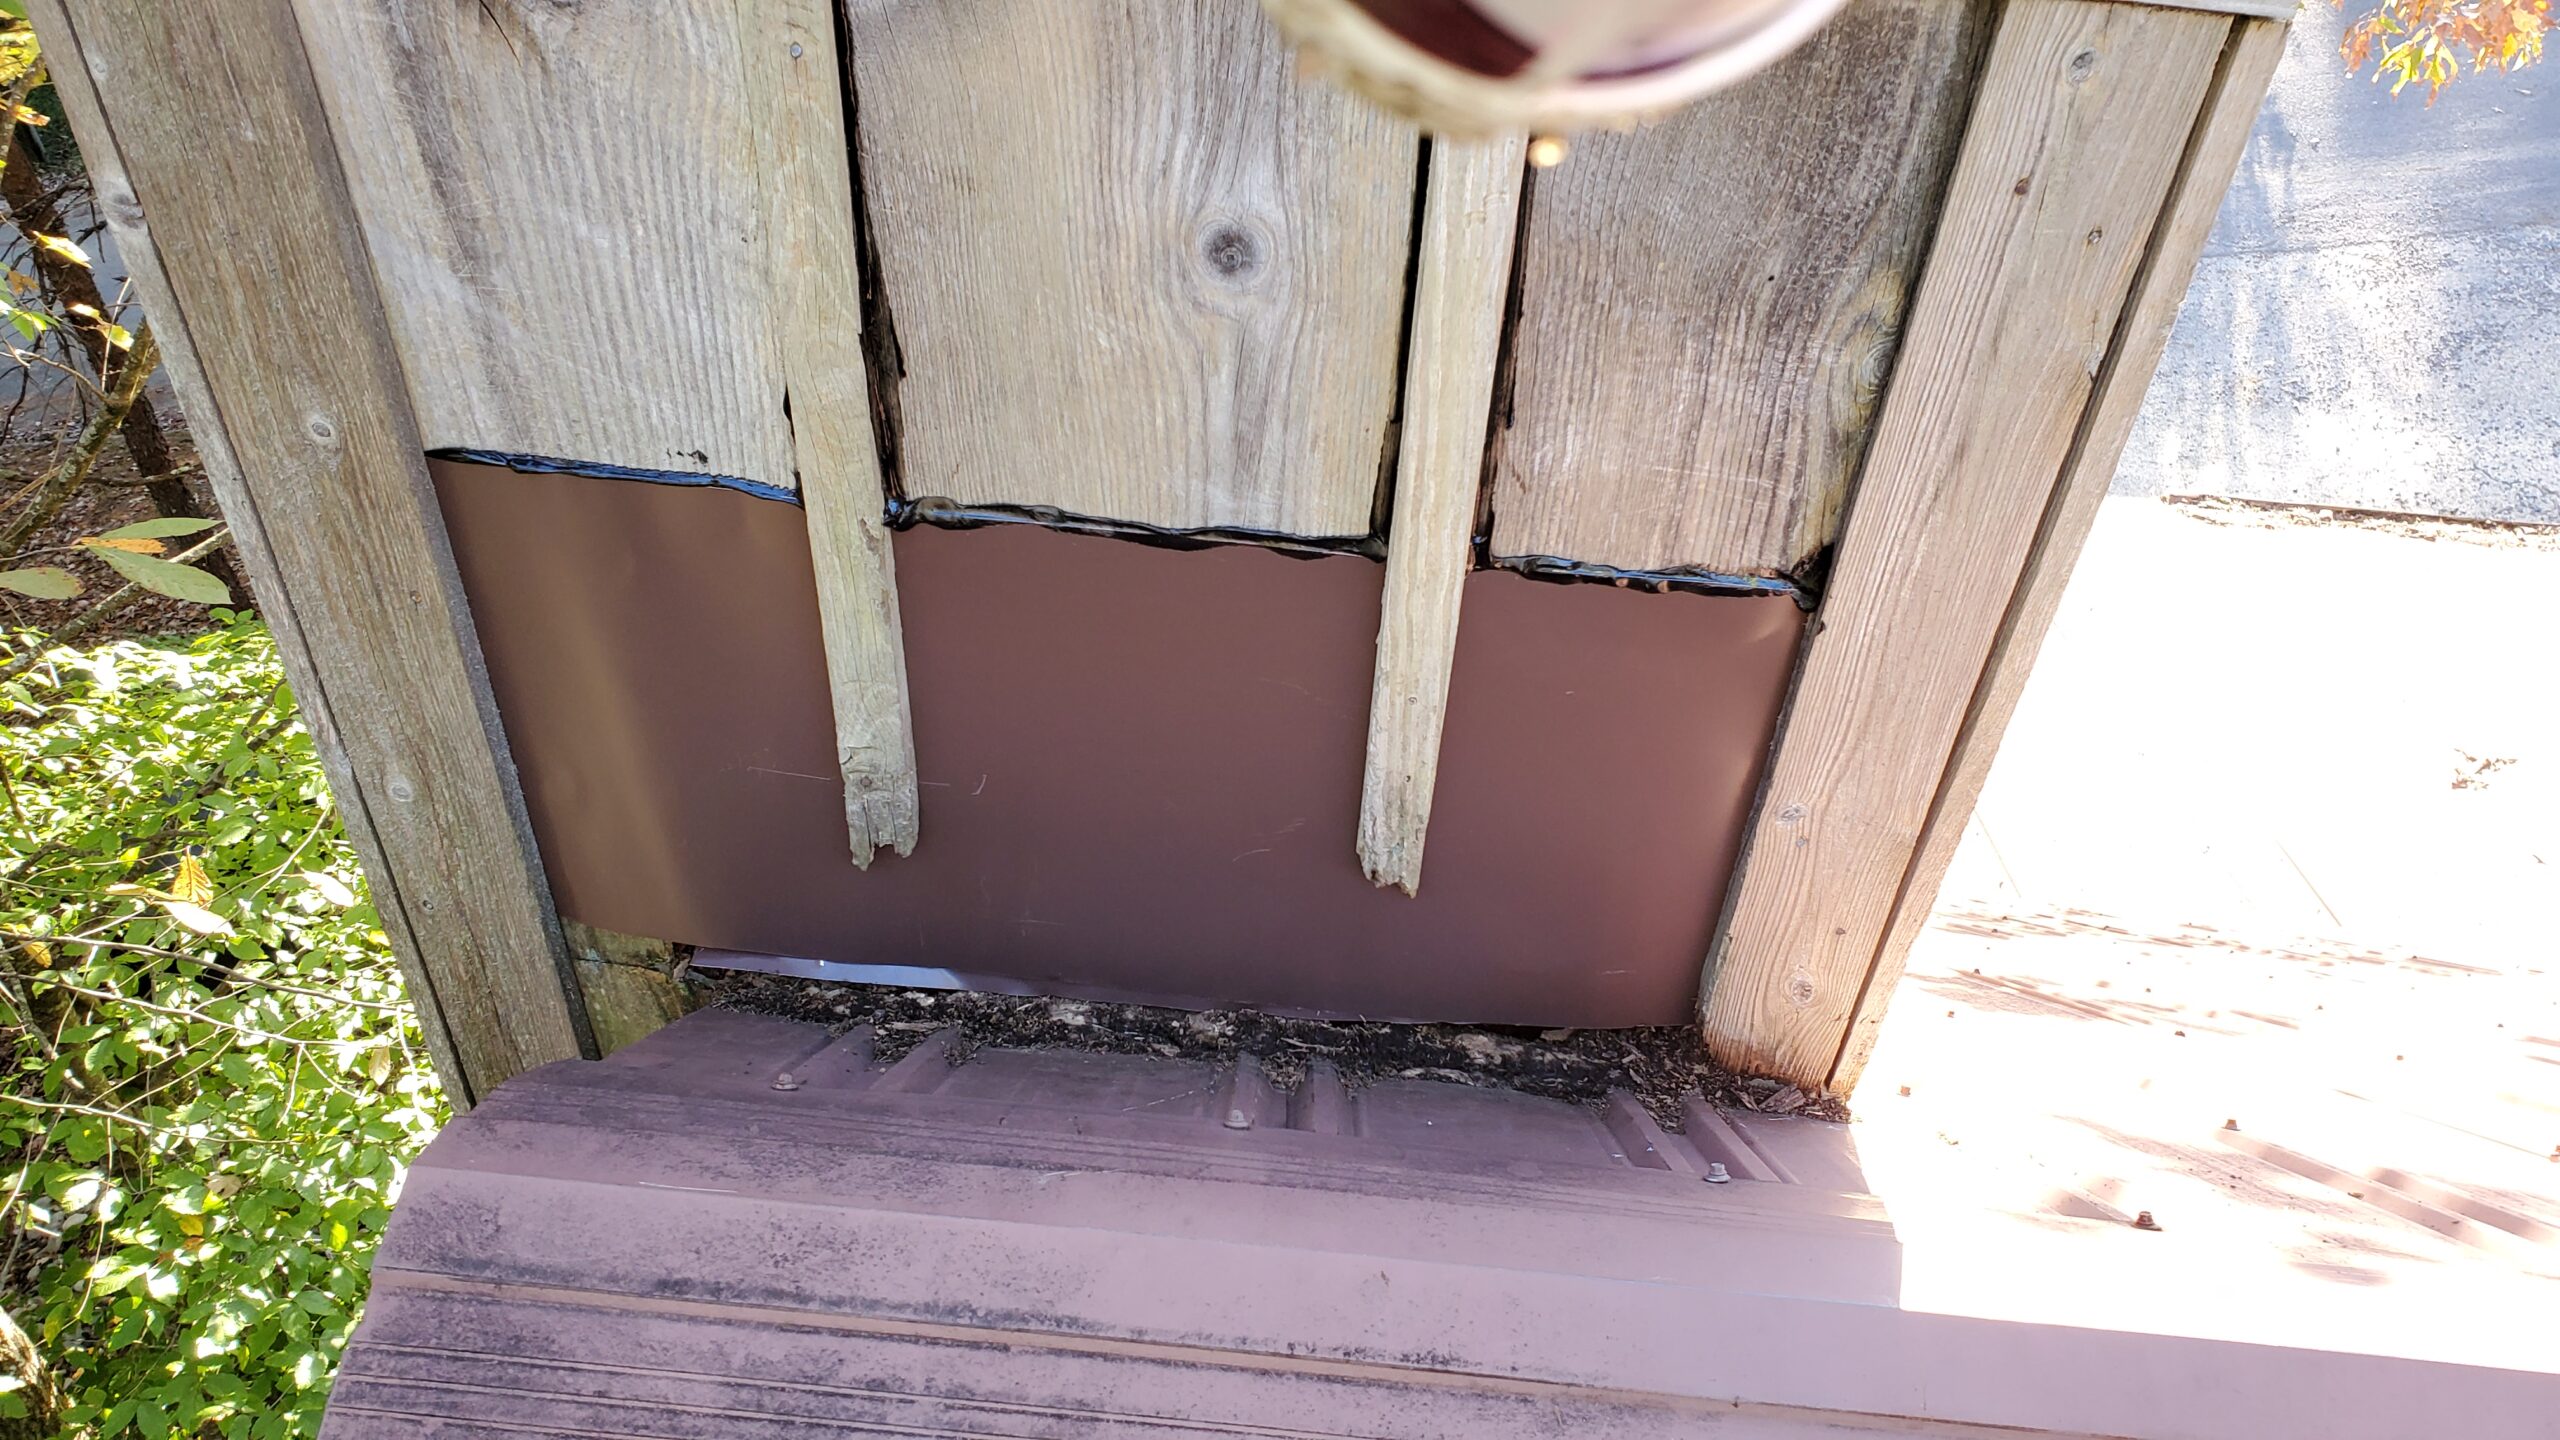
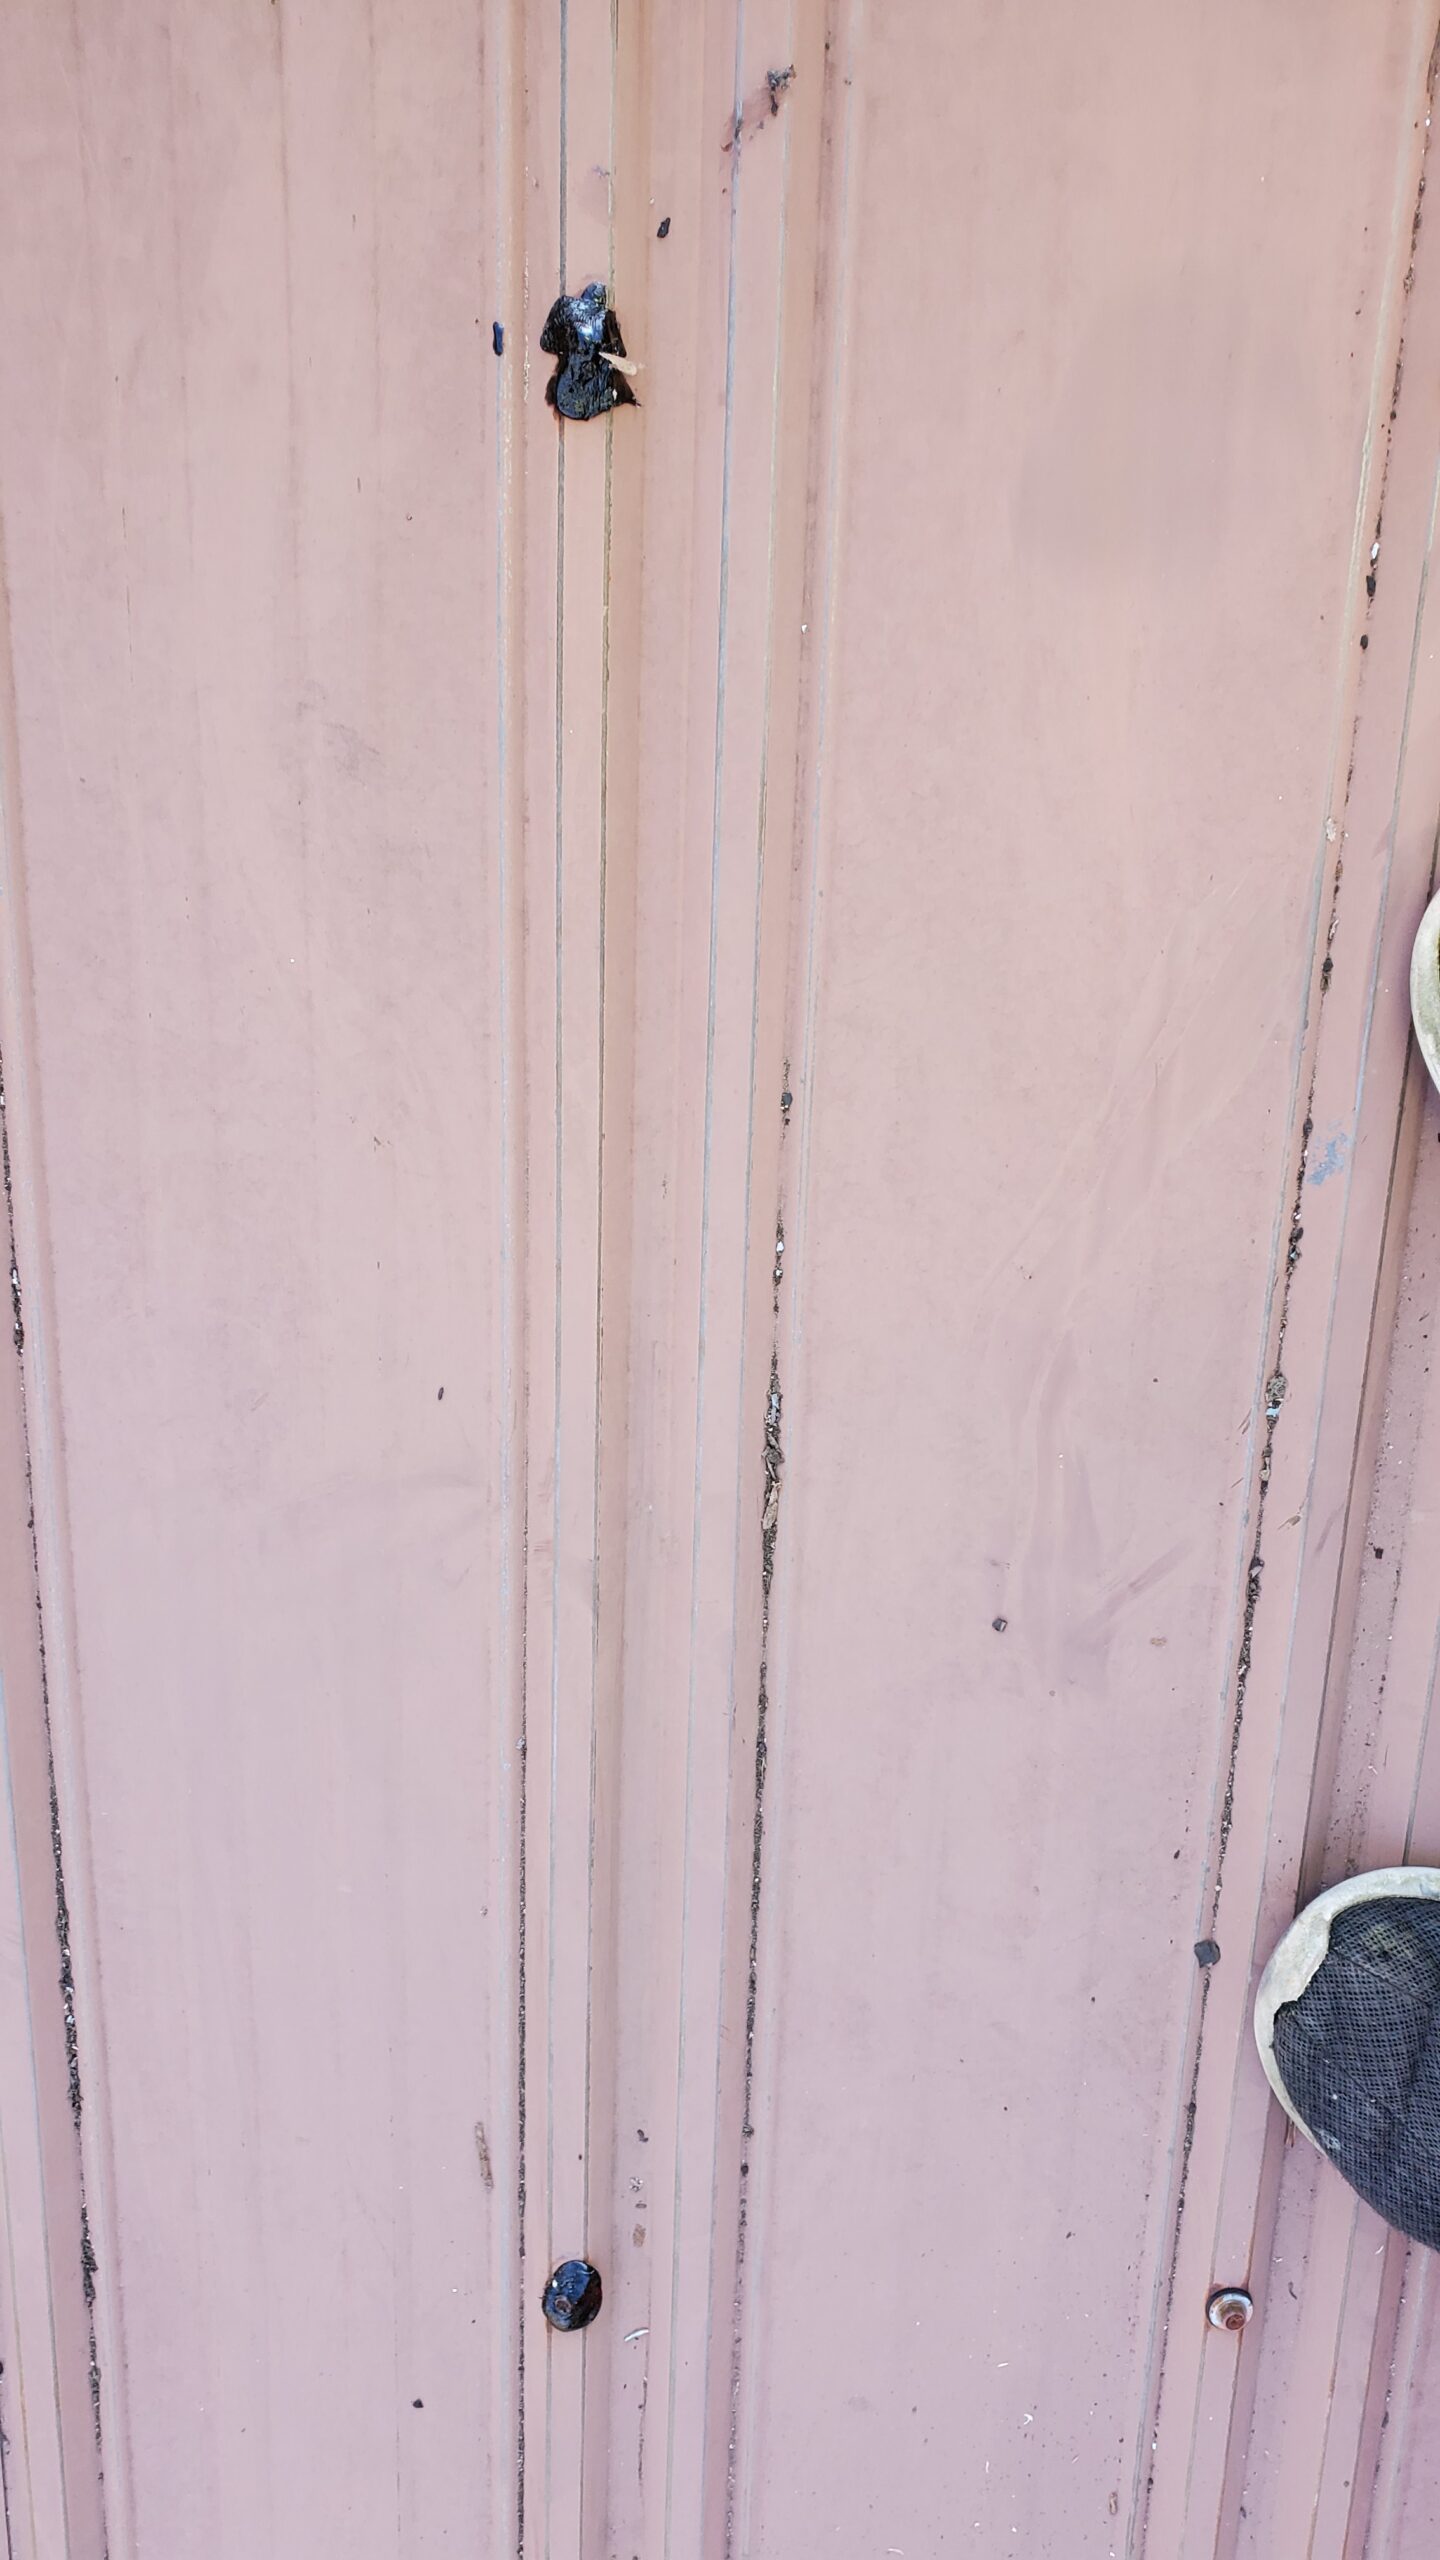
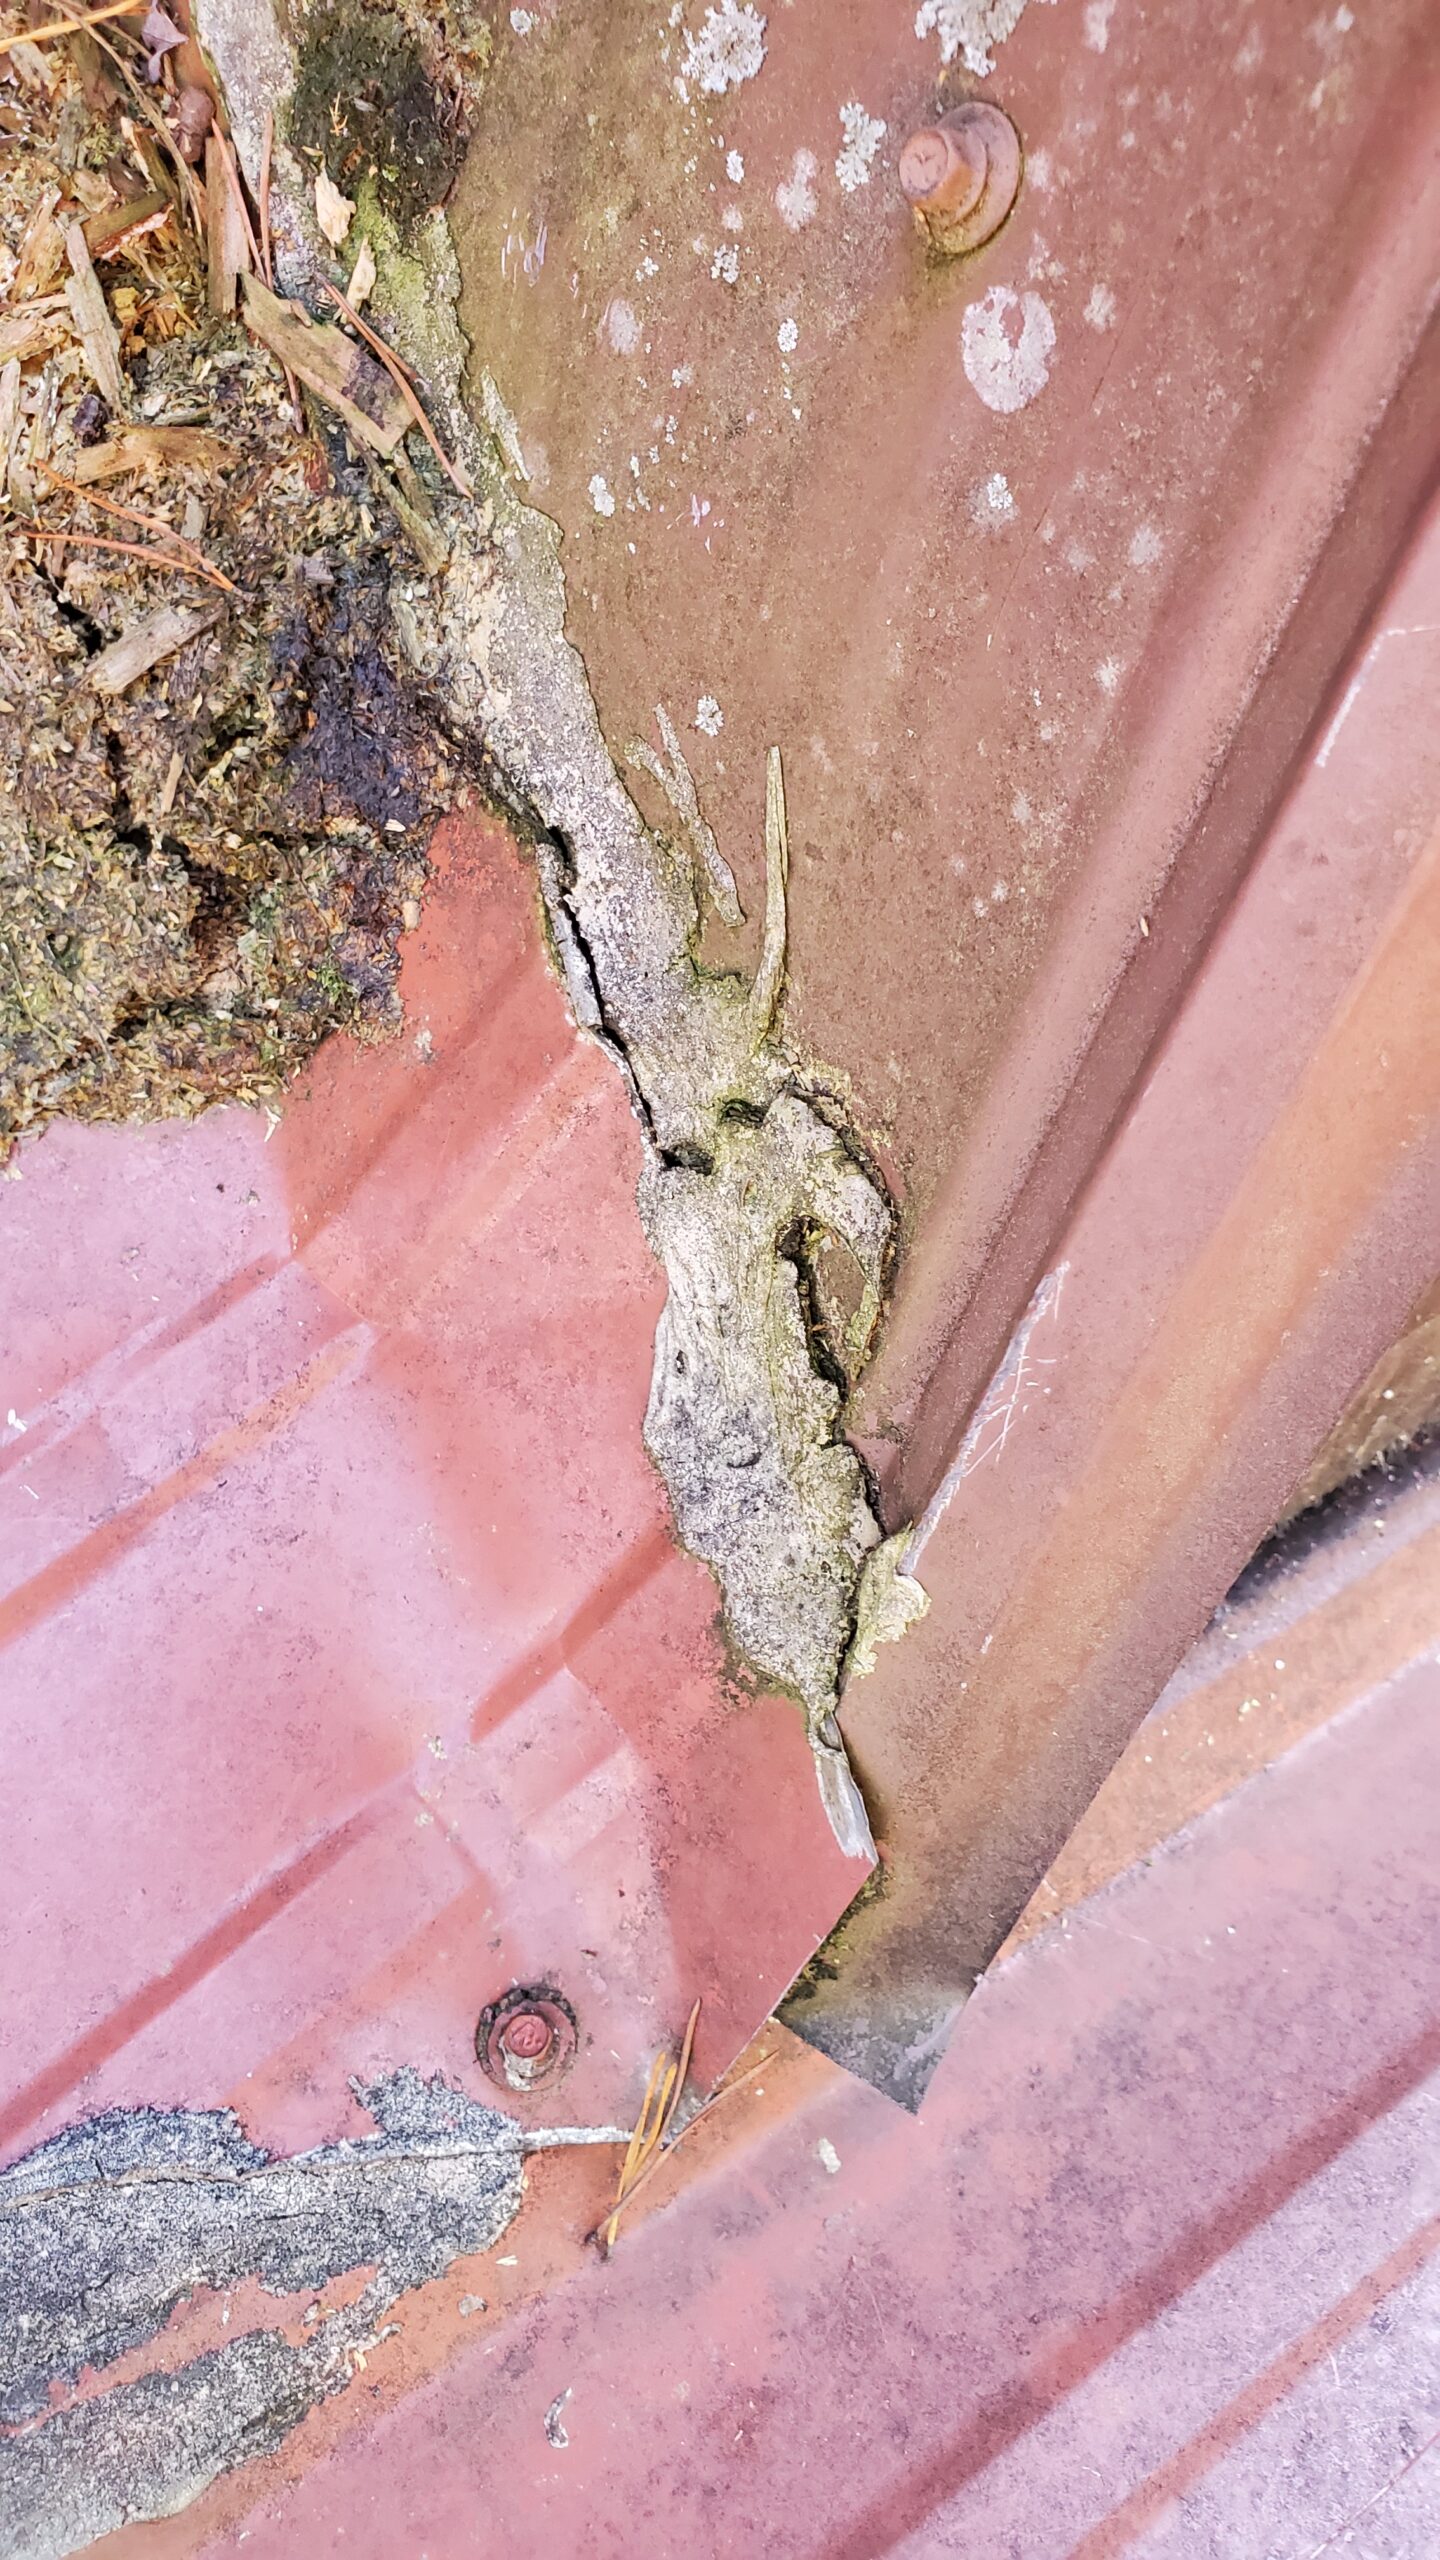
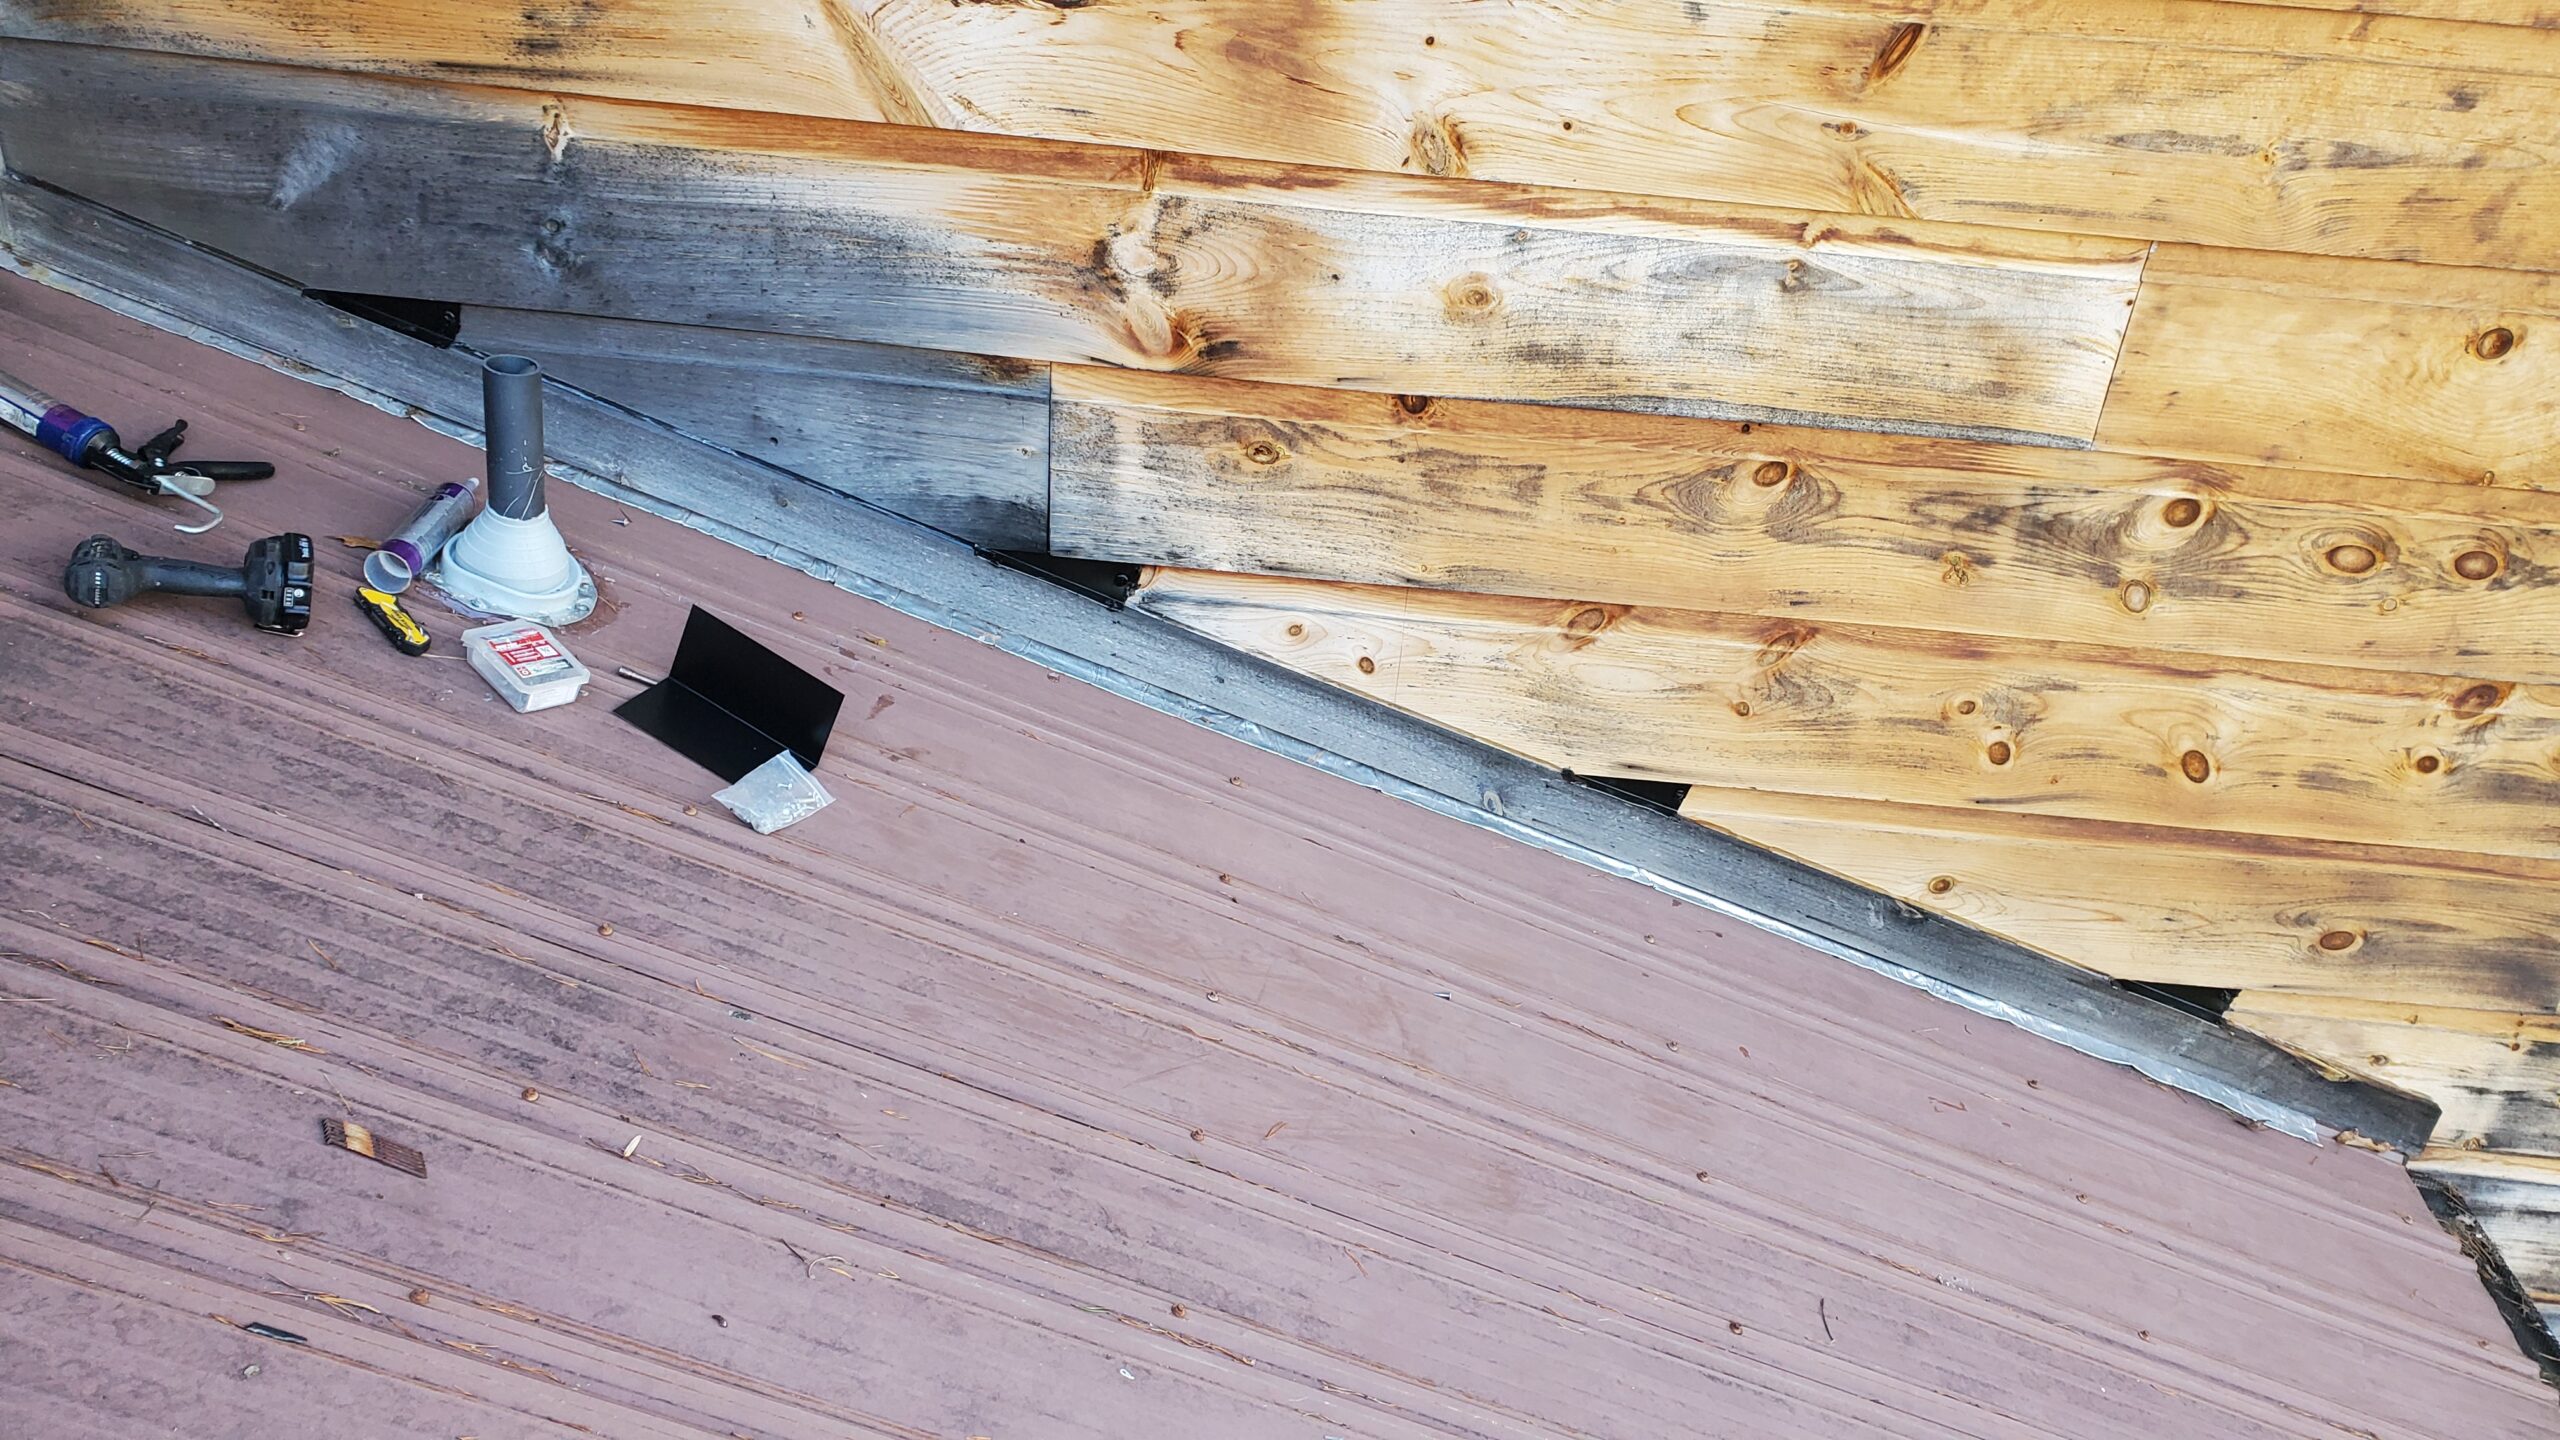
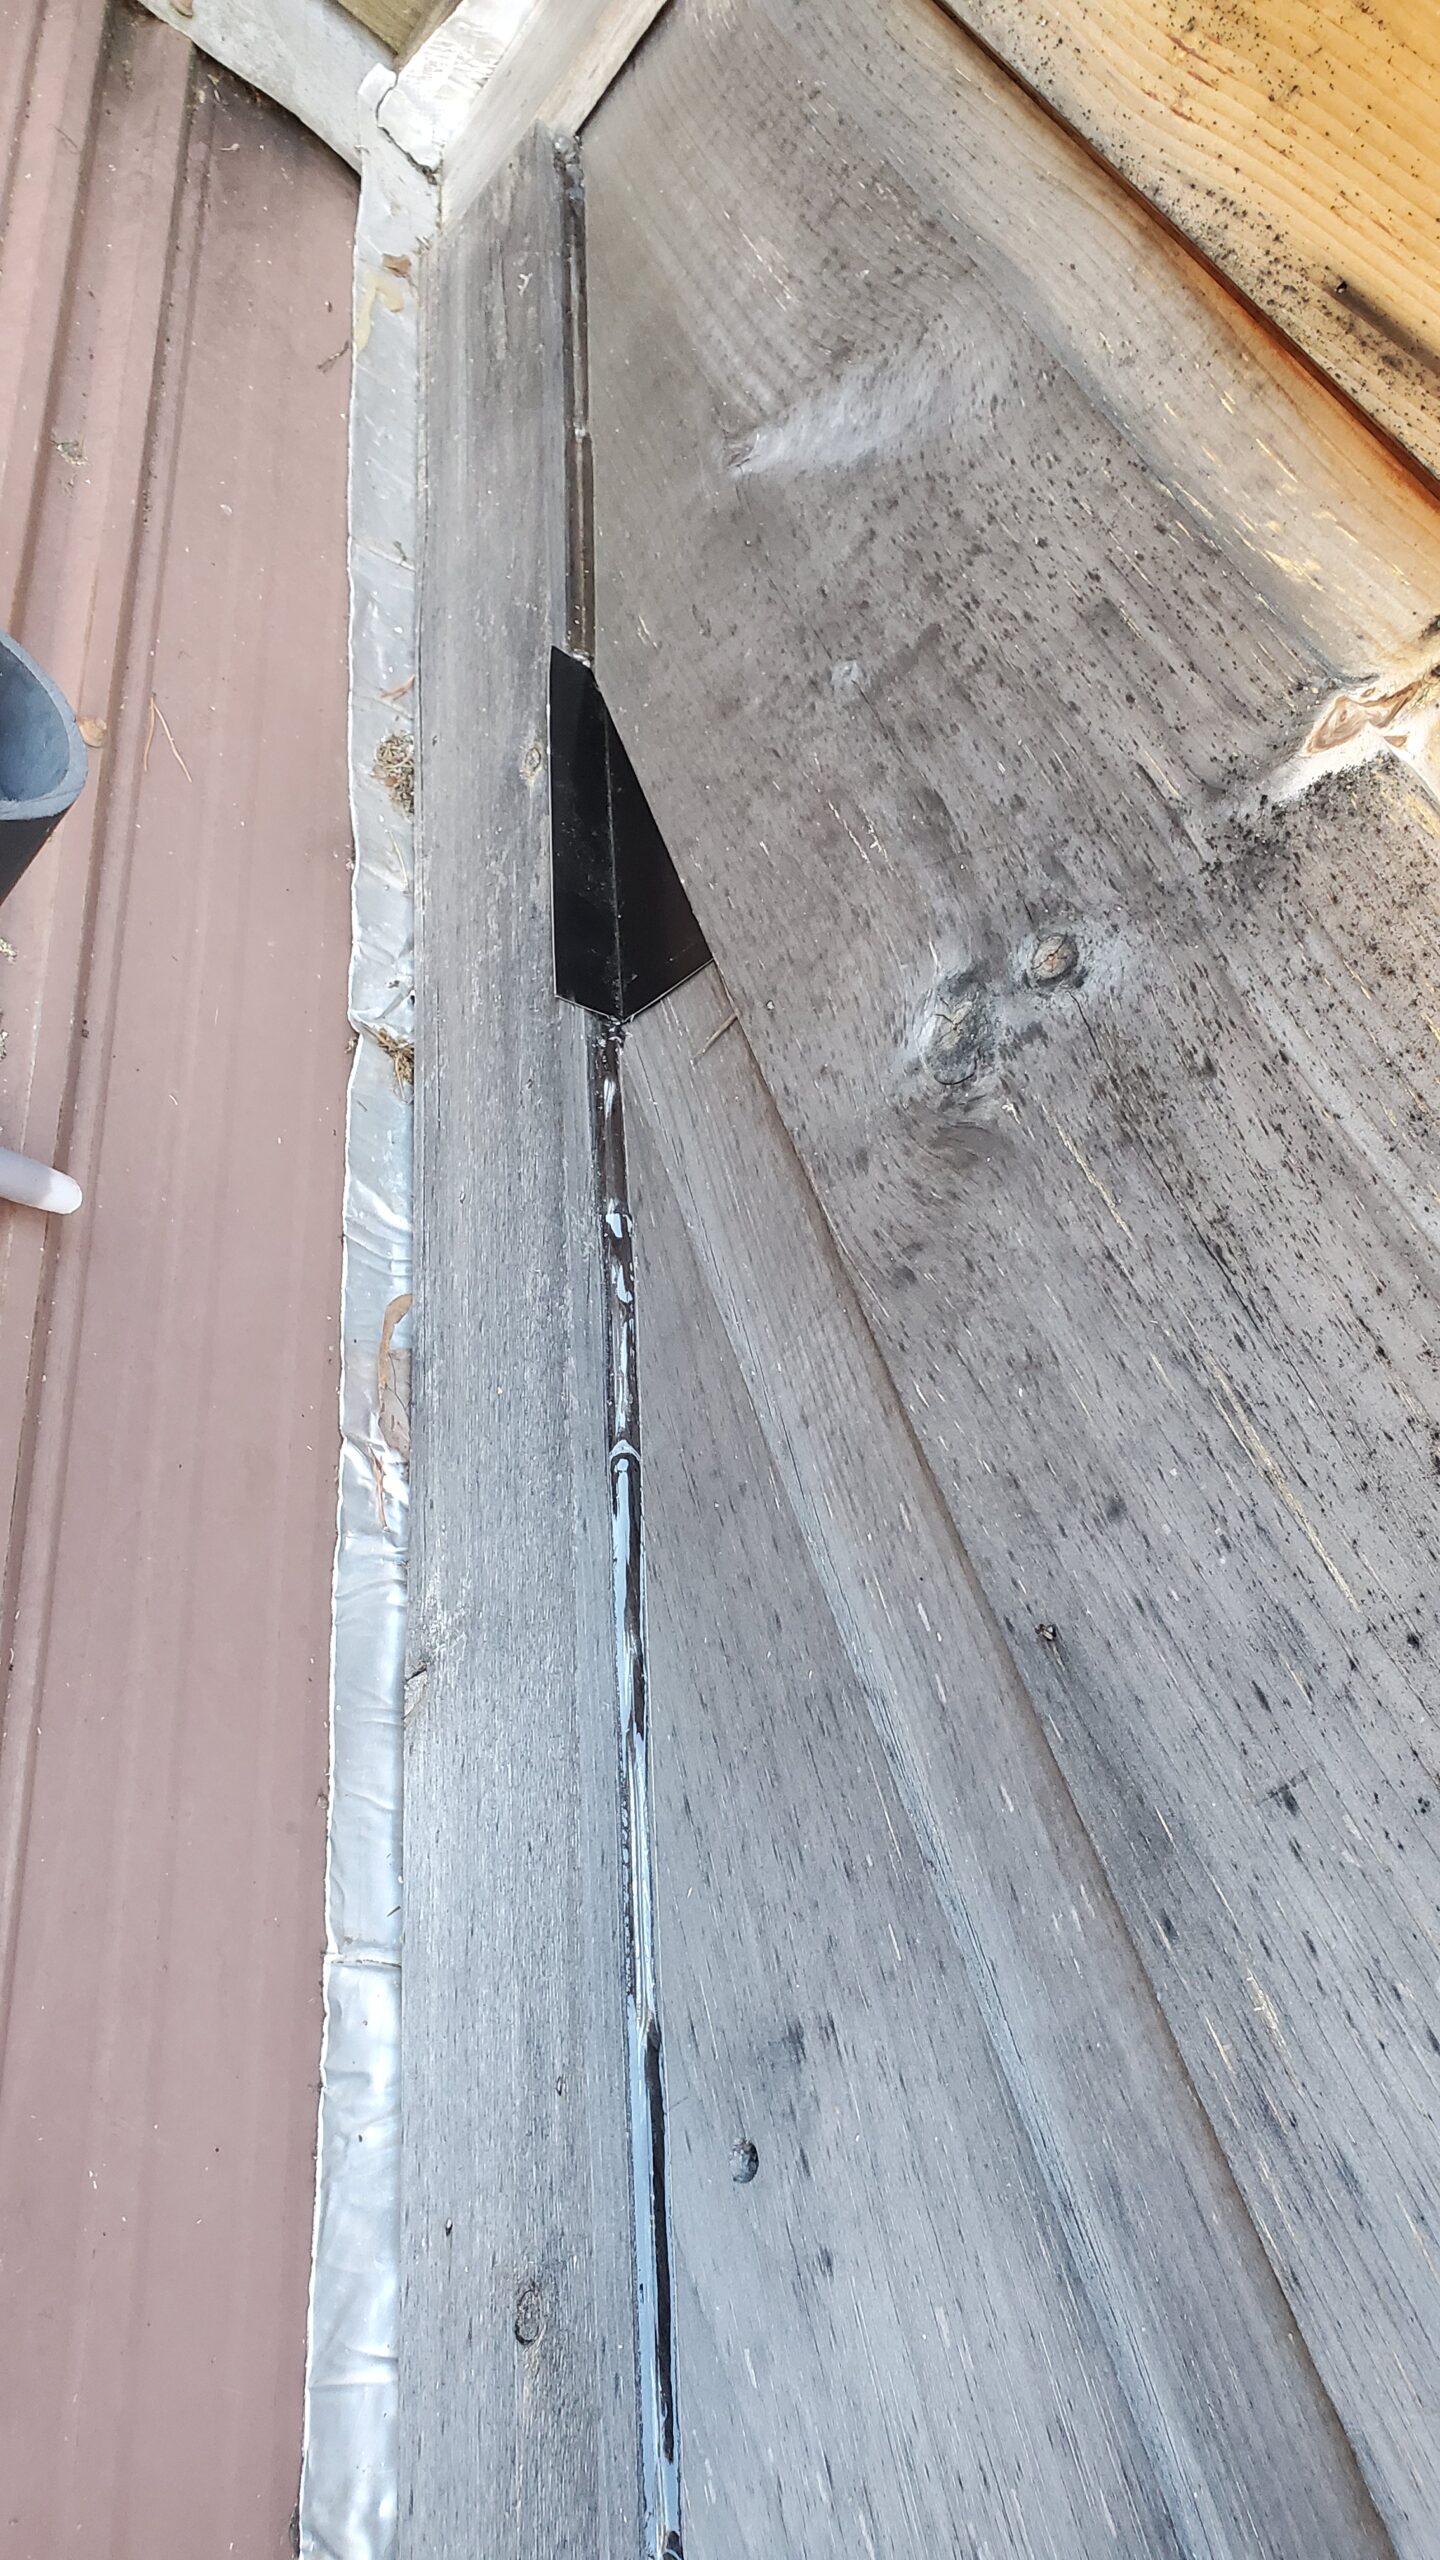
- 1Siding too large to caulk
As you can see in the photo the bottom of the siding creates a gap that Is 3/4 of an inch to an inch.
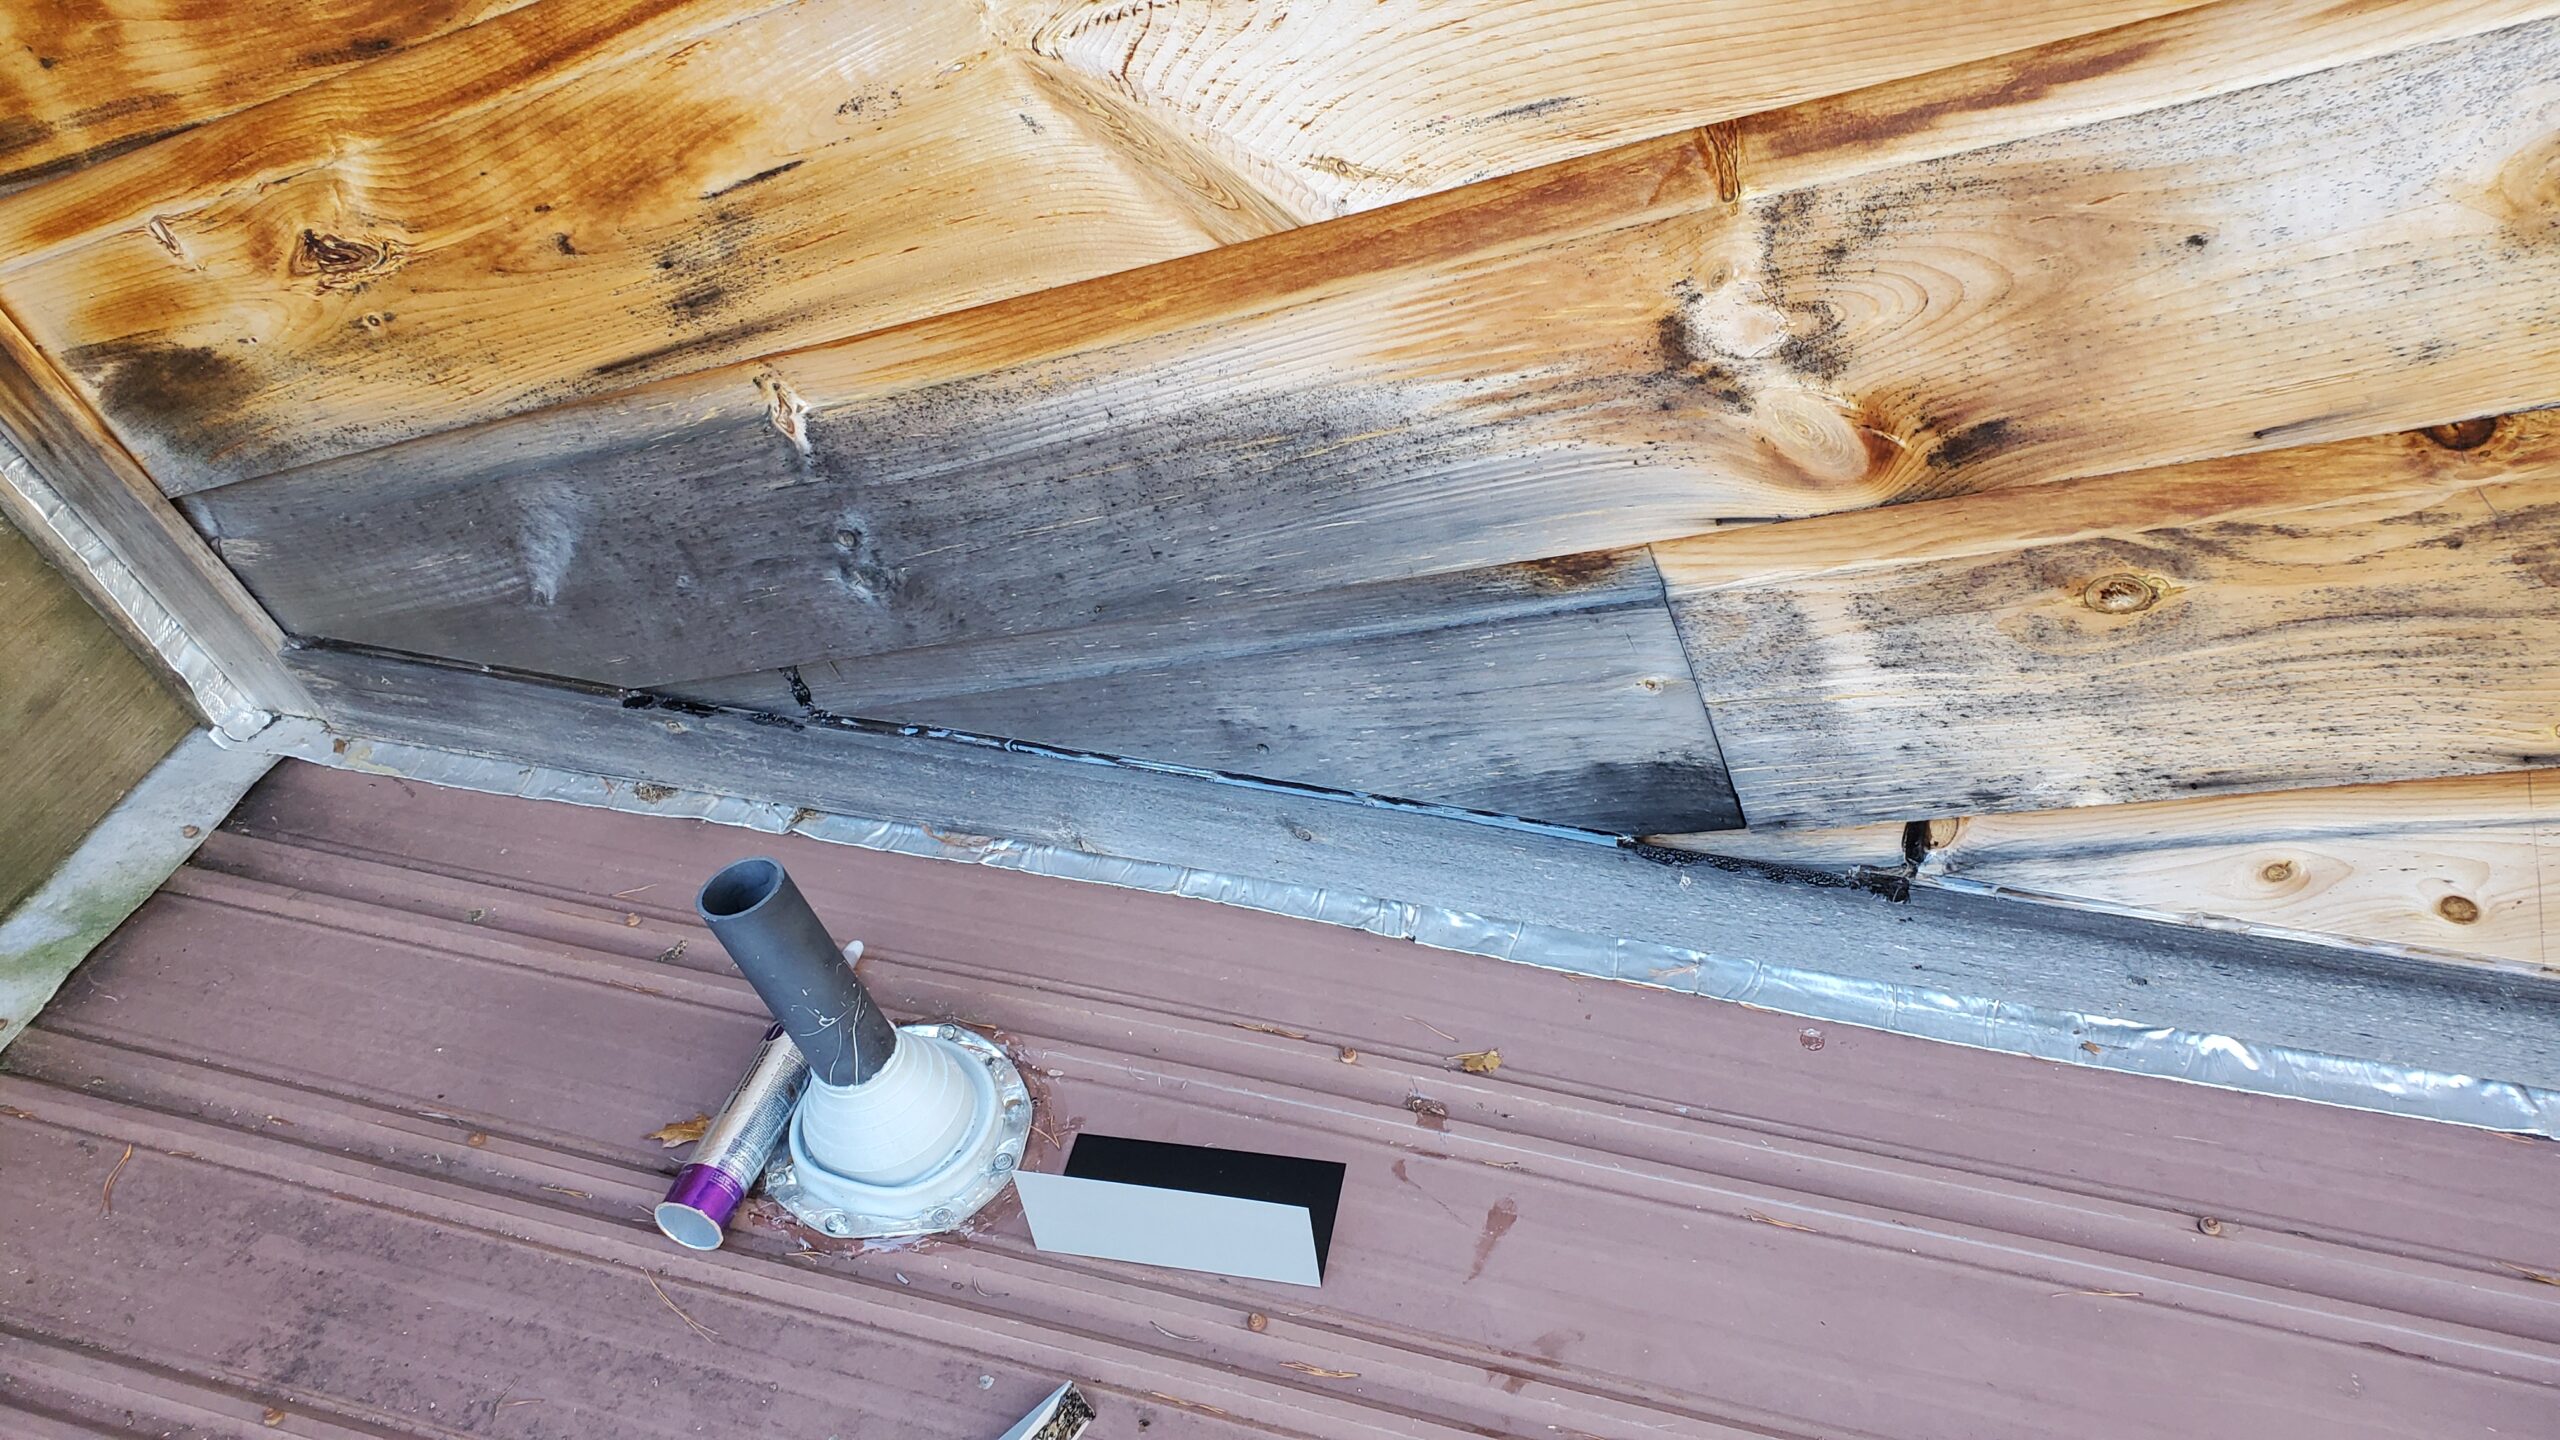
I fixed this by custom bending and cutting flashing to match each section and I screwed it in and sealed it off. Then caulked the entire length of wooden trim.
 Go To Pin
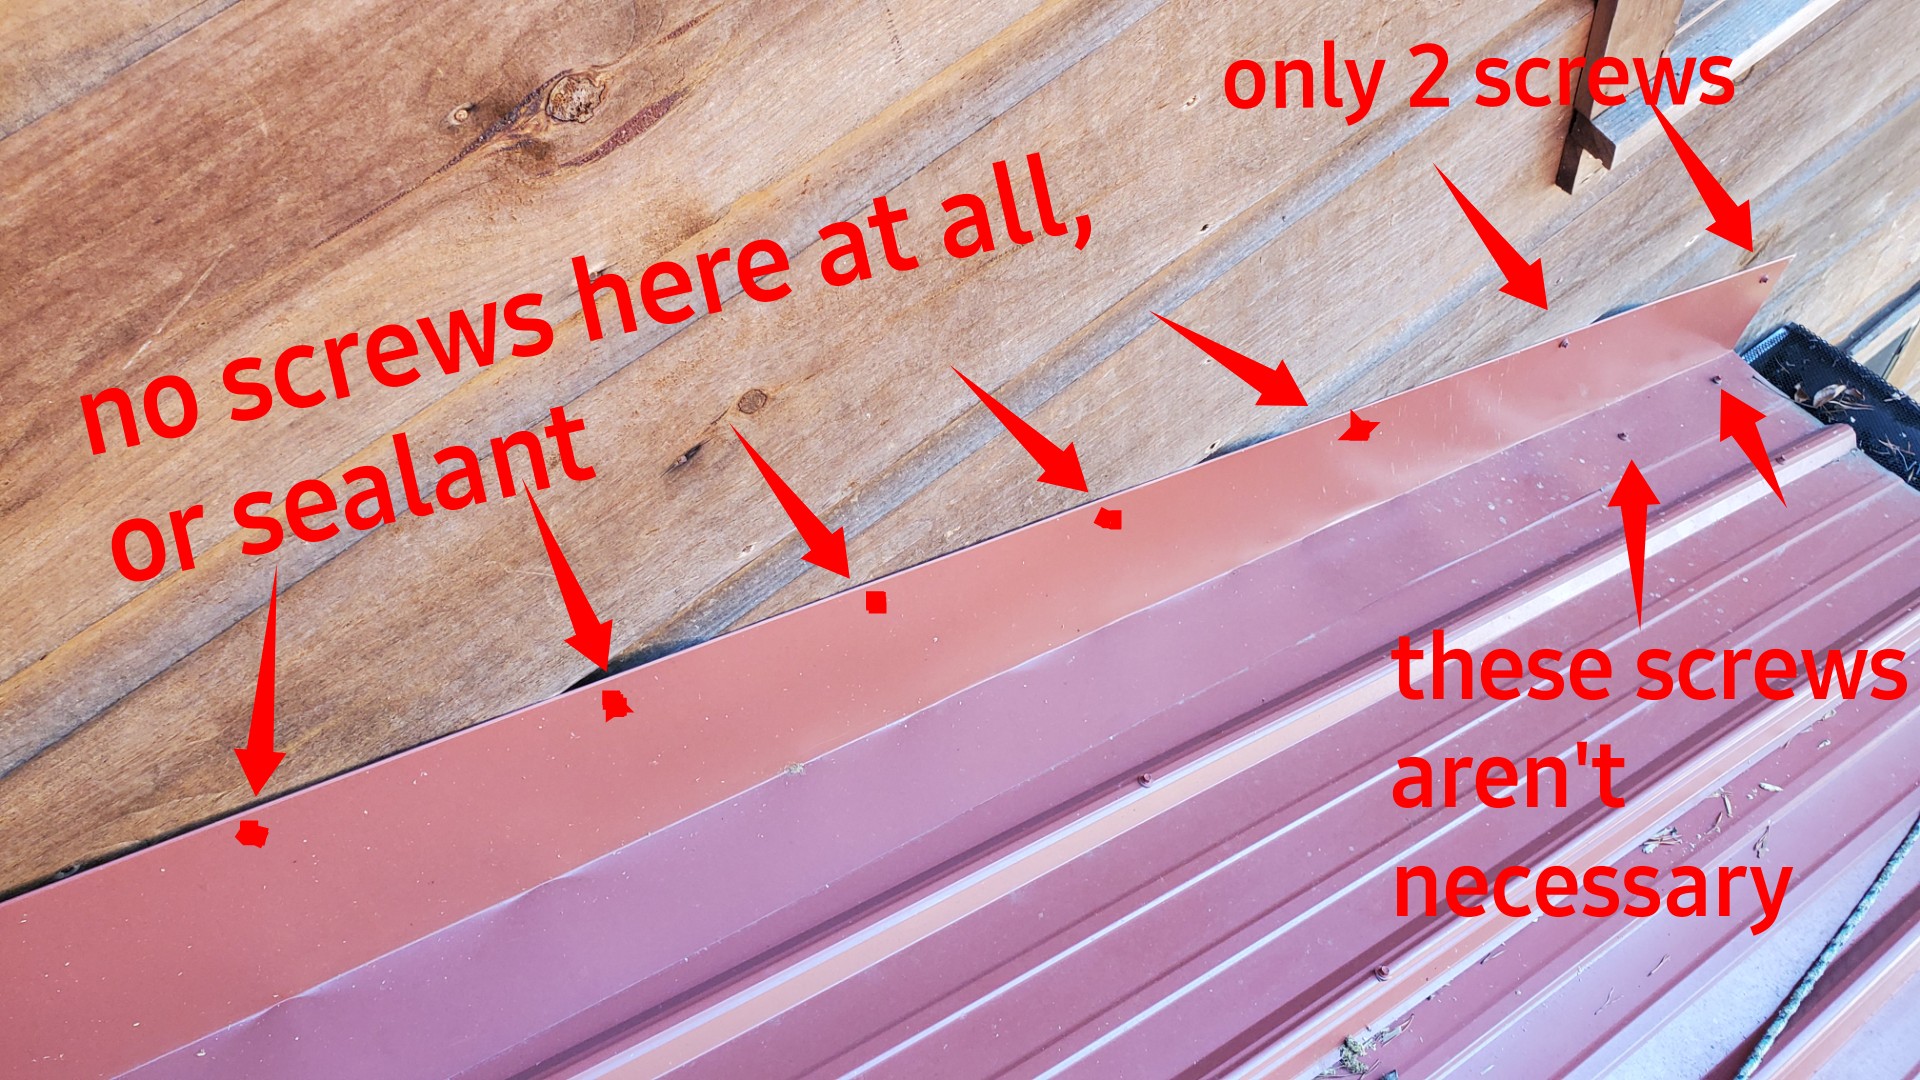
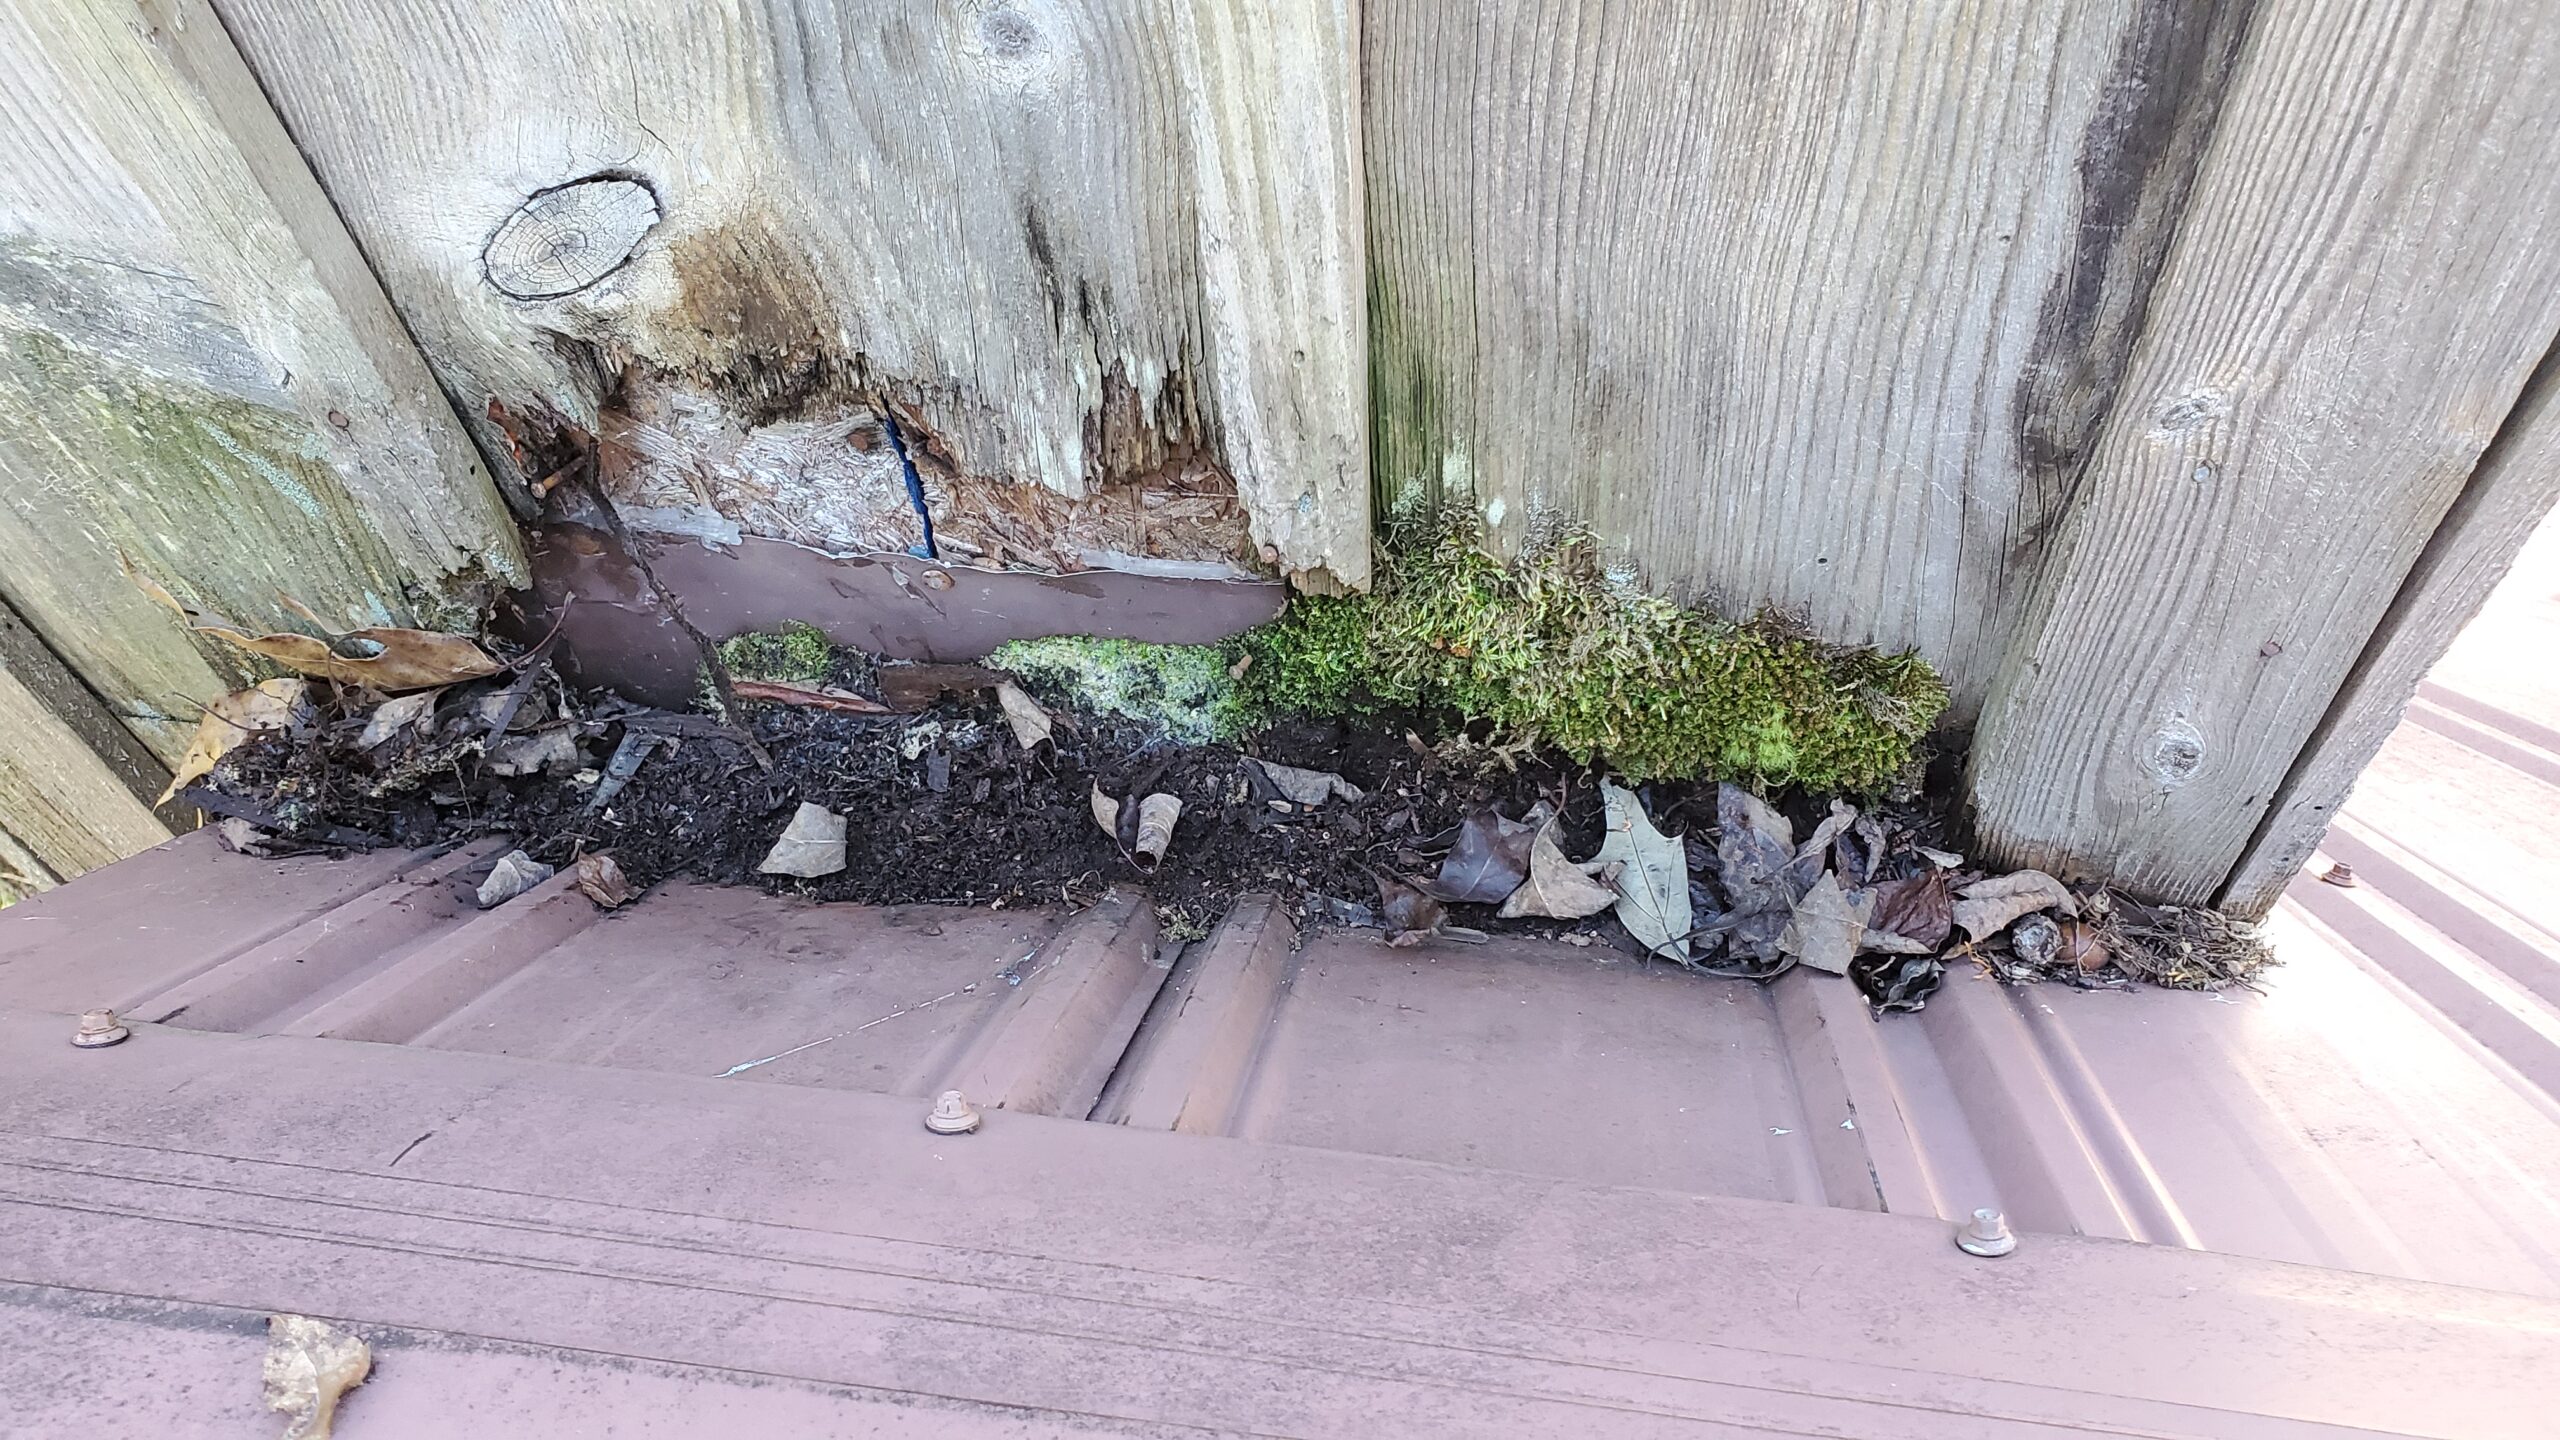
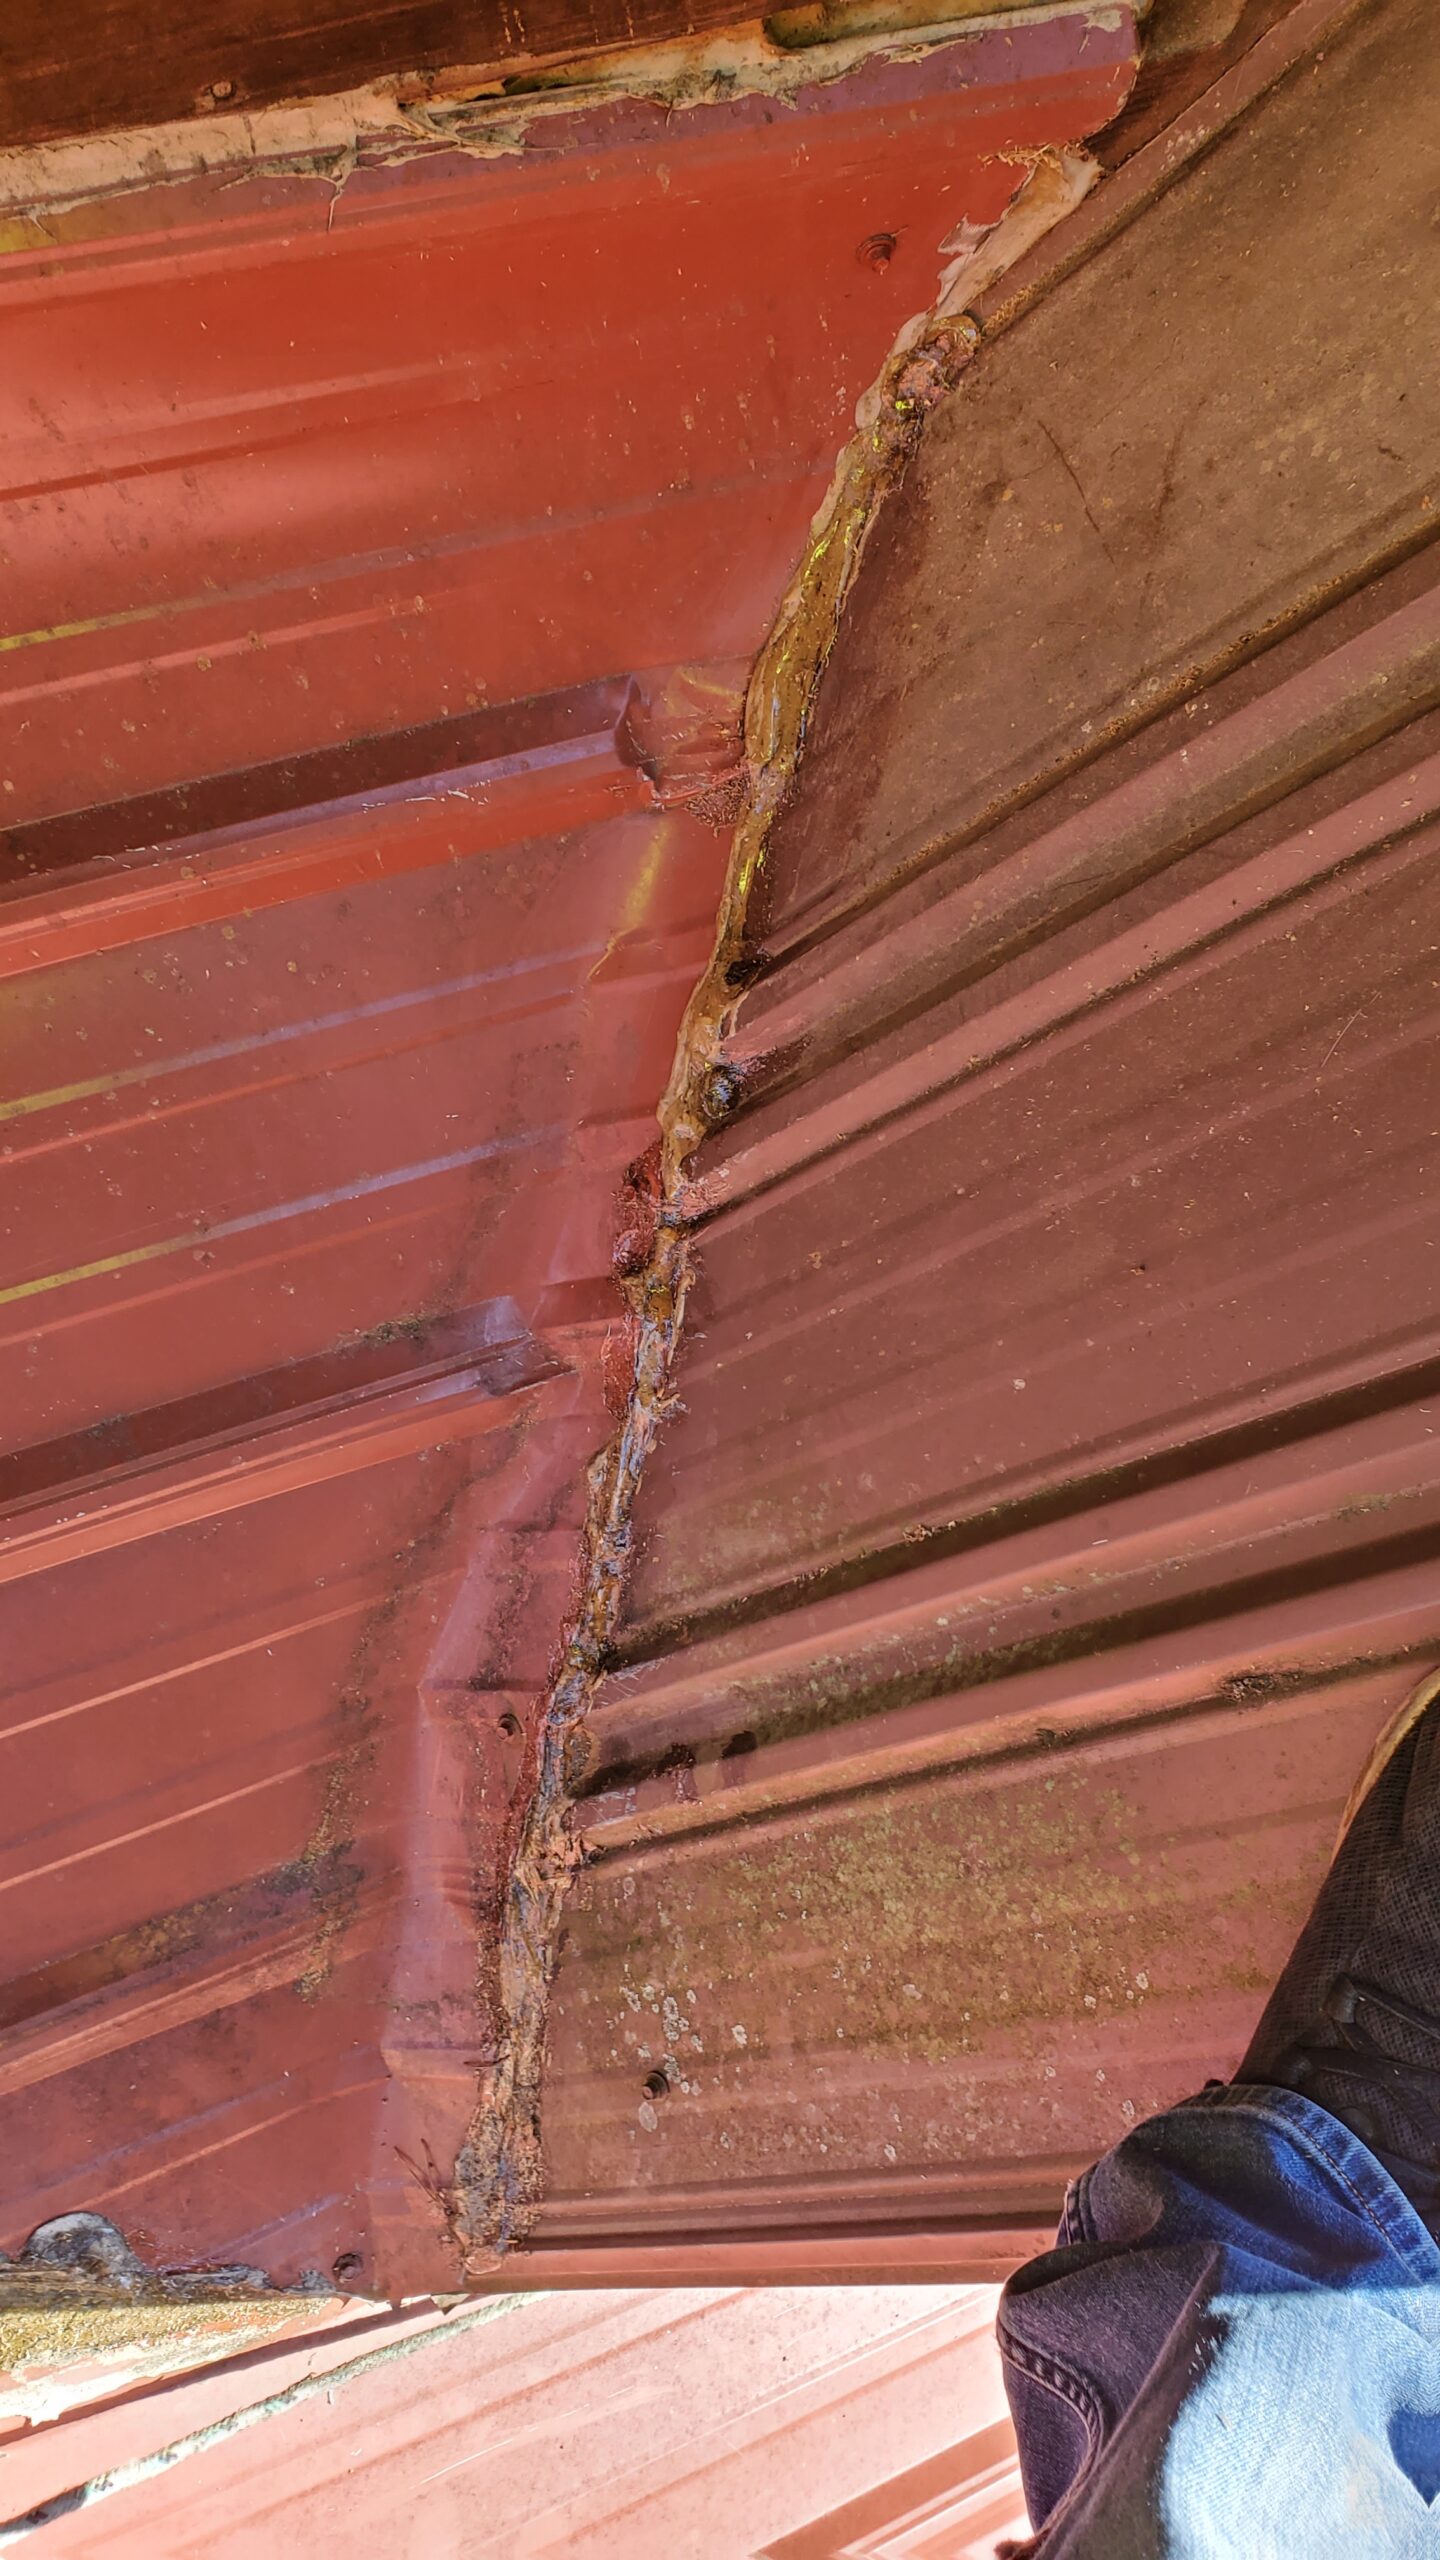
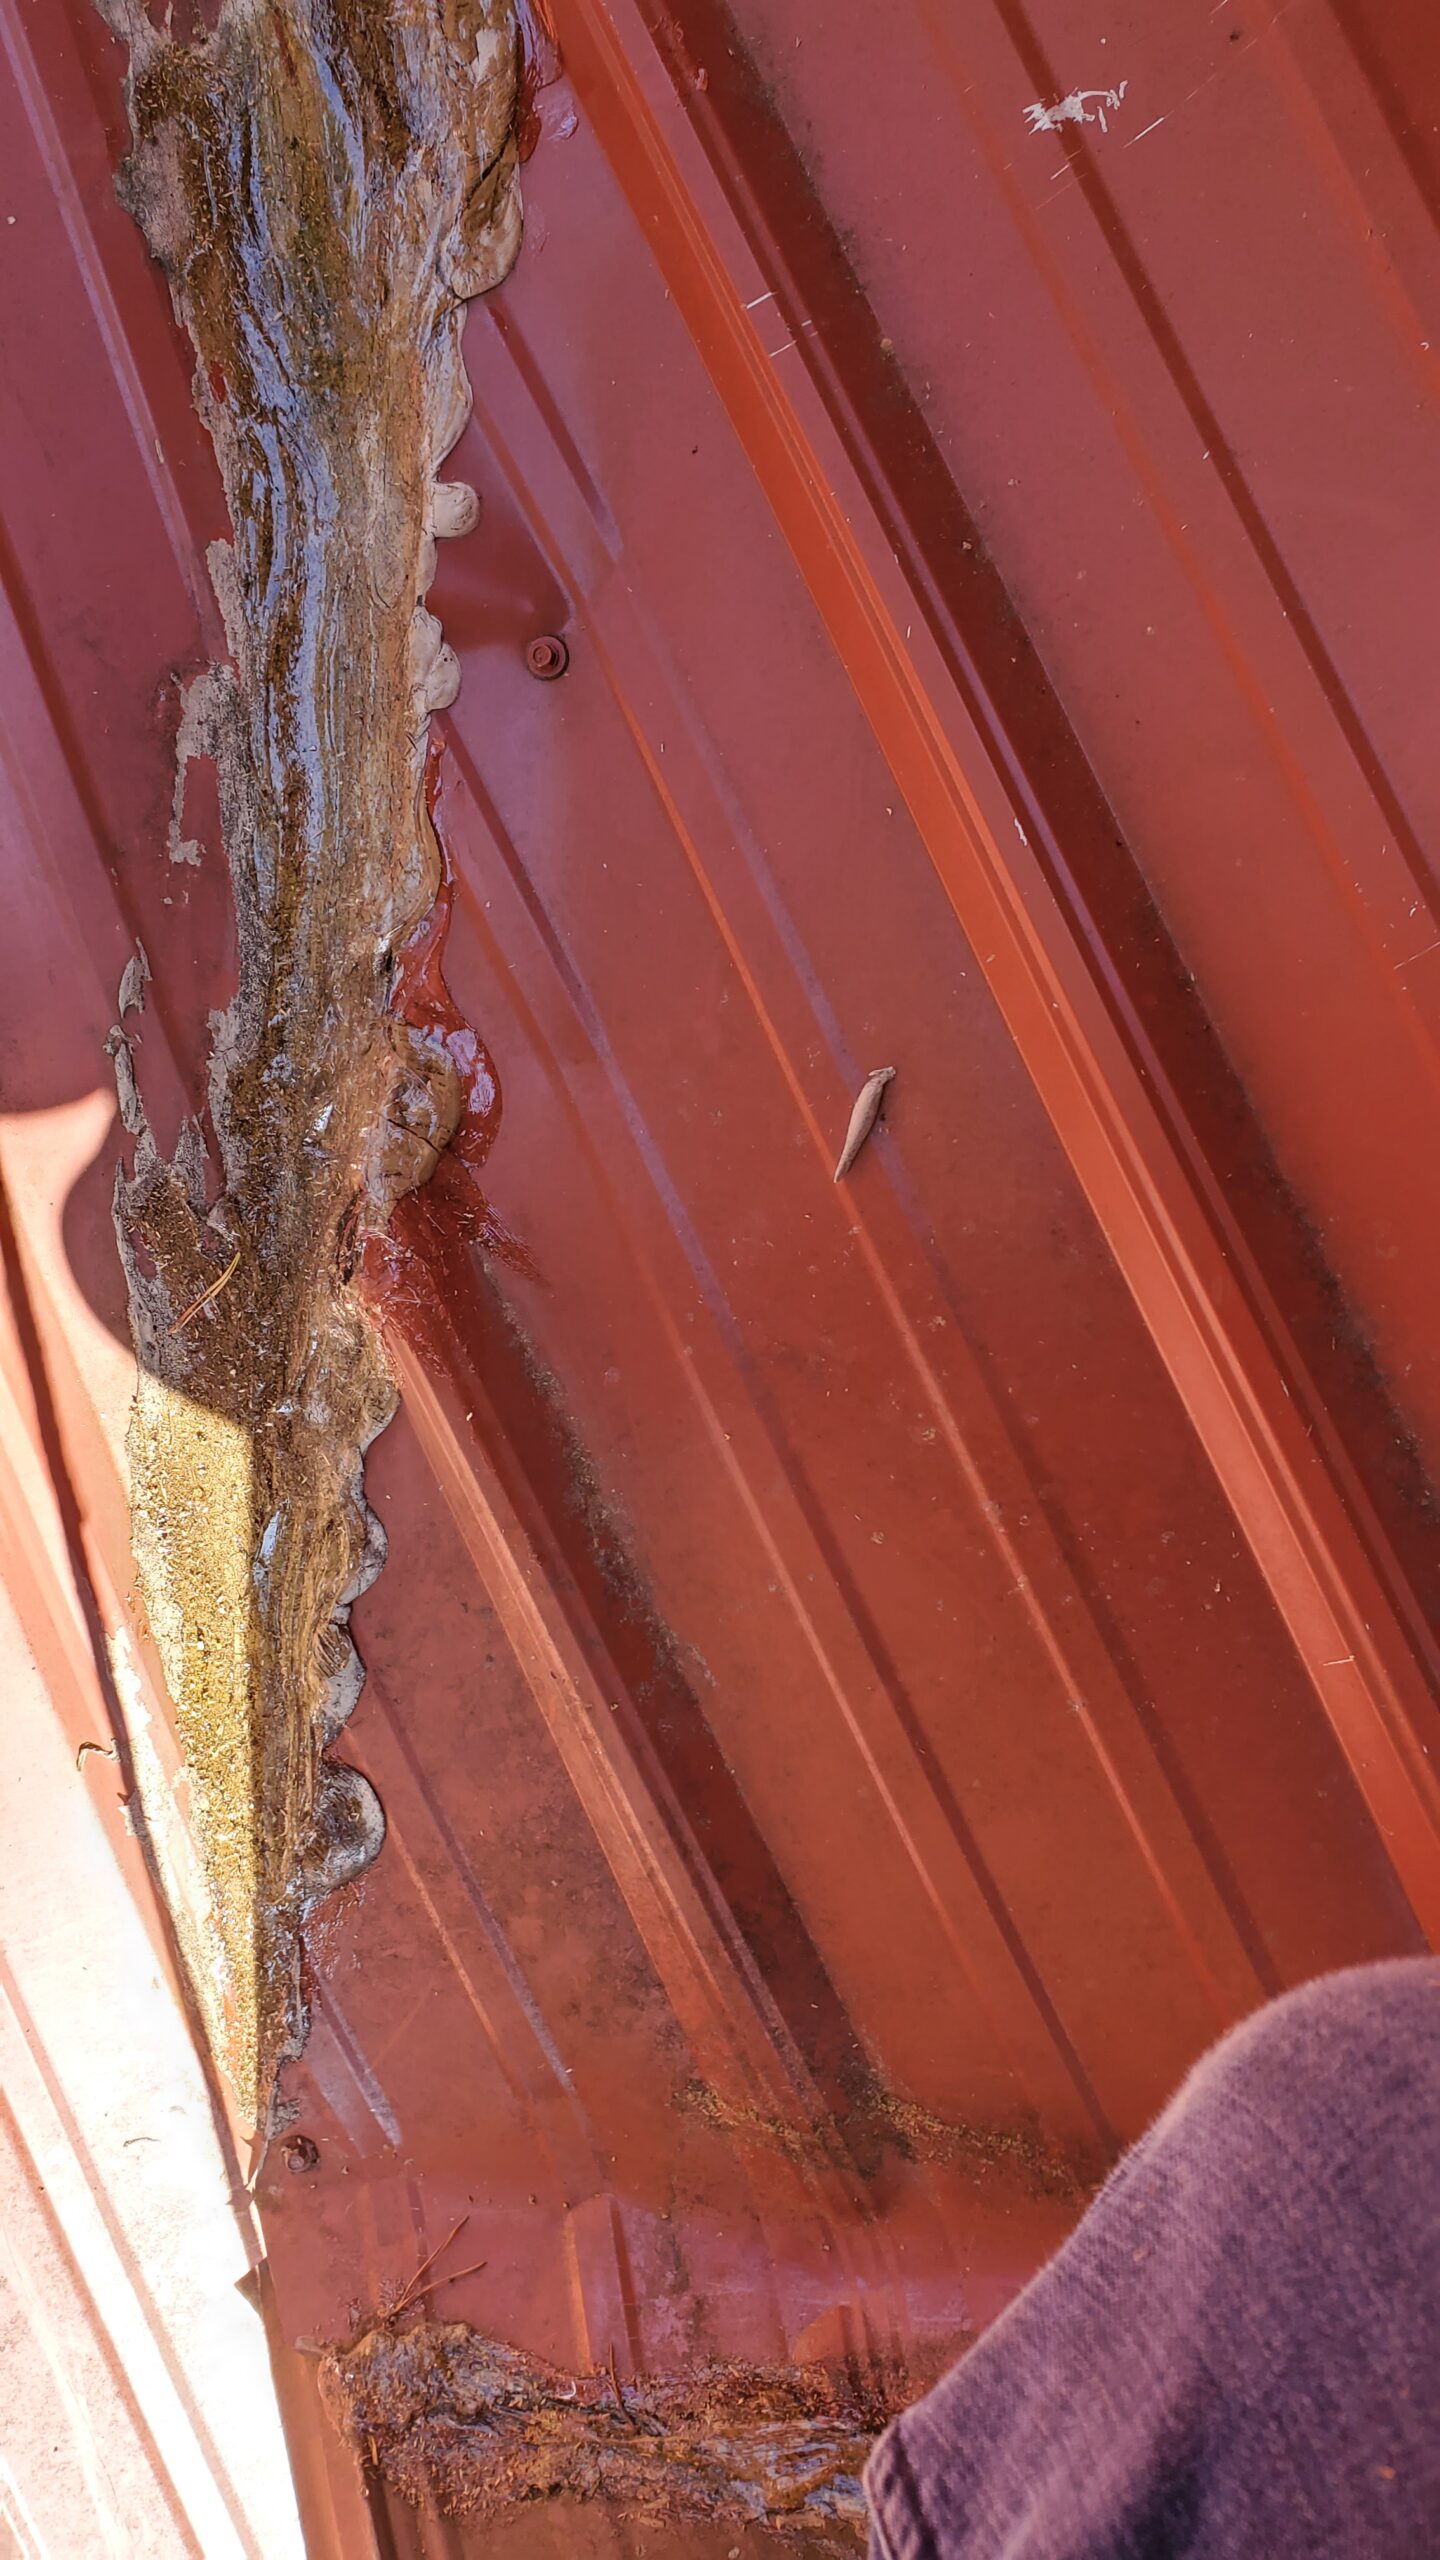
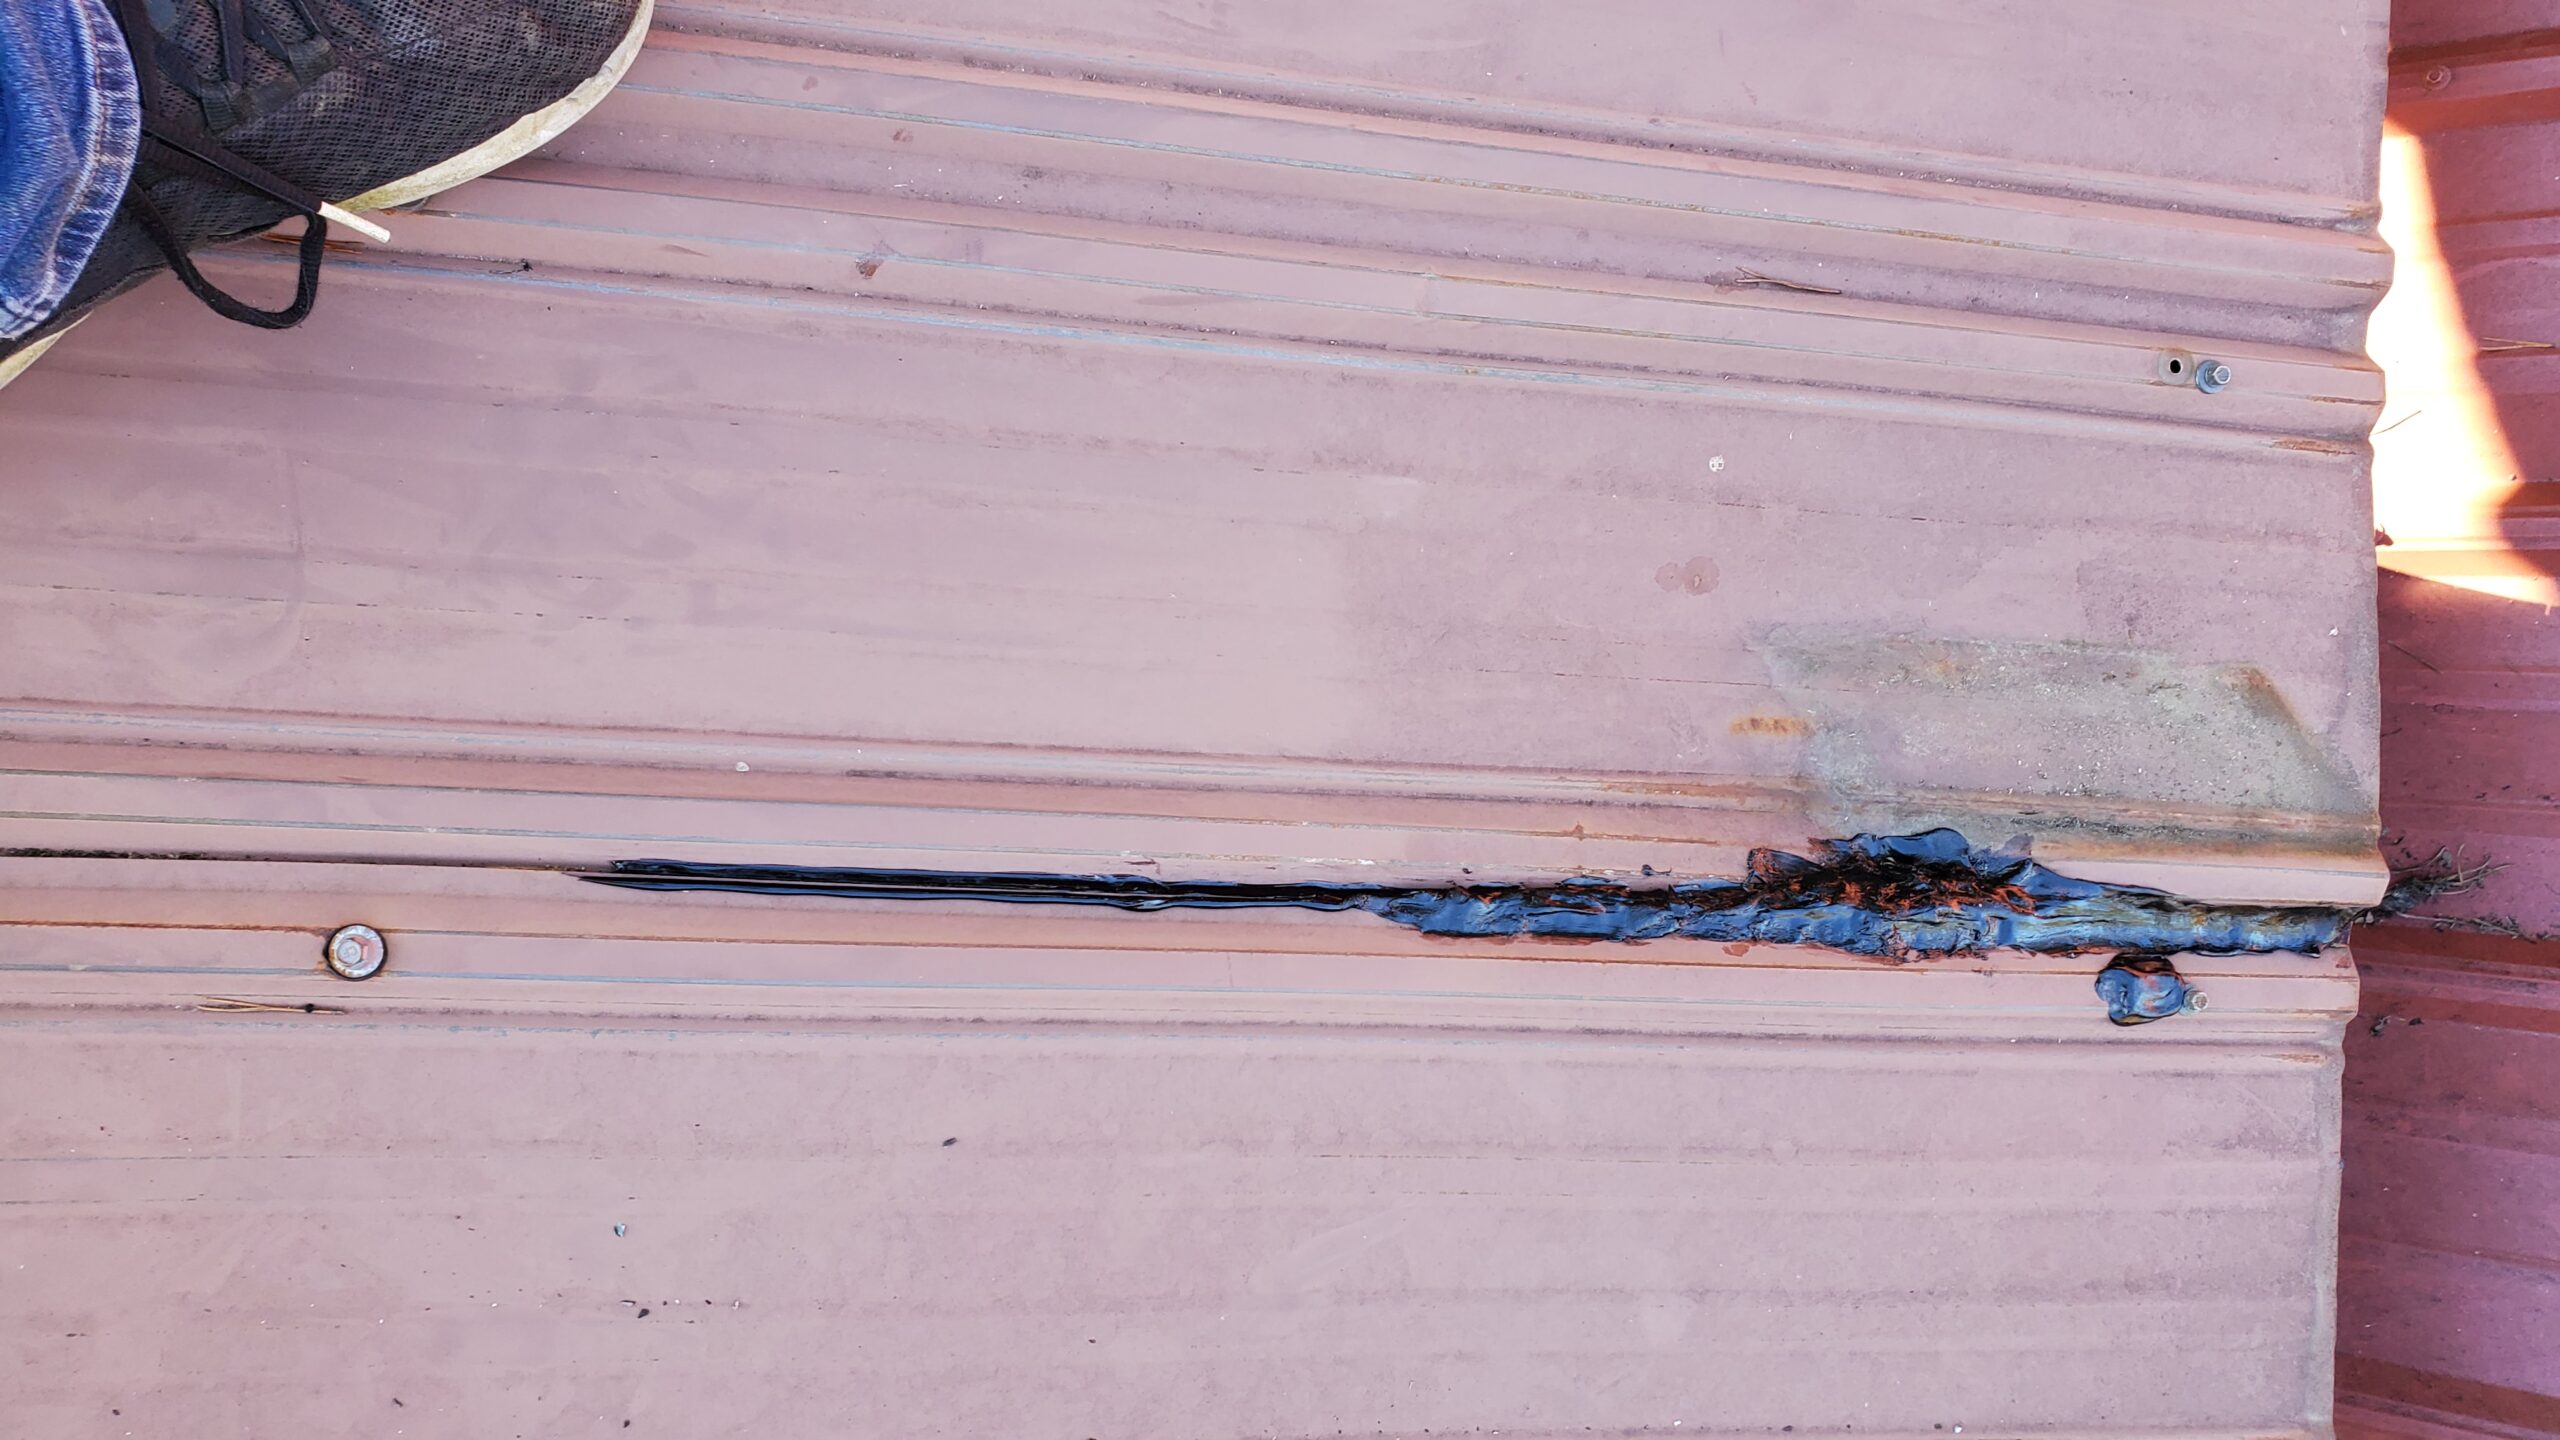
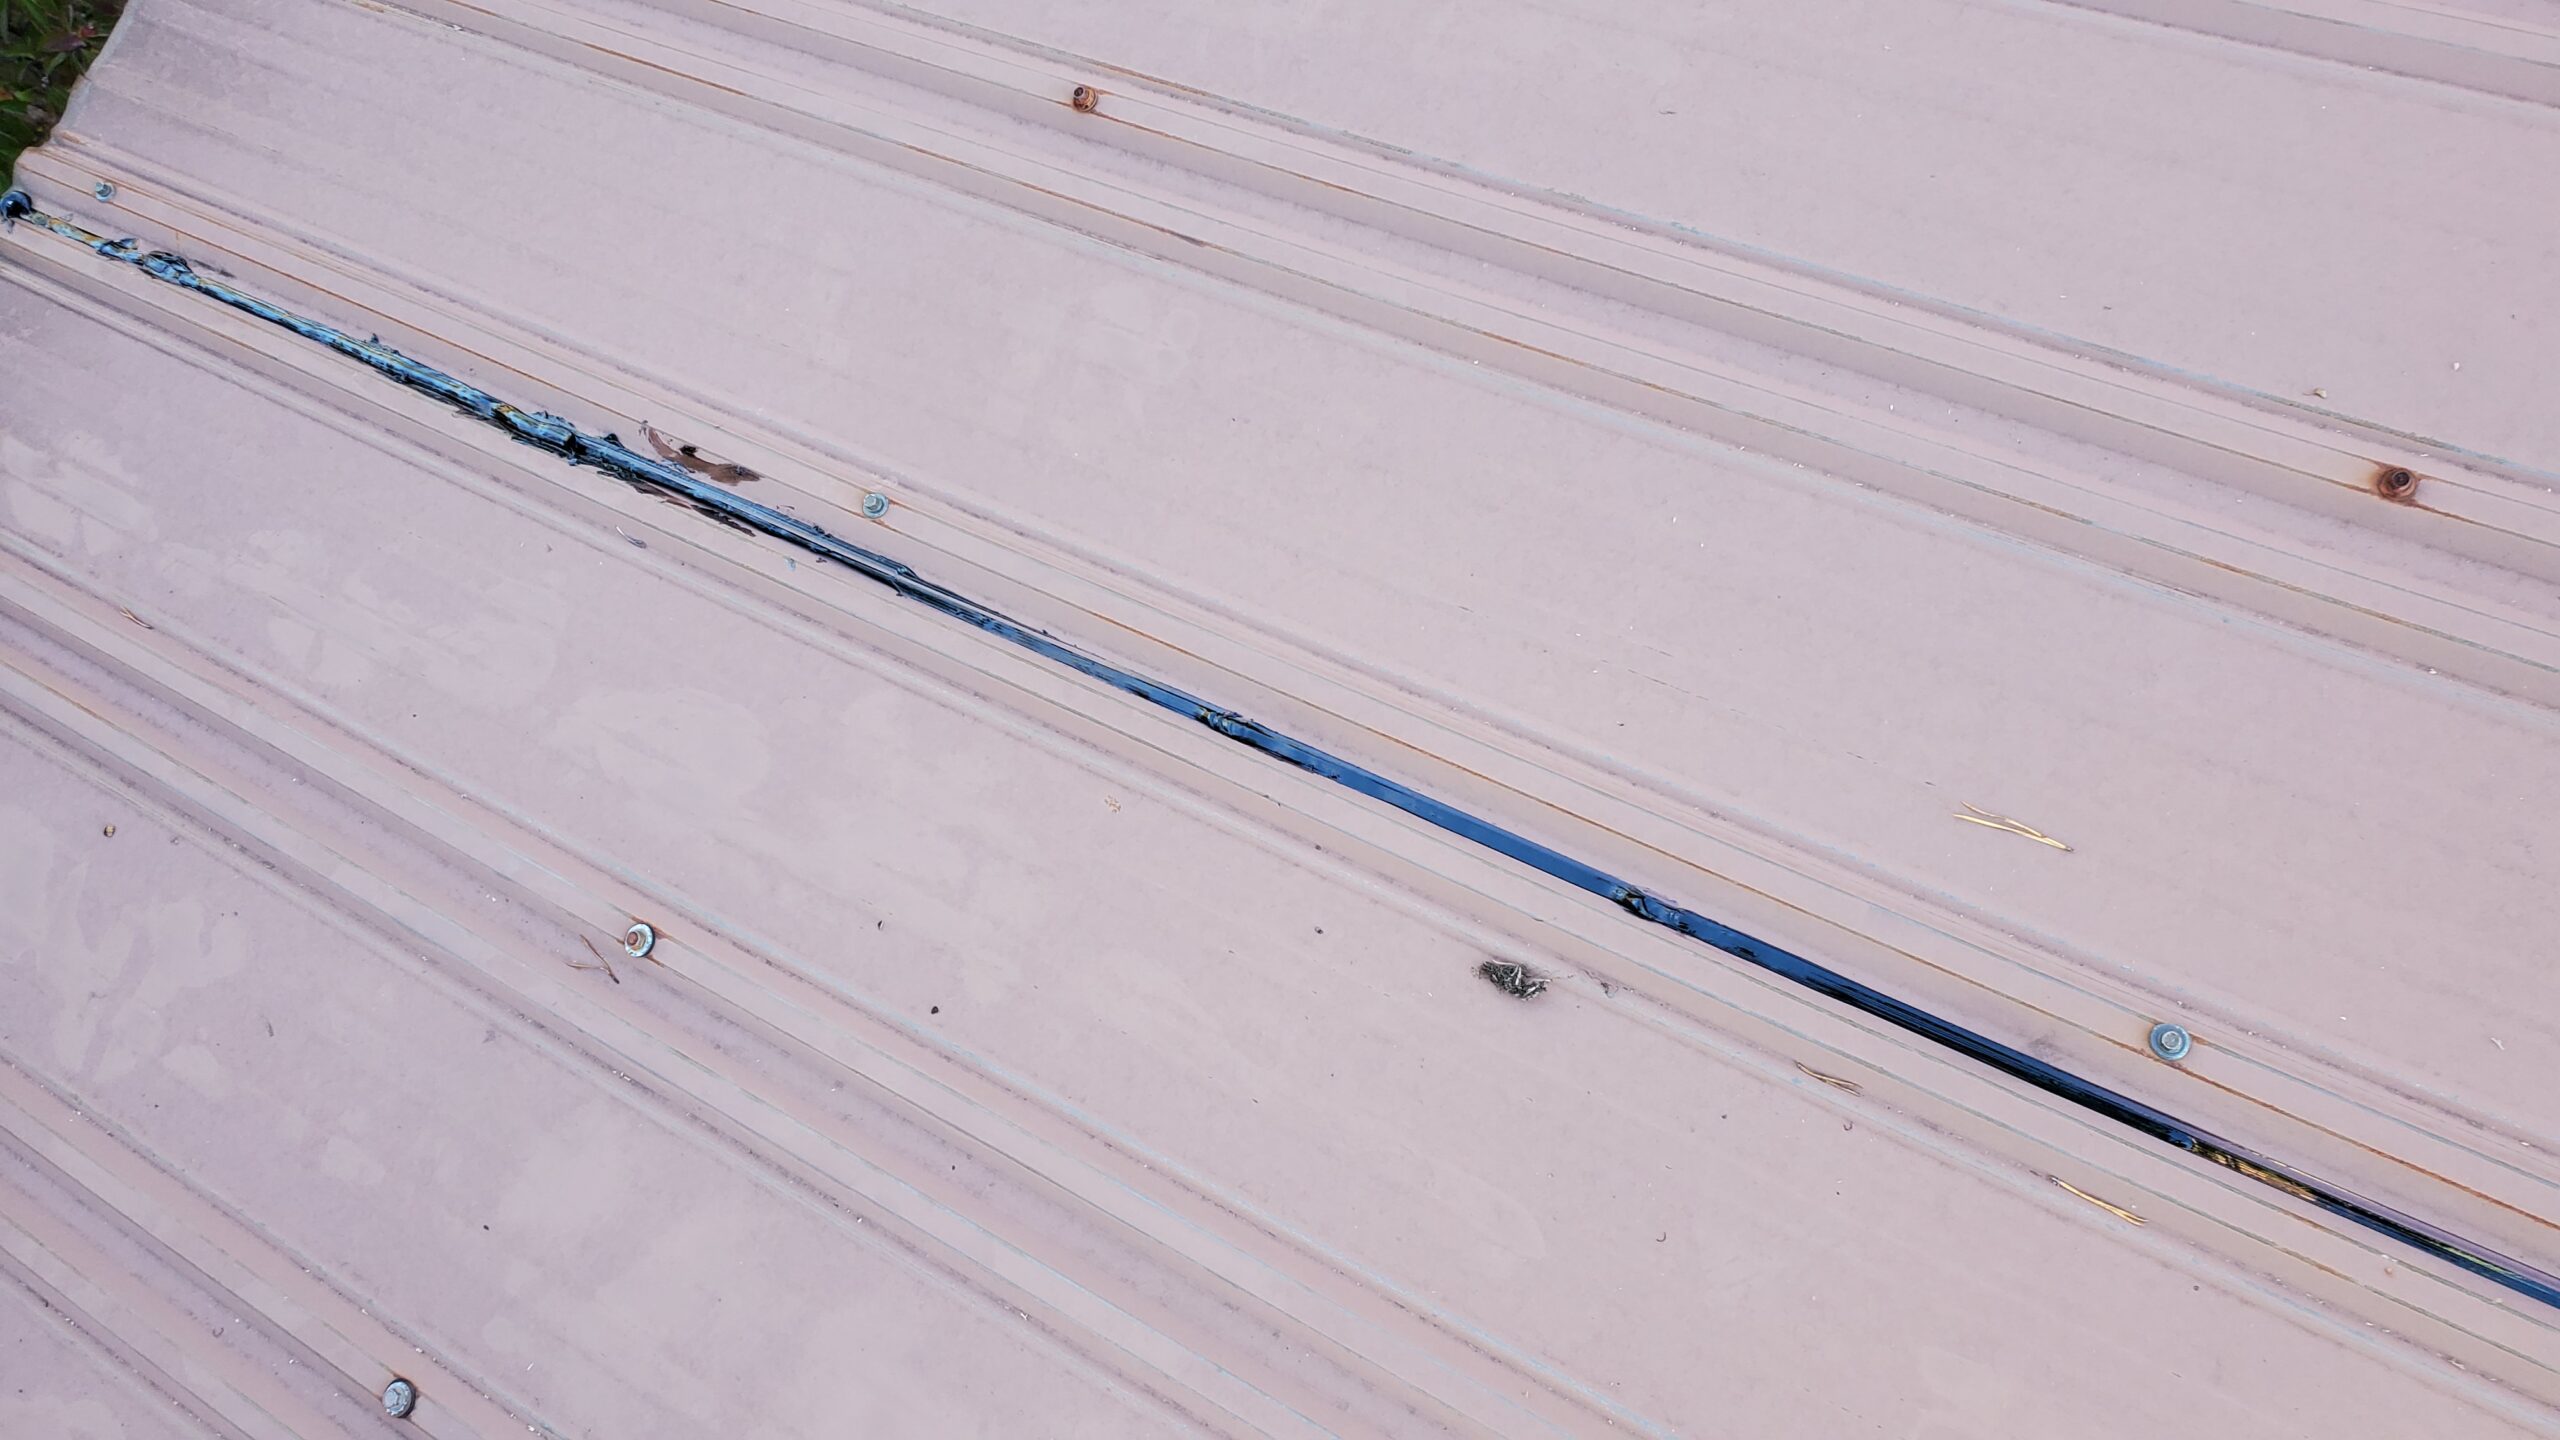
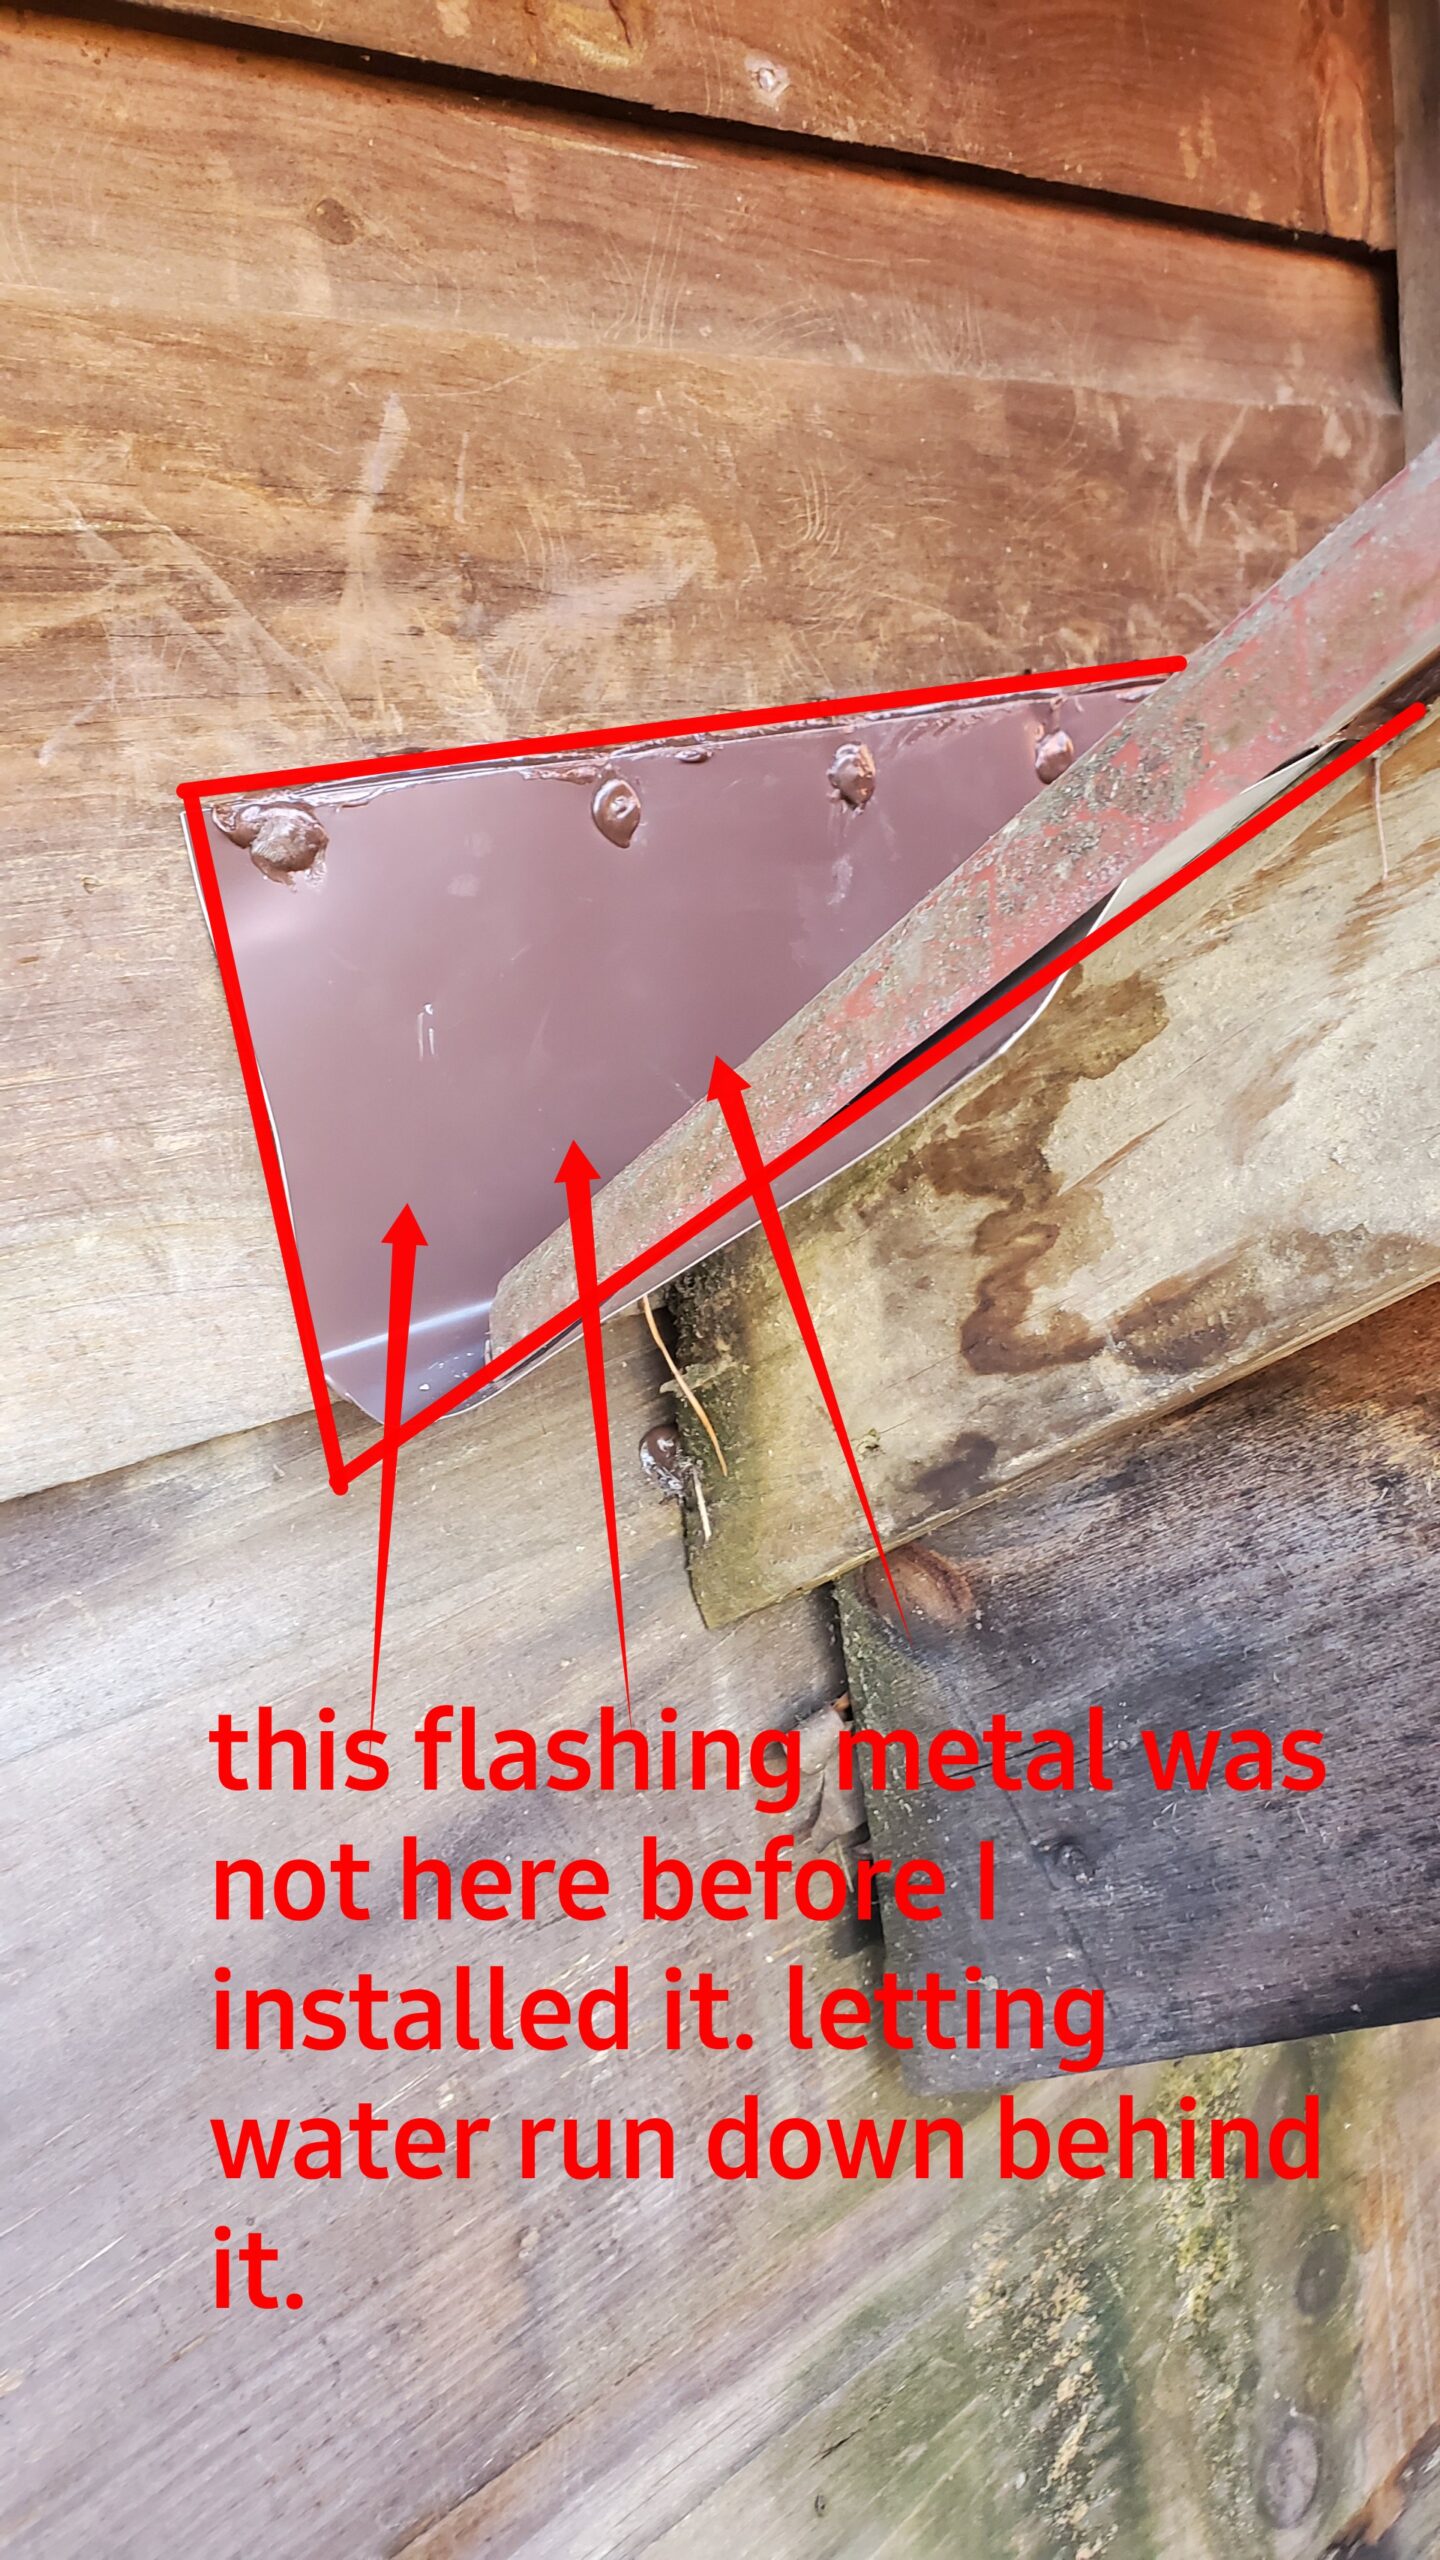
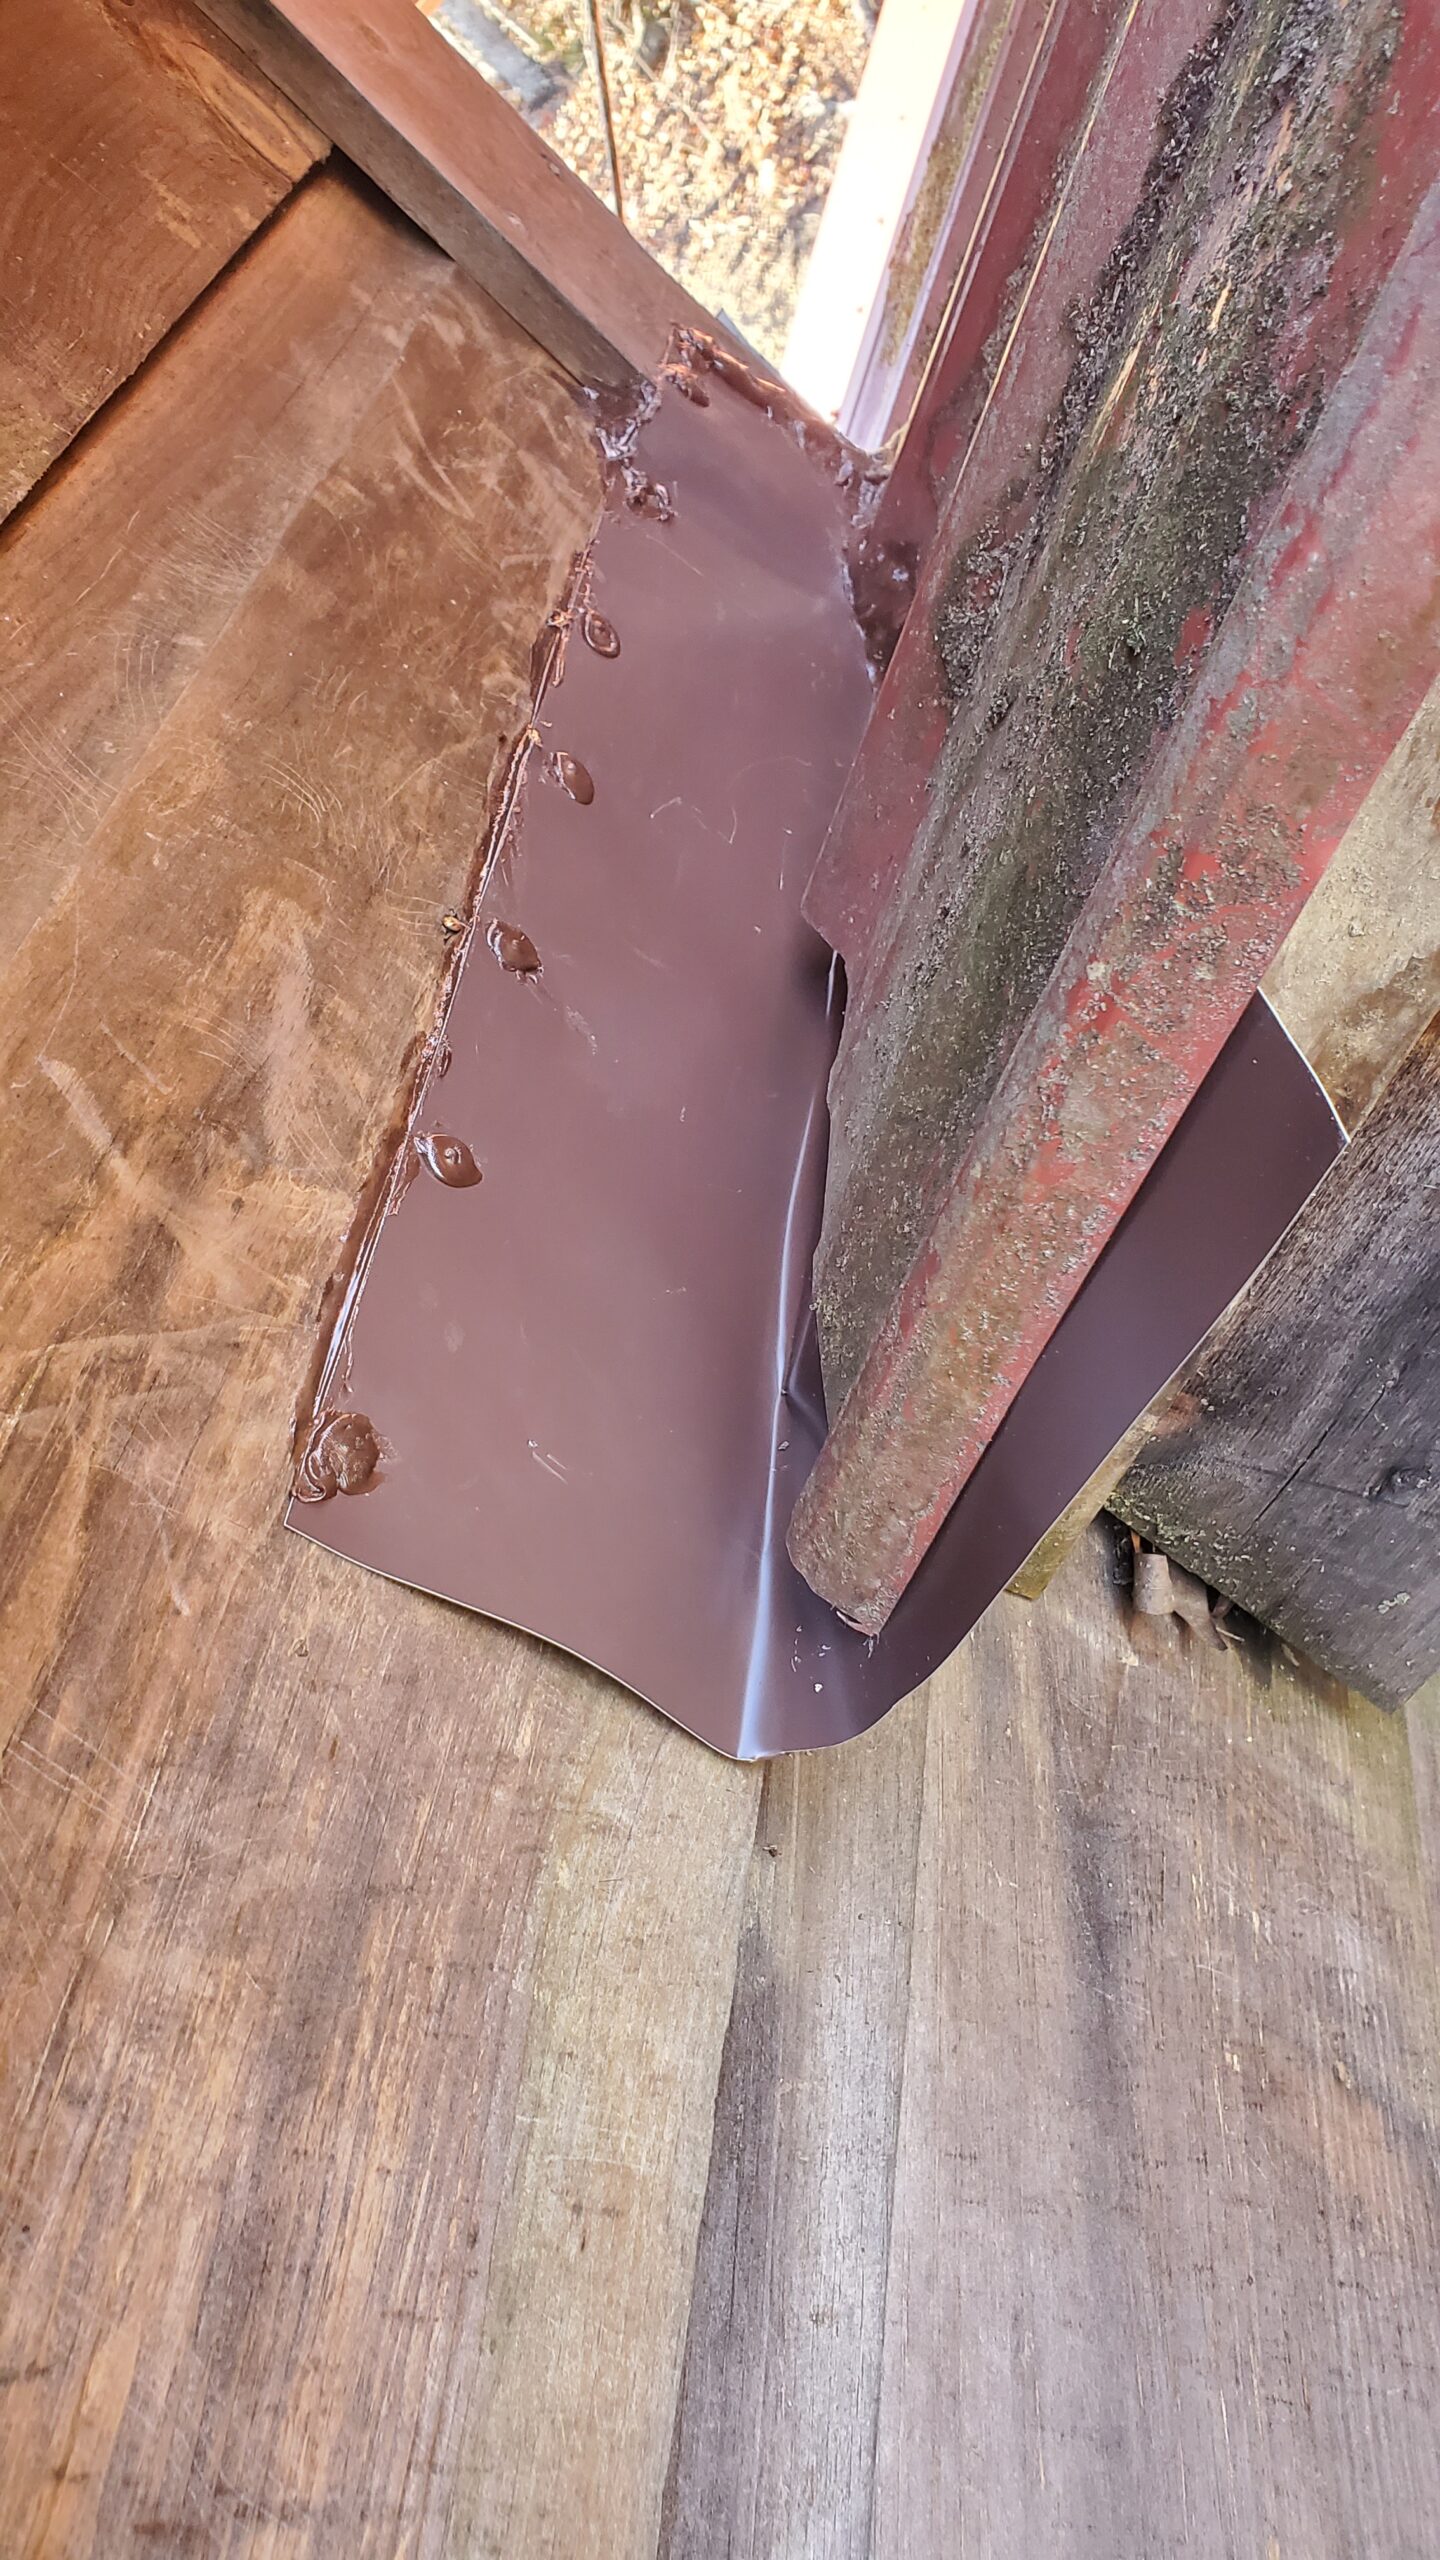
 - 2Improperly flashed roof transition
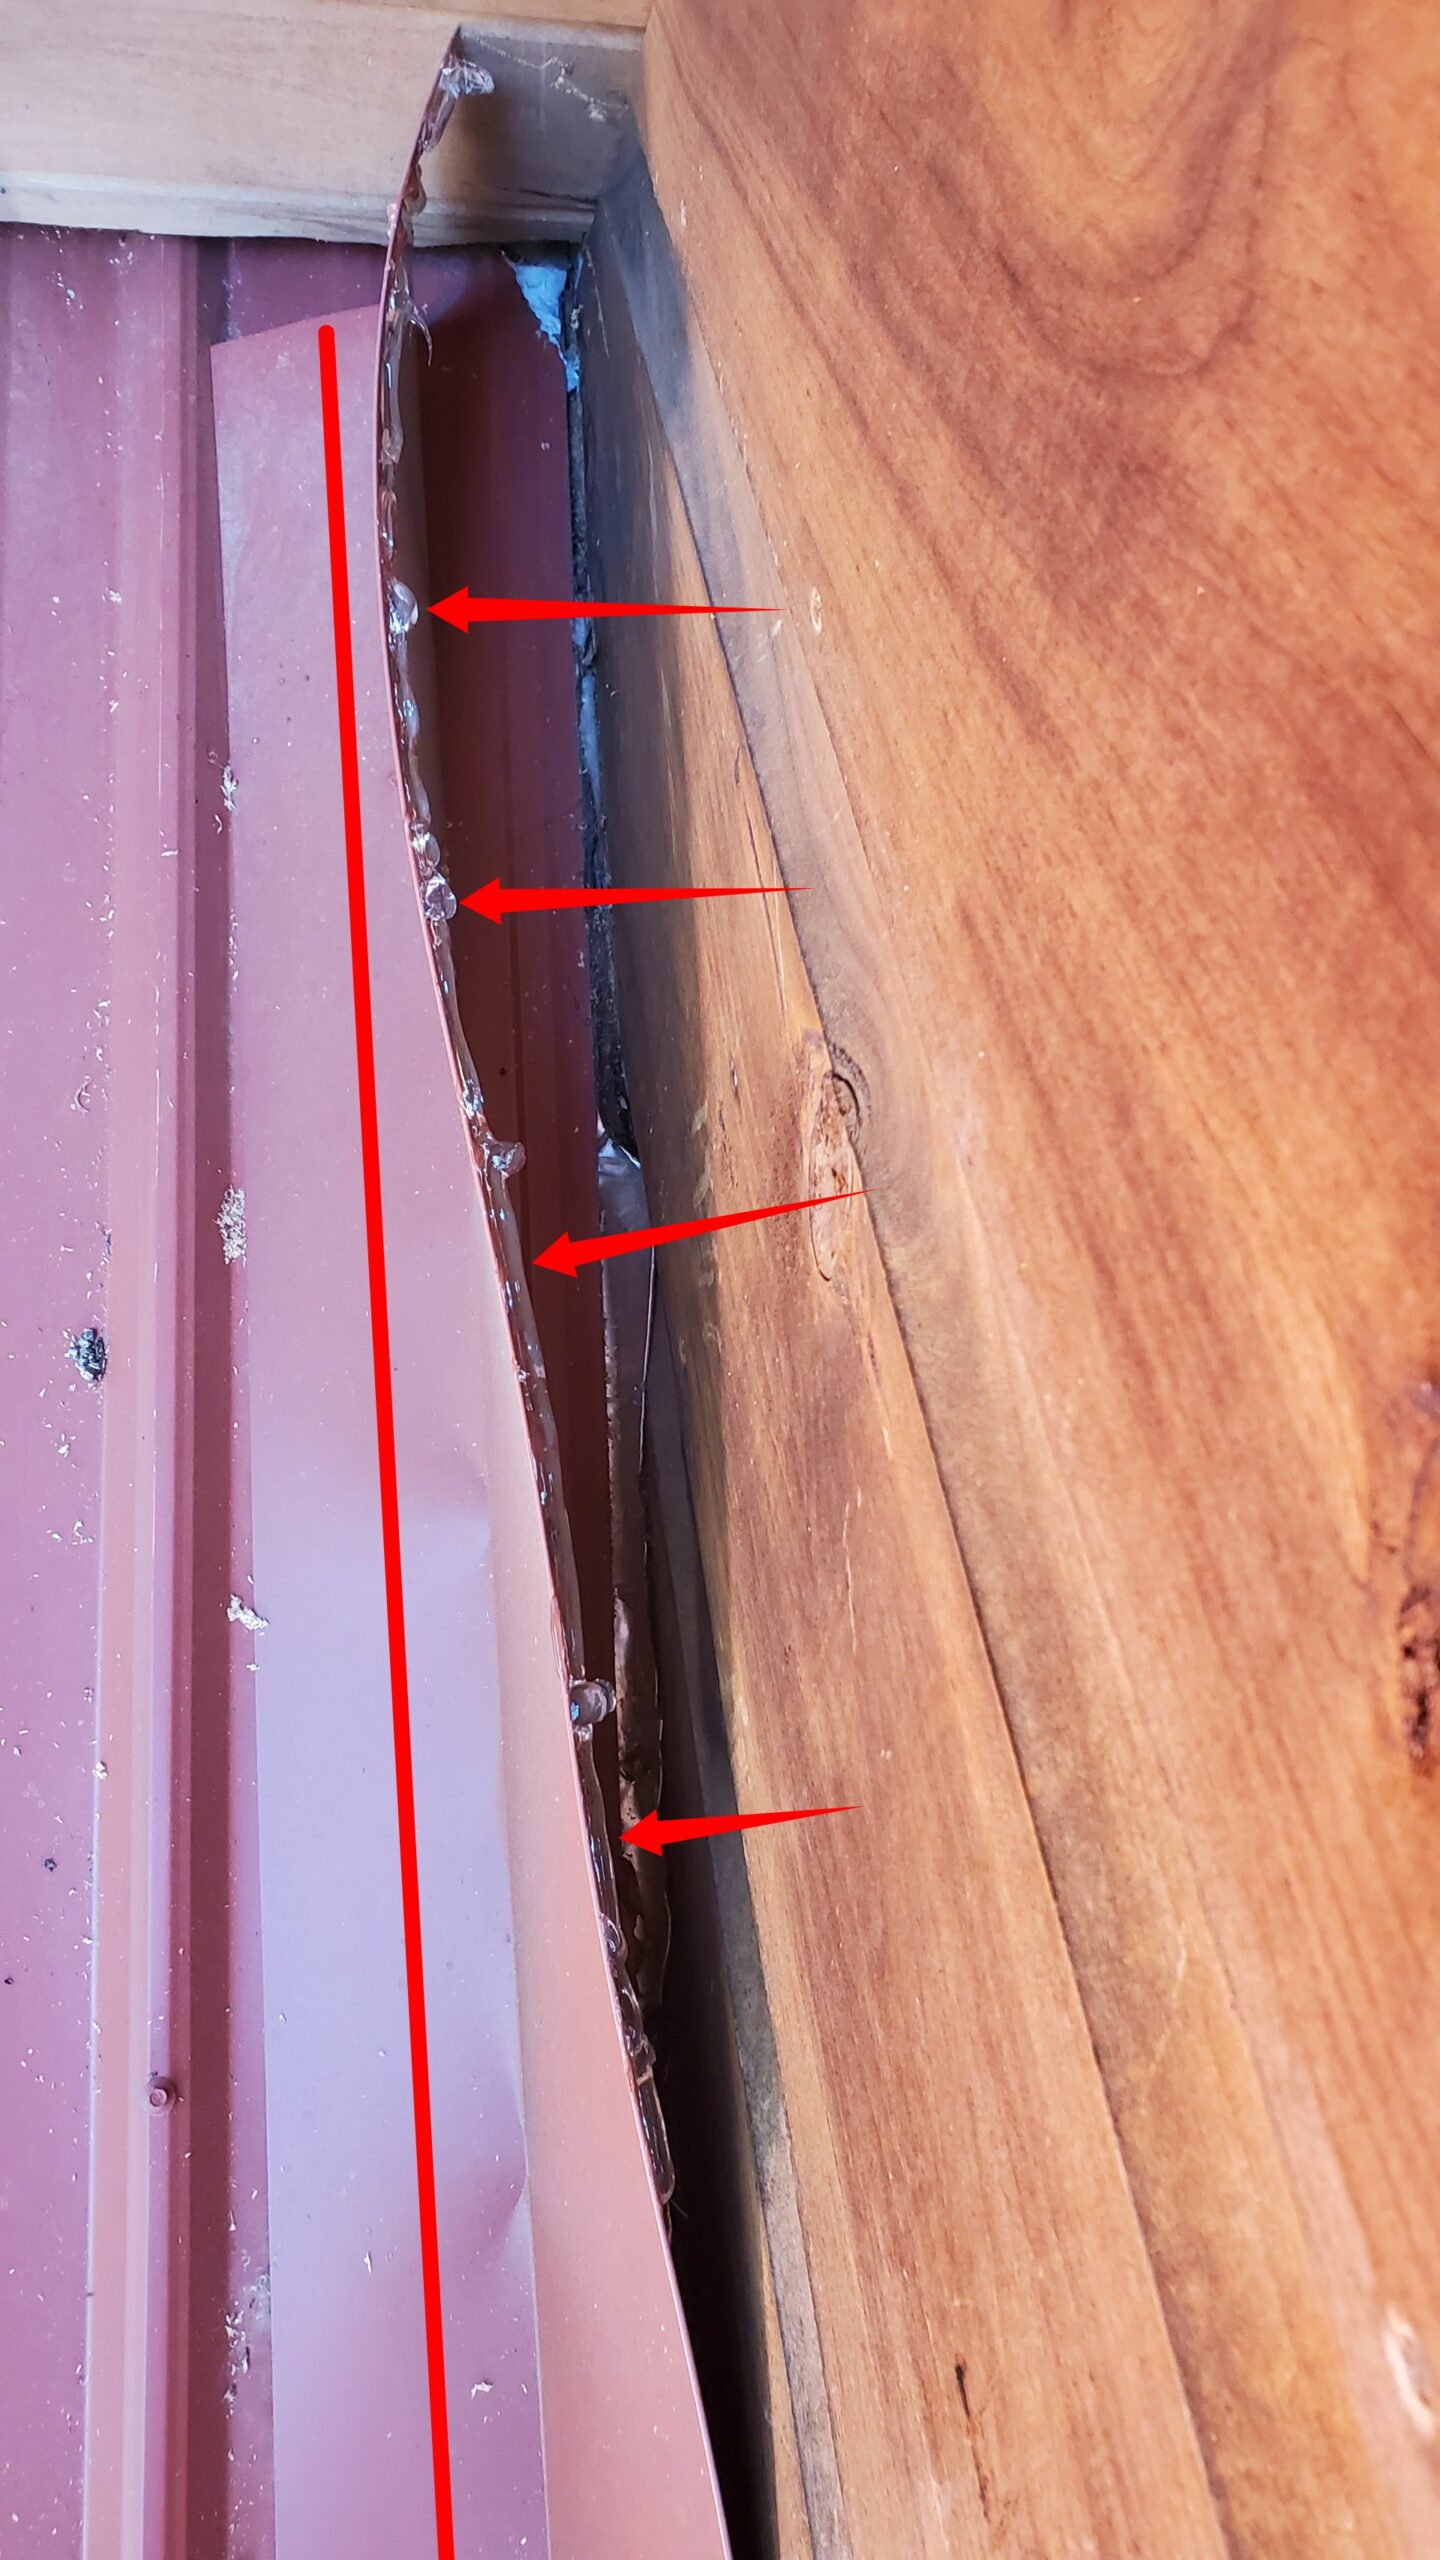
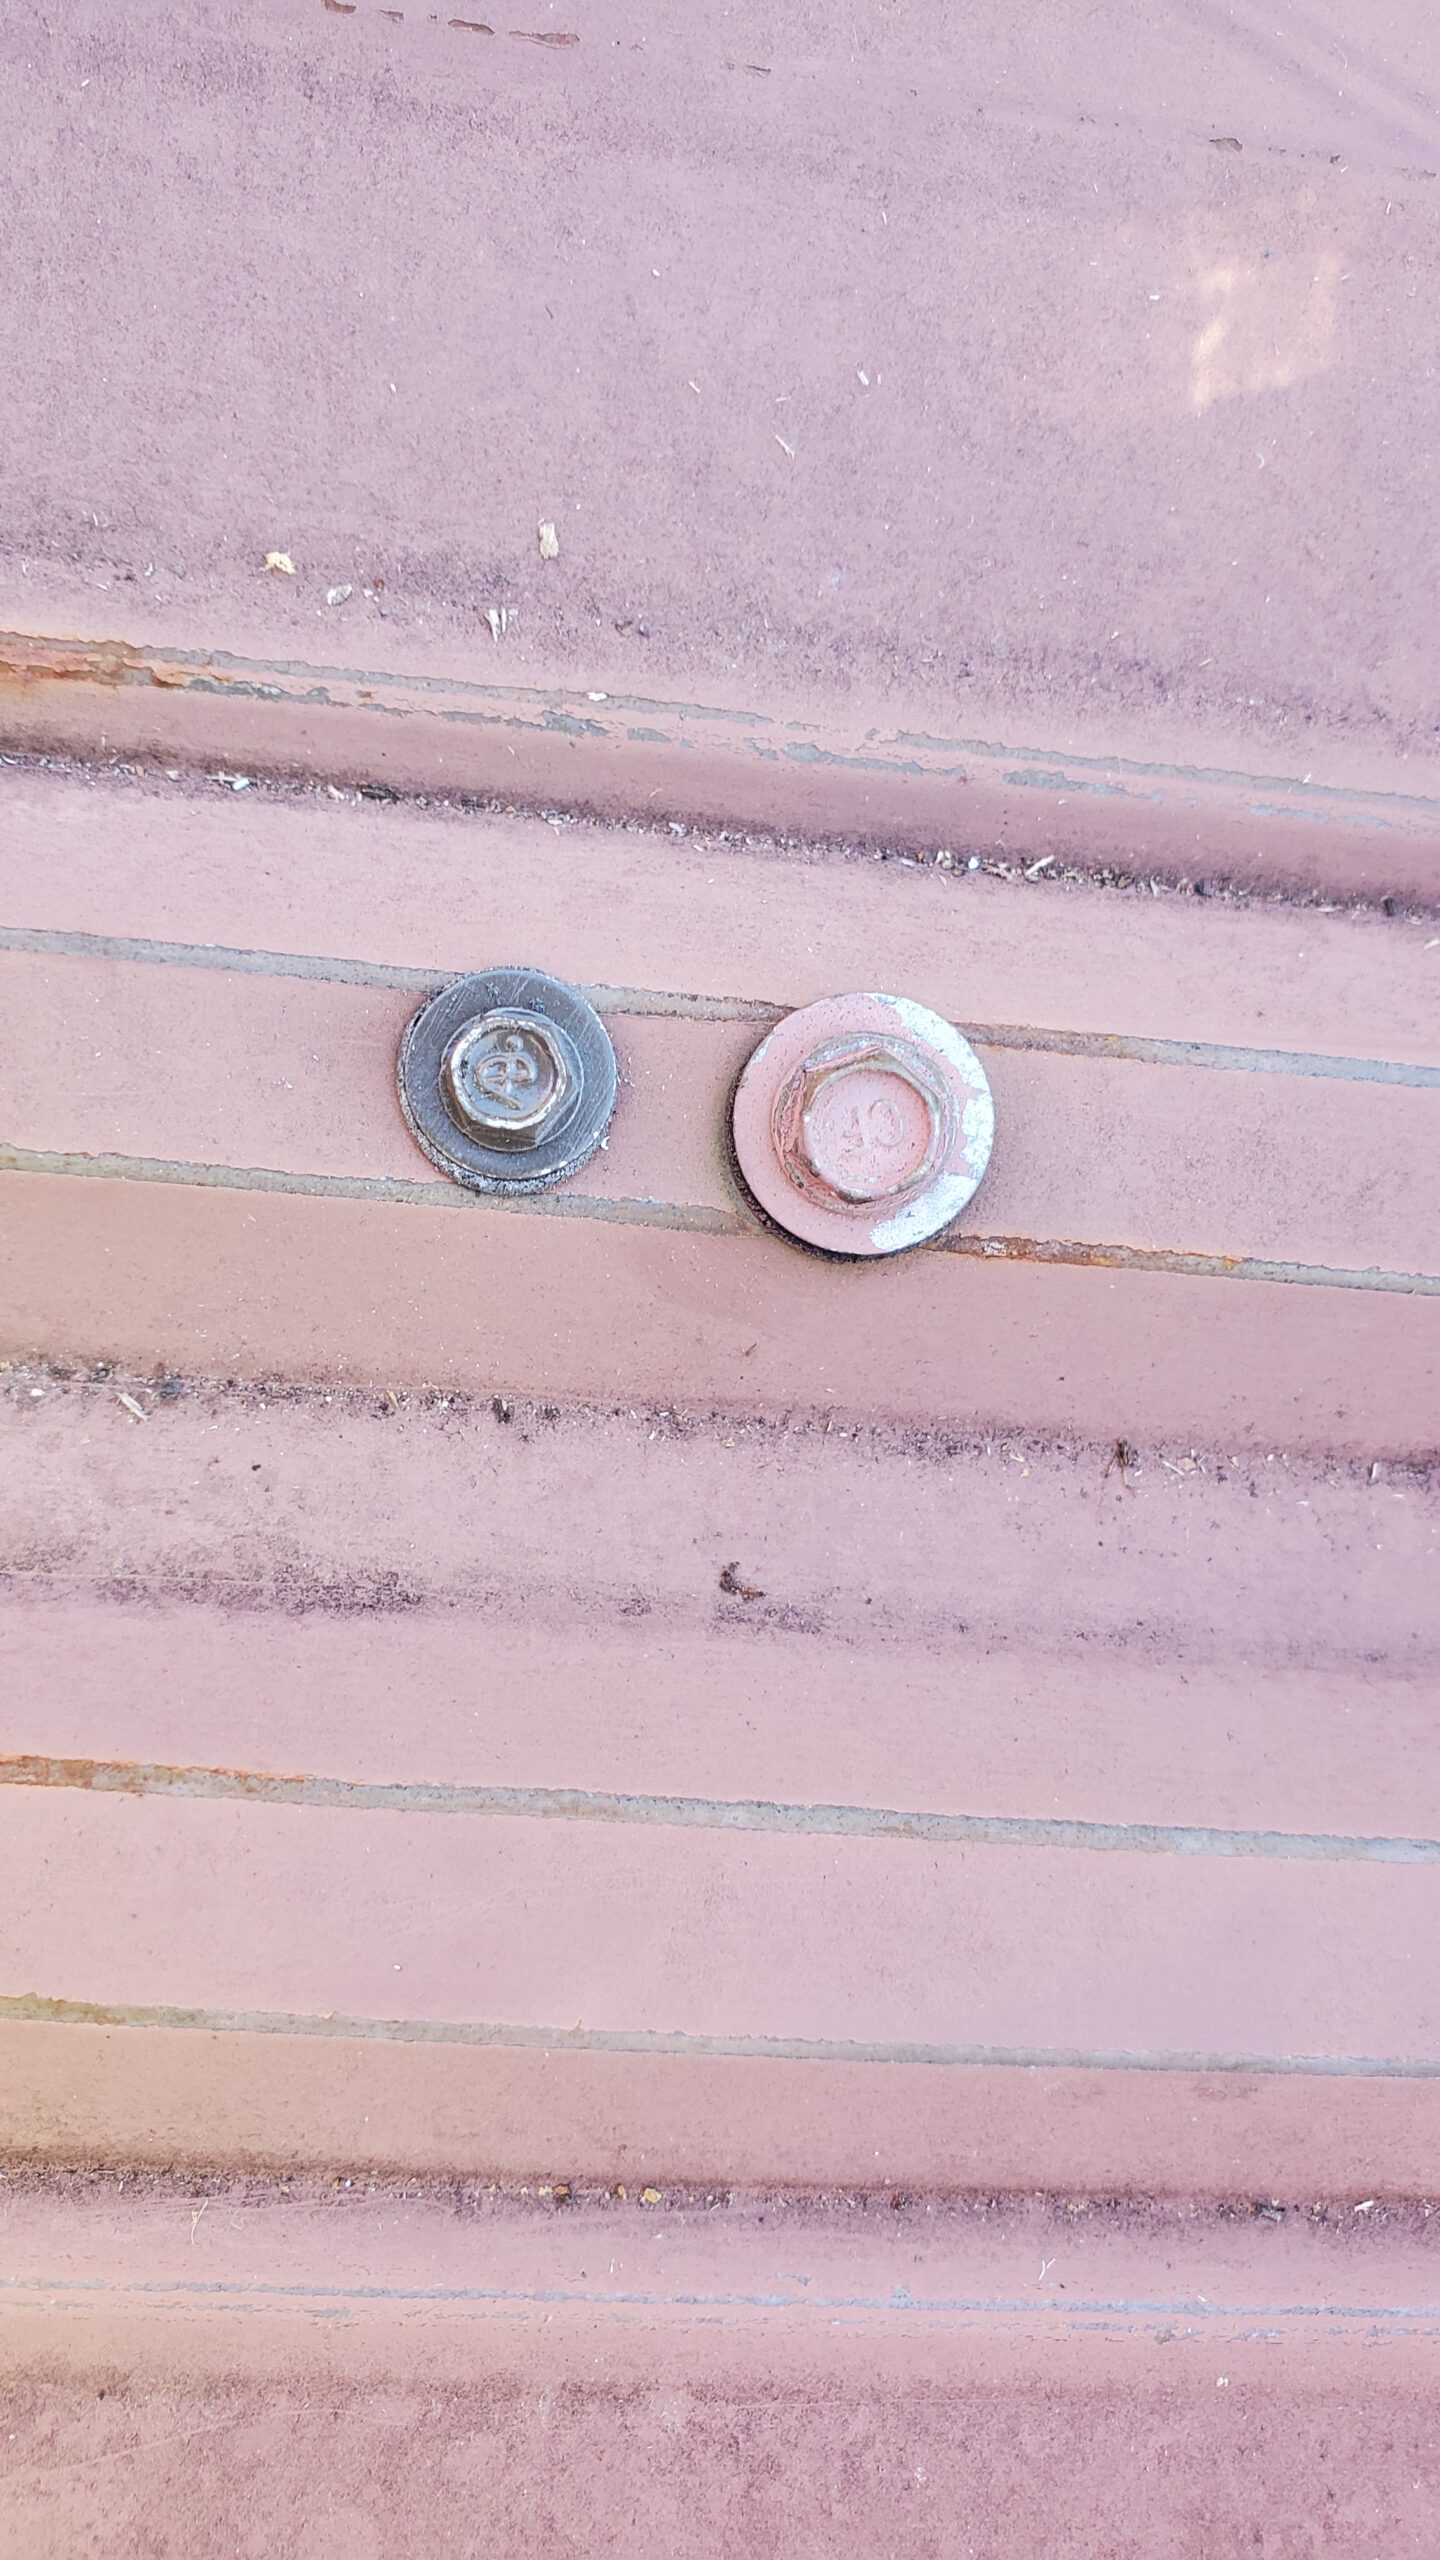
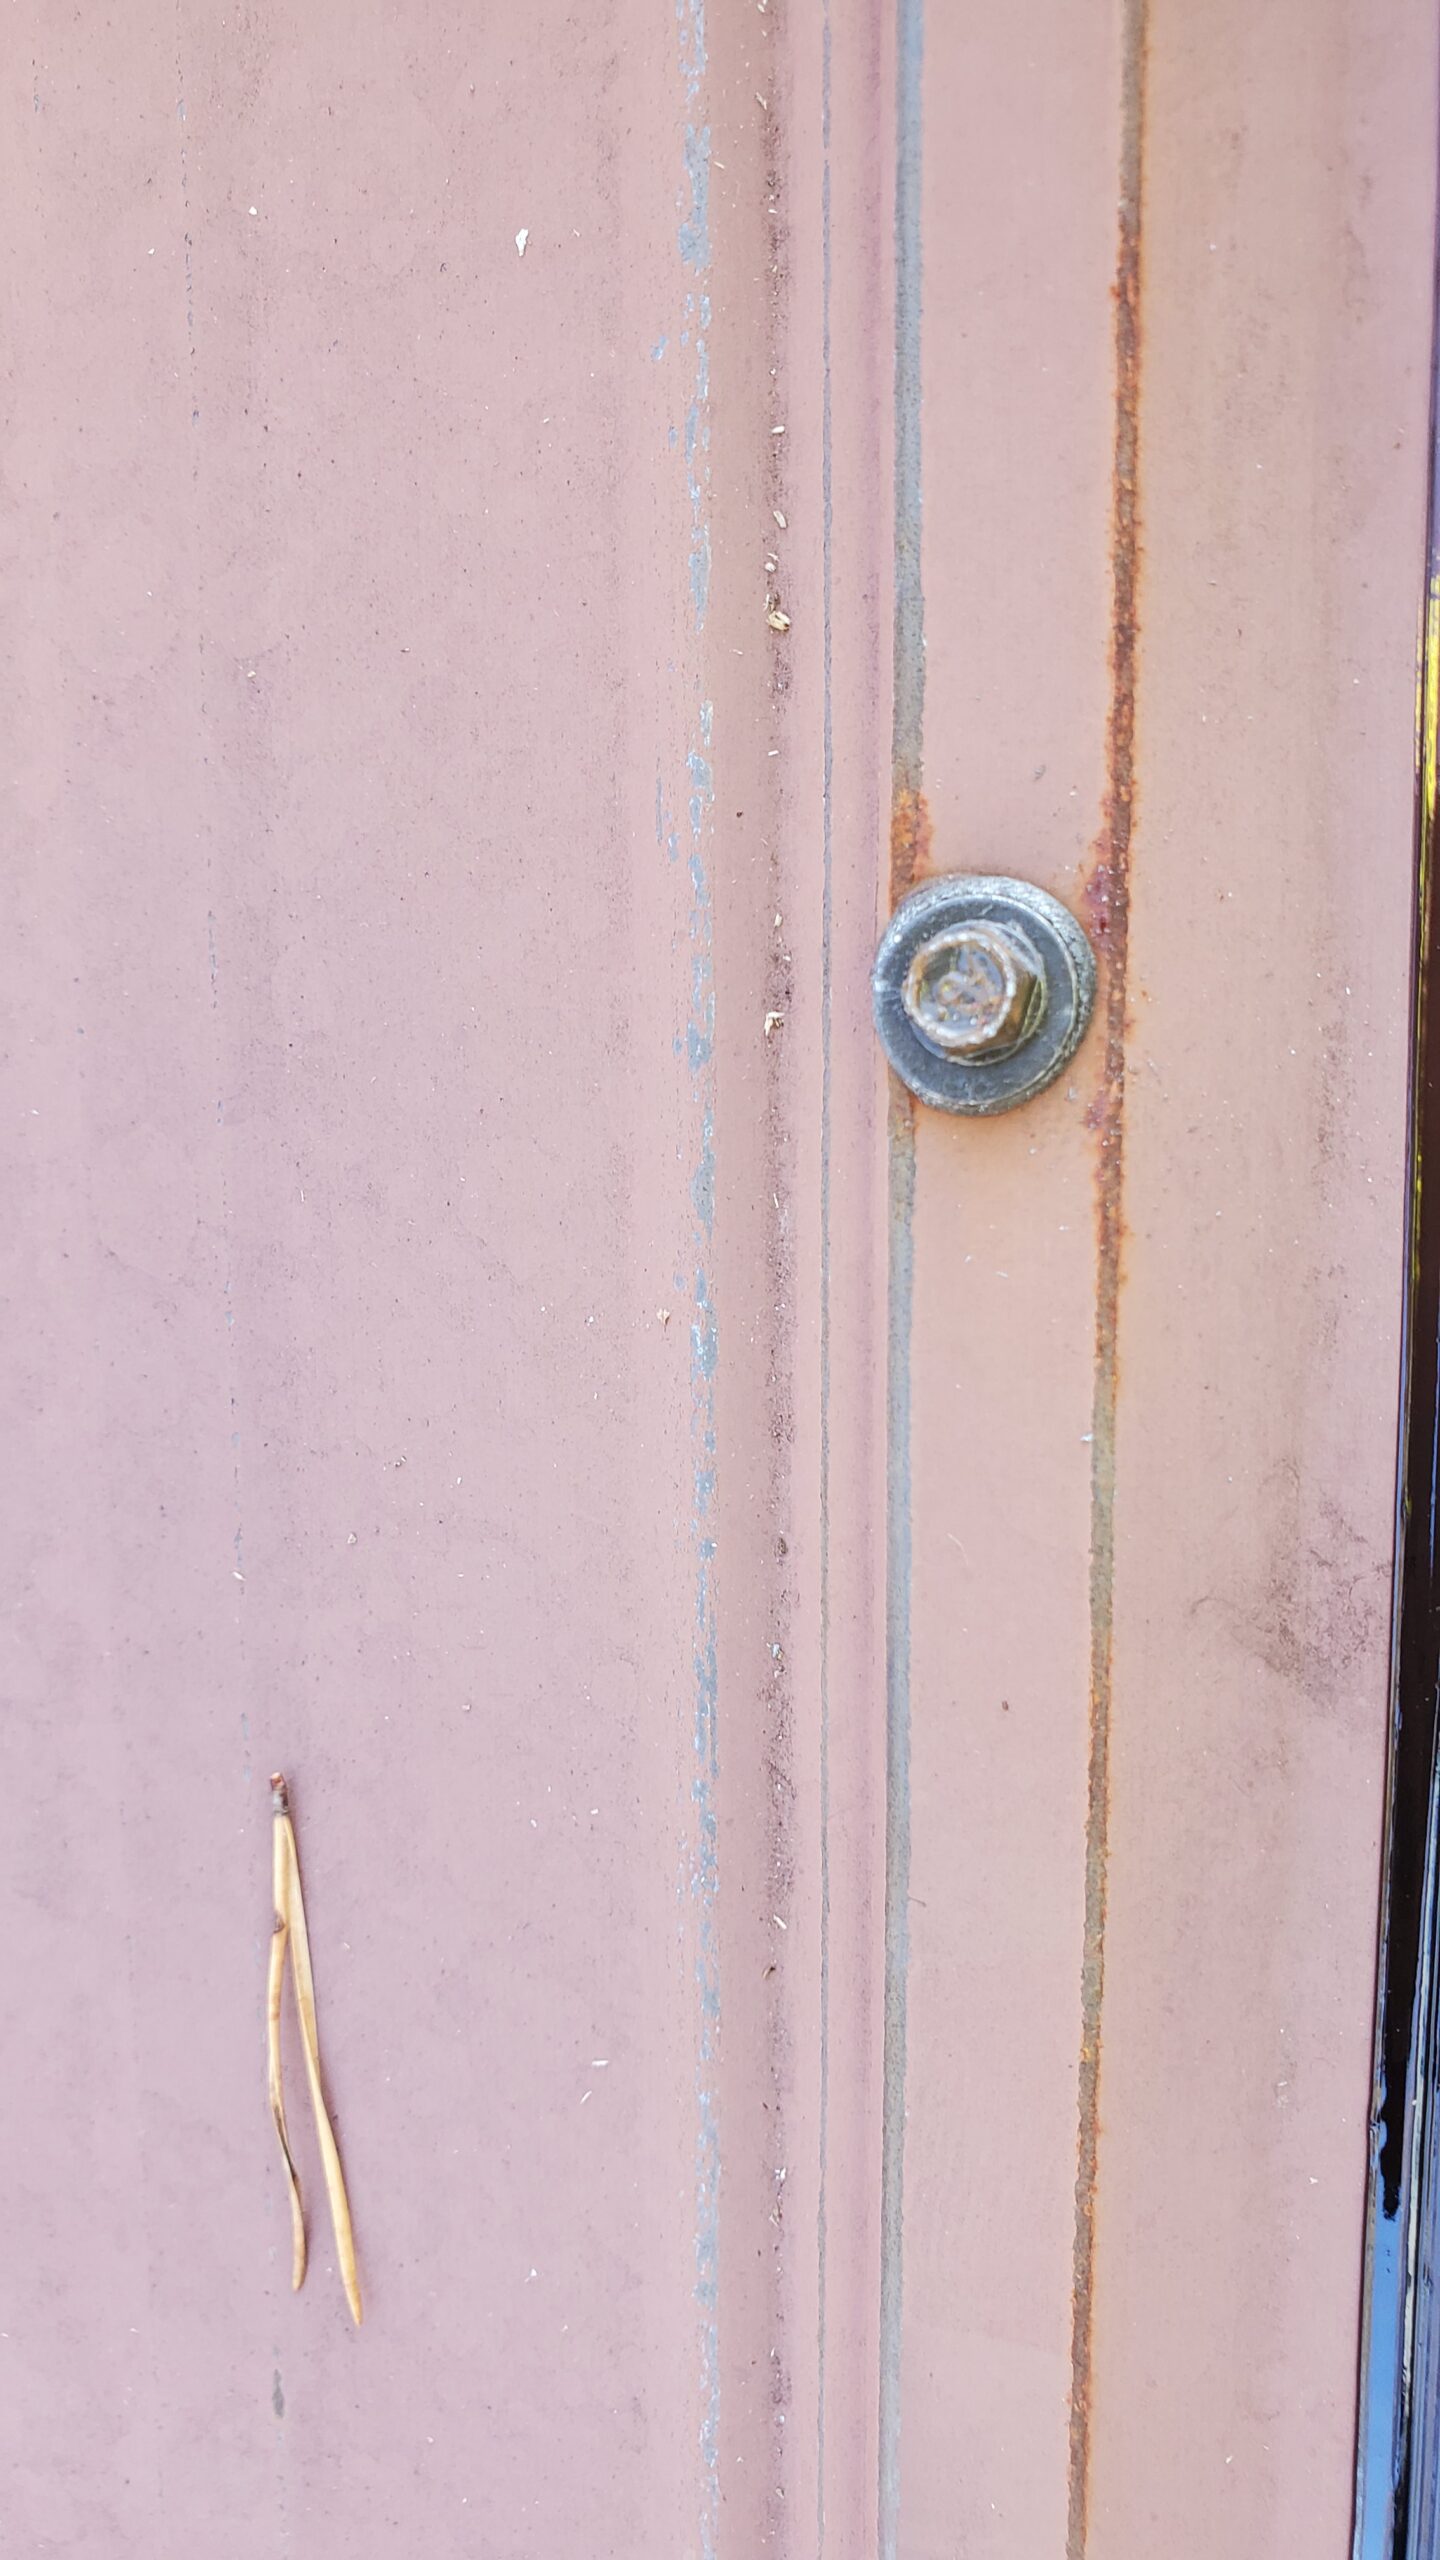
In this picture you can see outlined in red is the flashing I added. I forgot to get a before picture but I added this piece. It went 16 inches up under the metal roofing and 6 inches up the siding. I sealed the metal to the wall and screwed it off. I then caulked all the screw heads. This is definitely waterproof and is more than likely the main reason it was leaking still.
 Go To Pin