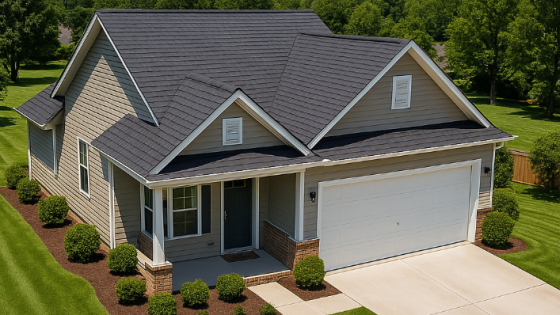
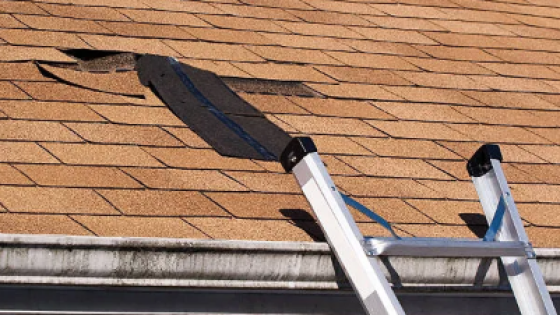
In recent years, drones have revolutionized how homeowners and roofing professionals assess roof damage, especially following severe weather events like storms, hail, or hurricanes.
As a Knoxville, TN-based roofing company, leveraging drone technology not only enhances the accuracy of roof inspections but also ensures safety and efficiency.
This detailed guide explores how to use drones to detect storm damage on roofs, backed by statistics, best practices, and real-world examples.
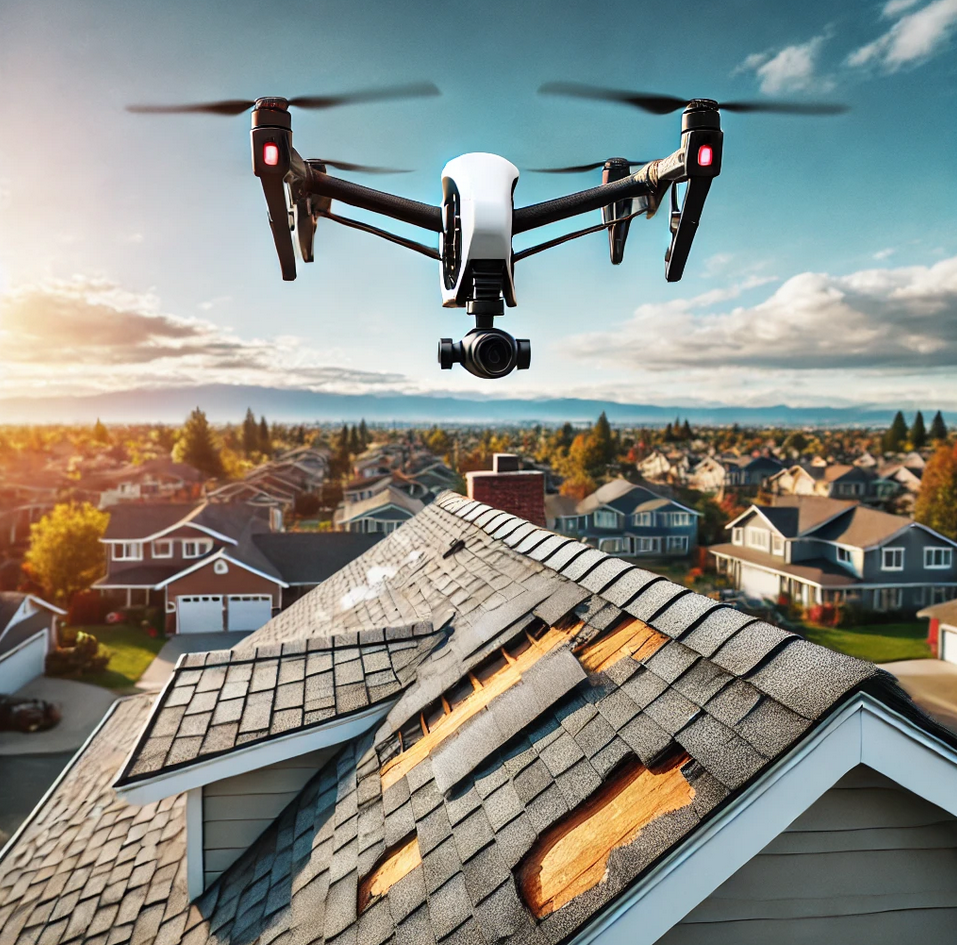
Why Use a Drone for Roof Inspections?
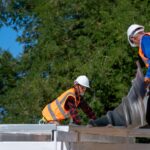
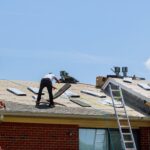
Roof inspections have traditionally required roofing contractors to climb ladders and physically inspect the roof for damage, a process that can be dangerous and time-consuming. Here’s where drones shine: they allow homeowners and professionals to assess roof conditions remotely, using high-resolution cameras that capture every detail without the risk of injury.
Advantages of Using Drones for Roof Inspections
- Safety: Climbing onto roofs post-storm can be hazardous due to wet, damaged, or unstable surfaces. Drones eliminate this risk by allowing inspectors to examine every inch of the roof from a safe distance.
- Efficiency: A drone can inspect an average-sized roof in 10-15 minutes, far quicker than manual inspections. This means roofing companies can service more clients in a shorter time.
- Detailed Imaging: Modern drones come equipped with high-definition cameras, some capable of capturing 4K images and video. These cameras can detect even small, hard-to-see damages like cracked shingles or missing granules.
- Accessibility: Drones can easily access hard-to-reach areas such as steep angles, valleys, or roof ridges, which might be difficult or unsafe to examine manually.
Statistics Supporting Drone Usage in Roofing
– Drone Adoption in Construction: A 2022 survey by Drone Industry Insights reports that 74% of roofing contractors in the U.S. have adopted drones in their business practices.
– Safety Impact: According to the U.S. Occupational Safety and Health Administration (OSHA), roofing-related accidents account for 34% of all fall-related injuries in the construction industry. Drone inspections significantly reduce this risk.
– Cost Efficiency: A study by Global Market Insights estimates that drone usage in roof inspections reduces inspection costs by up to 30%, thanks to faster turnaround times and reduced labor.
Step-by-Step Guide: How to Use a Drone to Assess Storm Damage
1) Select the Right Drone
Not all drones are created equal. For roof inspections, it’s crucial to choose a drone with a high-quality camera, reliable GPS, and obstacle avoidance sensors. Drones like the DJI Mavic 3, Parrot Anafi, or Autel Evo II are popular choices among roofing professionals due to their advanced imaging capabilities.
2) Inspect the Drone Before Use
Before flying, inspect your drone for any damage or calibration issues. Ensure the camera lens is clean and free of smudges. Battery life is crucial, as roof inspections can take several minutes depending on the roof’s size.
3) Flight Plan and Safety
Develop a detailed flight plan, especially if you’re inspecting a large roof. Set the drone to hover at a safe altitude (between 30-50 feet) to capture a full overview of the roof, then slowly move closer for detailed shots. Ensure you comply with FAA regulations, especially if you’re flying in residential or commercial areas.
4) Photograph Key Areas
When inspecting for storm damage, focus on critical roof areas:
– Shingles: Look for missing, cracked, or curled shingles.
– Flashing: Inspect the flashing around chimneys, skylights, and vents for damage or displacement.
– Gutters: Storms can clog gutters with debris or damage their alignment. Capture images of any gutter damage or sagging.
– Soffits and Fascia: These areas are prone to water damage and can weaken after a storm.
5) Analyze the Photos
After collecting aerial footage, transfer the images or videos to a computer for a more detailed analysis. Look for tell-tale signs of storm damage, such as:
– Dented or bruised shingles (common in hail storms)
– Torn or missing shingles due to high winds
– Leaks or water stains visible near roof joints or valleys
6) Utilize Advanced Software
Some drones are compatible with AI-powered software designed for roof inspections. These programs can automatically analyze photos and detect damages like broken shingles, soft spots, or even measure areas that need repair.
7) Generate a Report
Based on your findings, generate a comprehensive report. Use your drone footage to create detailed documentation, which can help with insurance claims or guide the next steps in roof repairs.
Common Types of Storm Roof Damage and How Drones Can Detect Them
| Type of Damage | Description | Drone's Role |
|---|---|---|
| Hail Damage | Small dents, bruises, or cracks in shingles. | High-resolution images capture small dents or cracks. |
| Wind Damage | Missing or torn shingles due to high winds. | Drones can scan for lifted or missing shingles. |
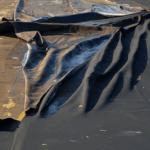
| Water Damage | Leaks, stains, or weakened roof valleys from excessive rain. | Detailed footage highlights stains or sagging areas. |
| Debris Impact | Fallen branches or heavy debris causing physical damage. | Aerial views easily identify large debris on the roof. |
| Structural Damage | Warping or roof sagging due to prolonged weather exposure. | Drones capture roof contours for structural issues. |
Have a Roofer Perform Your Drone Inspection
While drone technology has made it easier for homeowners to perform basic roof inspections, there are significant advantages to hiring a Knoxville, TN roofing professional to handle this task. Experienced local roofers are familiar with the specific weather patterns that commonly affect the region, such as frequent thunderstorms and hail. They not only possess the technical expertise to operate drones effectively but can also interpret the findings more accurately, recognizing even subtle signs of storm damage that an untrained eye might miss. Moreover, local roofing companies are often well-versed in regional building codes and insurance requirements, ensuring that any repairs or claims are handled properly. In the long run, having a professional inspection saves time, provides peace of mind, and ensures that any necessary repairs are addressed promptly and correctly.
Frequently Asked Questions (FAQs)
Yes, modern drones are equipped with high-resolution cameras that can capture minute details, such as small cracks, missing shingles, or damaged flashing.
Yes, drone inspections are legal in Tennessee, but the operator must follow FAA regulations, especially when flying over residential areas.
A typical drone inspection takes around 10-20 minutes, depending on the size of the roof and the complexity of the damage.
Flying too close can cause the drone to crash, especially in windy conditions. It's recommended to maintain a safe distance and use obstacle avoidance features.
If you're using the drone commercially (as part of a roofing business), you need a Part 107 license from the FAA.
Absolutely! Insurance companies often accept drone footage as part of a claim, as it provides clear evidence of damage.
The cost typically ranges from $150 to $400, depending on the size of the property and the complexity of the damage.
Drones should not be used in rain, snow, or high winds, as these conditions can damage the drone or affect flight stability.
Drones cannot detect internal water damage but can identify external signs like sagging, stains, or missing shingles.
Yes, many roofing companies in Knoxville have adopted drones to increase safety, efficiency, and accuracy in roof inspections.

