
Adding a porch roof to your home can improve curb appeal, create usable outdoor space, and protect doors, walkways, and entry areas from East Tennessee weather. But learning how to Attach A Porch Roof to your house is not just a framing project. The connection point must be structural, weatherproof, properly flashed, and compliant with the current code requirements enforced by your local authority.
For Knoxville homeowners, this matters even more in 2026 because porch roof framing, roof ledger board attachment, flashing, wind uplift resistance, and permit requirements can all affect whether the project passes inspection and performs long-term. Litespeed Construction walks you through the essential methods, materials, and risks involved before you begin construction or hire a roofing contractor.

Key Takeaways
💡Proper Interface is Critical
💡Brick Homes Require Special Handling
💡Permits and Codes Matter
💡Use Professional Help
Understanding the Porch Roof-to-House Interface
The point where the new porch roof connects to your existing home structure is known as the interface. This connection must be watertight, structurally sound, and able to handle dead load, live load, roof drainage, and wind uplift. In East Tennessee, wind-driven rain and seasonal storms make the roof-to-wall transition one of the most important parts of the entire porch roof installation.
There are generally two types of interfaces:
1. Tall Wall Attachments
This approach involves connecting the porch roof to a high vertical wall of the main structure. This is common with gable-end roofs where the new roof “returns” into the upper story.
- Best For: Higher porch roofs, especially gable-style.
- Structural Needs: A strong ledger board and additional bracing for uplift resistance.
- Common in: Homes with vinyl or wooden siding.
2. Rafter System Tie-Ins
Here, the porch roof ties directly into the existing roof’s rafter system. This method requires opening up the current roof structure and inserting framing to support the load.
- Best For: Low-slope porch additions or sheds.
- Challenges: Higher complexity and potential for weatherproofing issues if not properly flashed.
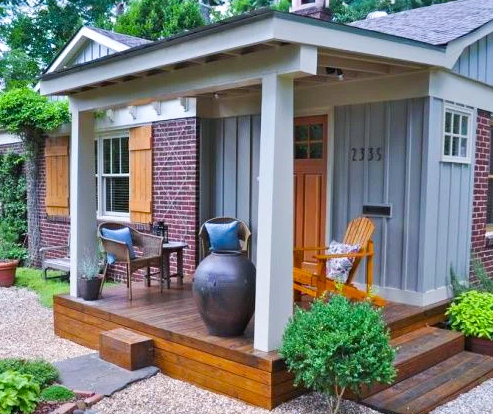
Dealing with Brick Walls: Structural and Moisture Concerns
If your home is brick-faced, attaching a porch roof becomes more nuanced. Brick is a veneer, not a structural member. The proper way to Attach A Porch Roof to a brick home includes:
- Opening the Brick Face
Carefully remove bricks in the area where the ledger board or support framing will be attached. This allows direct anchoring to the structural framing behind the brick. - Attach to Structural Framing
Use lag bolts or through-bolts to connect your ledger board or framing to the home’s rim joist or studs—not just the masonry. - Rebuild Around Flashing
Once flashing is in place, rebuild the brick around the penetration to maintain moisture protection and aesthetics.
Note: According to the International Residential Code (IRC), ledger boards must be secured with lag screws or bolts at intervals no greater than 16 inches (IRC R507.8).
Porch Roof Styles: Which One Suits Your House?
Each porch roof style has different implications for how it interfaces with your existing structure.
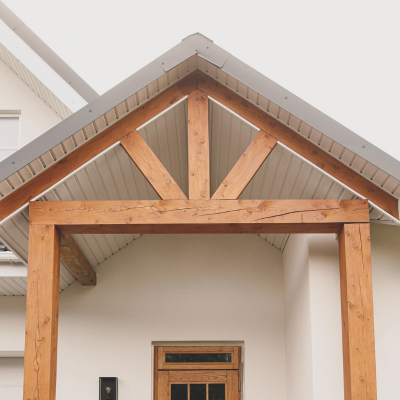
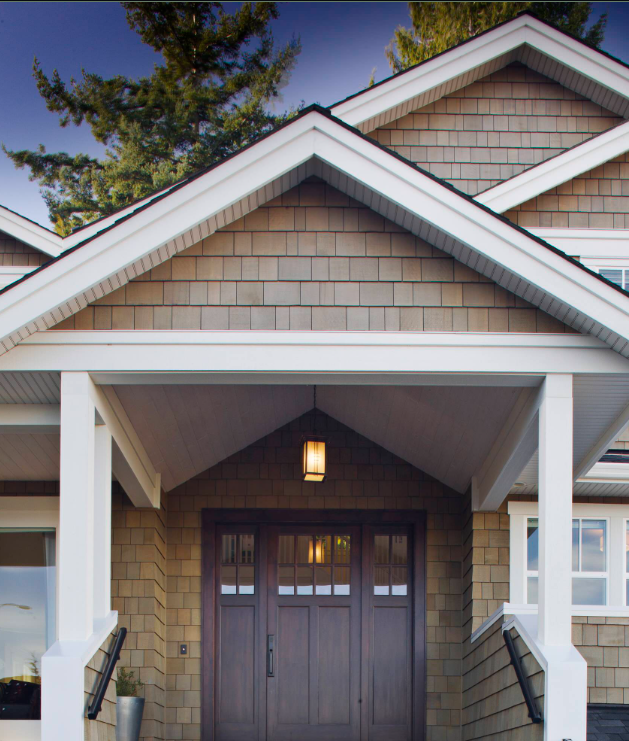
Gable Porch Roof
- Creates a dramatic look and sheds water efficiently.
- Returns into the wall or roof with a center peak that must be aligned with the existing home’s structure.
- Flashing is essential to prevent leaks where the new ridge line intersects the house.
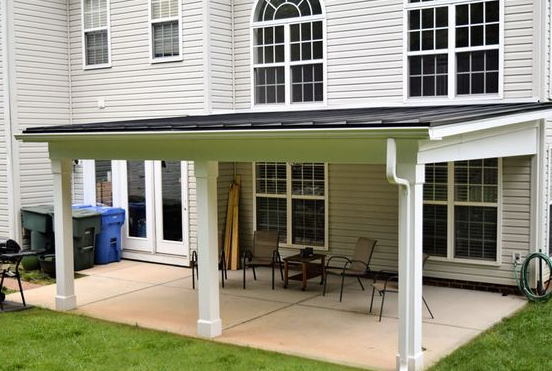
Shed-Style Porch Roof
- Slopes downward from the house to the front of the porch.
- Easier to construct but may conflict with second-story windows or obstruct views.
- Commonly uses tall wall connections.
Hip Porch Roof
- Slopes in three directions, providing excellent stability and wind resistance.
- More complex framing but offers elegant aesthetics.


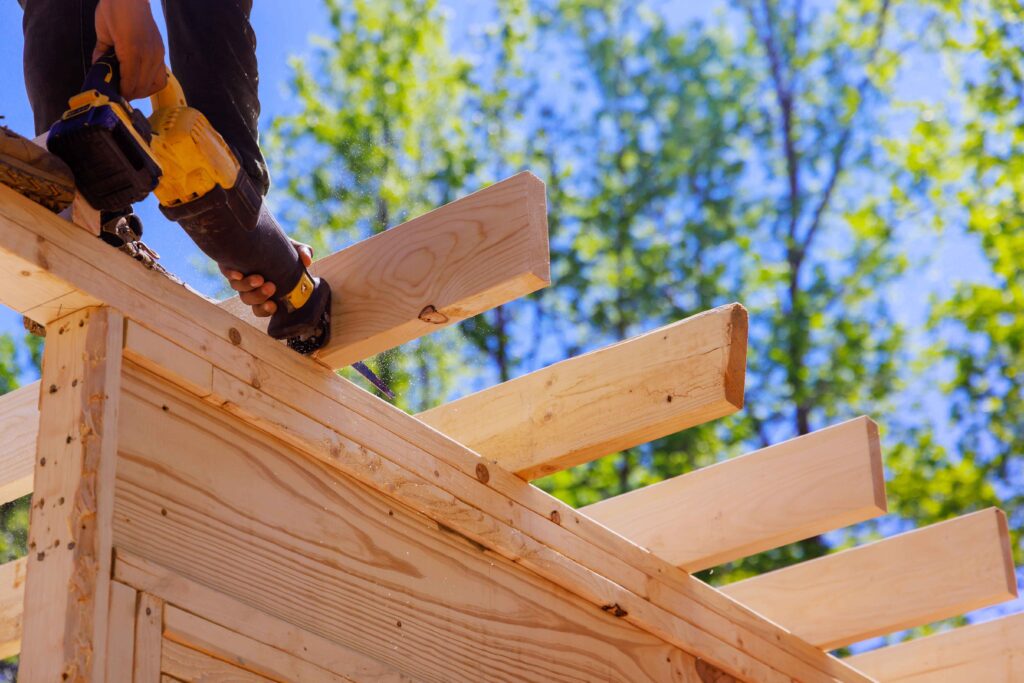
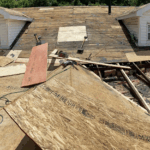
Step-by-Step Guide to Attach A Porch Roof
Step 1: Get Permits and Check Local Codes
Knoxville and Knox County require building permits for structural additions. Codes are based on the 2018 IRC, so always check before you start. Find more at Knox County Building Codes
Step 2: Identify the Attachment Type
Assess whether you’ll be using a rafter system, tying into the roof, or attaching to a tall wall. If your home is brick, plan to open up a section to reach framing.
Step 3: Install Ledger Board
Use a level and lag bolts to attach a pressure-treated ledger board to the structural framing. Include flashing to keep water from infiltrating behind the board.
Step 4: Frame the Roof Structure
Using treated lumber or engineered trusses, construct the porch roof. Ensure rafter tails are aligned and use hurricane ties or framing anchors.
Step 5: Flash the Interface
Install step flashing, headwall flashing, and sealant where the new roof meets the house to protect from moisture intrusion.
Step 6: Roofing and Finishing
Add underlayment, roofing material (asphalt shingles, metal, etc.), fascia, soffits, and gutters. Proper finishing will prevent long-term rot and pest issues.
Common Issues to Avoid
- Attaching to Brick Only: Never anchor solely to brick veneer.
- No Flashing at Wall Line: Leads to leaks and mold issues.
- Ignoring Pitch: Minimum ¼” per foot slope is essential.
- Blocking Attic Vents: Plan around gables or soffits to maintain airflow.
- Undersized Framing: Can cause sagging or failure under snow loads.
Why Trust Litespeed Construction?
- Experience: 15+ years of local roofing and structural work in Knoxville.
- Expertise: Licensed and insured contractors following IRC guidelines.
- Authority: Litespeed Construction frequently consults on local code updates.
- Trust: Hundreds of 5-star reviews on Google and Facebook.
Work With the Porch Roof Experts
If you’re wondering How to Attach A Porch Roof to Your House, the best answer is to do it safely, legally, and structurally sound—with help from experts.
Don’t risk costly repairs or water damage.
Litespeed Construction offers free consultations to help you plan your porch roof addition the right way from the start.