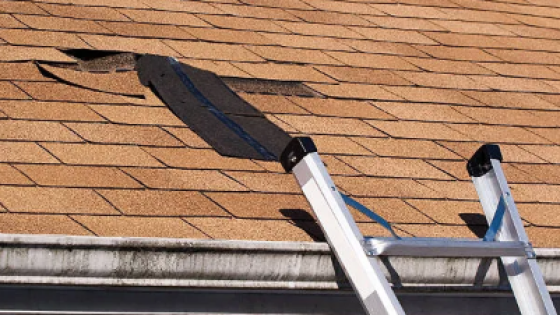
A leaking roof edge can cause significant damage to your home if left unaddressed.
For homeowners in Knoxville, TN, tackling this issue promptly is crucial to maintaining the integrity of your house.
Here’s a comprehensive guide on how to fix a leaking roof edge, ensuring you can handle this repair with confidence.
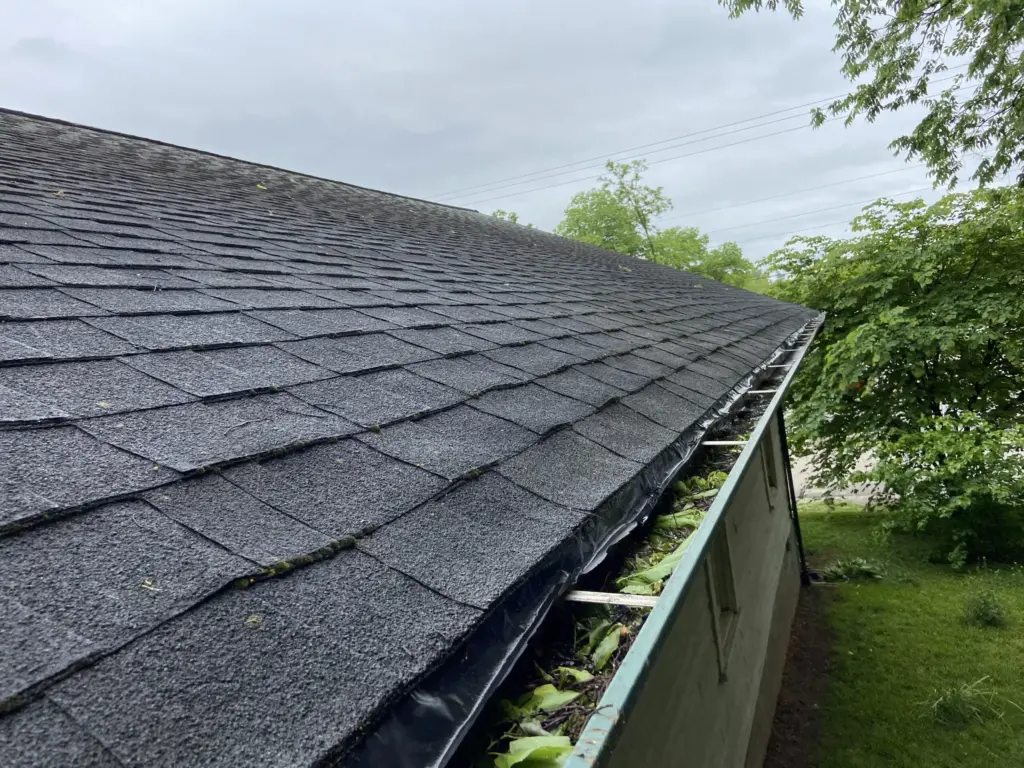
Identifying the Source of the Leak
Before you can fix a leaking roof edge, you need to identify the source of the leak. Common signs include:
Water stains on the ceilings or walls: These are usually brownish in color and can indicate a prolonged water intrusion issue.
Damp or wet insulation in the attic: This is often a clear sign that water is seeping in from the roof.
Visible damage or missing shingles near the roof edge: This can be caused by high winds, heavy rains, or simply wear and tear over time.
Tools and Materials Needed
To fix a leaking roof edge, gather the following tools and materials:
Ladder: Ensure it is stable and placed on a flat surface.
Roofing tar or sealant: Used to create a waterproof barrier.
Roofing nails: For securing new shingles.
Hammer: For driving nails into place.
Replacement shingles or roofing material: To replace any damaged or missing shingles.
Utility knife: For cutting shingles and removing old ones.
Flashing (if necessary): To redirect water away from the roof edge.
Step-by-Step Guide to Fix a Leaking Roof Edge
Step 1: Safety First
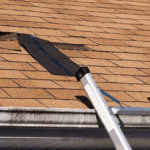
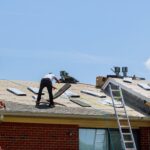
Ensure your ladder is stable and placed on a flat surface. Wear appropriate safety gear, including gloves and non-slip shoes. If the roof is steep or high, consider using a harness for added safety.
Step 2: Remove Damaged Shingles
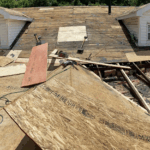
Using a utility knife, carefully remove the damaged shingles around the leaking area. Be cautious not to damage the underlying roof structure. Removing shingles in cool weather can make the task easier, as shingles can become brittle in cold temperatures and soft in hot temperatures.
Step 3: Inspect and Repair the Underlayment
Check the underlayment for any damage or rot. Replace any compromised sections with new underlayment to ensure a solid base for the new shingles. The underlayment acts as an extra layer of protection against water infiltration, so it’s crucial to ensure it’s intact.
Step 4: Apply Roofing Tar
Apply a generous amount of roofing tar to the area where the shingles were removed. This helps create a waterproof barrier to prevent future leaks. Roofing tar is particularly effective at sealing joints and cracks where water can penetrate.
Step 5: Install New Shingles
Place the new shingles over the tar, aligning them with the existing shingles. Secure them with roofing nails, ensuring they are tightly fastened to withstand harsh weather conditions. When nailing, ensure the nails are placed in the correct spot, usually just below the adhesive strip of the shingles.
Step 6: Seal the Edges
Apply roofing sealant along the edges of the new shingles to ensure a watertight seal. Pay extra attention to the areas where the roof edge meets the gutter. The sealant should be applied in a continuous bead to prevent water from seeping underneath the shingles.
Detailed Insights on Each Step
Safety Precautions
When dealing with roof repairs, safety cannot be overstated. Falls from roofs can result in serious injuries. Ensure your ladder is properly secured and always have a spotter if possible. Working in pairs can significantly increase safety, especially when handling materials and tools on the roof.
Choosing the Right Materials
Selecting high-quality materials is crucial for a long-lasting repair. Roofing tar and sealant should be specifically formulated for roofing applications. Shingles should match the existing roof in both material and color to ensure a seamless repair. Consider materials that are designed to withstand the specific weather conditions in Knoxville, TN.
Professional Help vs. DIY
While DIY repairs can save money, they also come with risks, especially if the repair is not done correctly. Professional roofers have the expertise to identify all underlying issues and ensure the repair is thorough. If you’re unsure about any part of the residential repair process, it’s wise to consult with a roofing professional.
FAQs about Leaking Roof Edges
It’s recommended to inspect your roof edge at least twice a year, especially after major storms.
No, it’s best to use a roofing-specific sealant designed to withstand outdoor conditions. General-purpose sealants might not provide the same level of protection and durability.
A properly done repair can last for several years, but regular inspections are essential to ensure the longevity of the repair. Factors such as weather conditions and the quality of materials used can affect the lifespan of the repair.
Consider hiring a professional roofer to conduct a thorough inspection. Professionals have the experience and tools to identify leaks that might not be apparent to homeowners.
No, you can replace only the damaged shingles unless the damage is widespread. Replacing only the affected shingles can save time and money while still protecting your roof.
The cost can range from $300 to $1,000 depending on the extent of the damage and the roofing company. Getting multiple quotes from reputable roofing contractors can help you find a fair price.
Regular maintenance, proper installation, and using quality materials can help prevent leaks.
Delaying repairs can lead to extensive water damage, mold growth, and structural issues.


