Search
Close this search box.

Call Us For A Free Estimate

Louver vents installed instead of soffit vents Knoxville, TN.

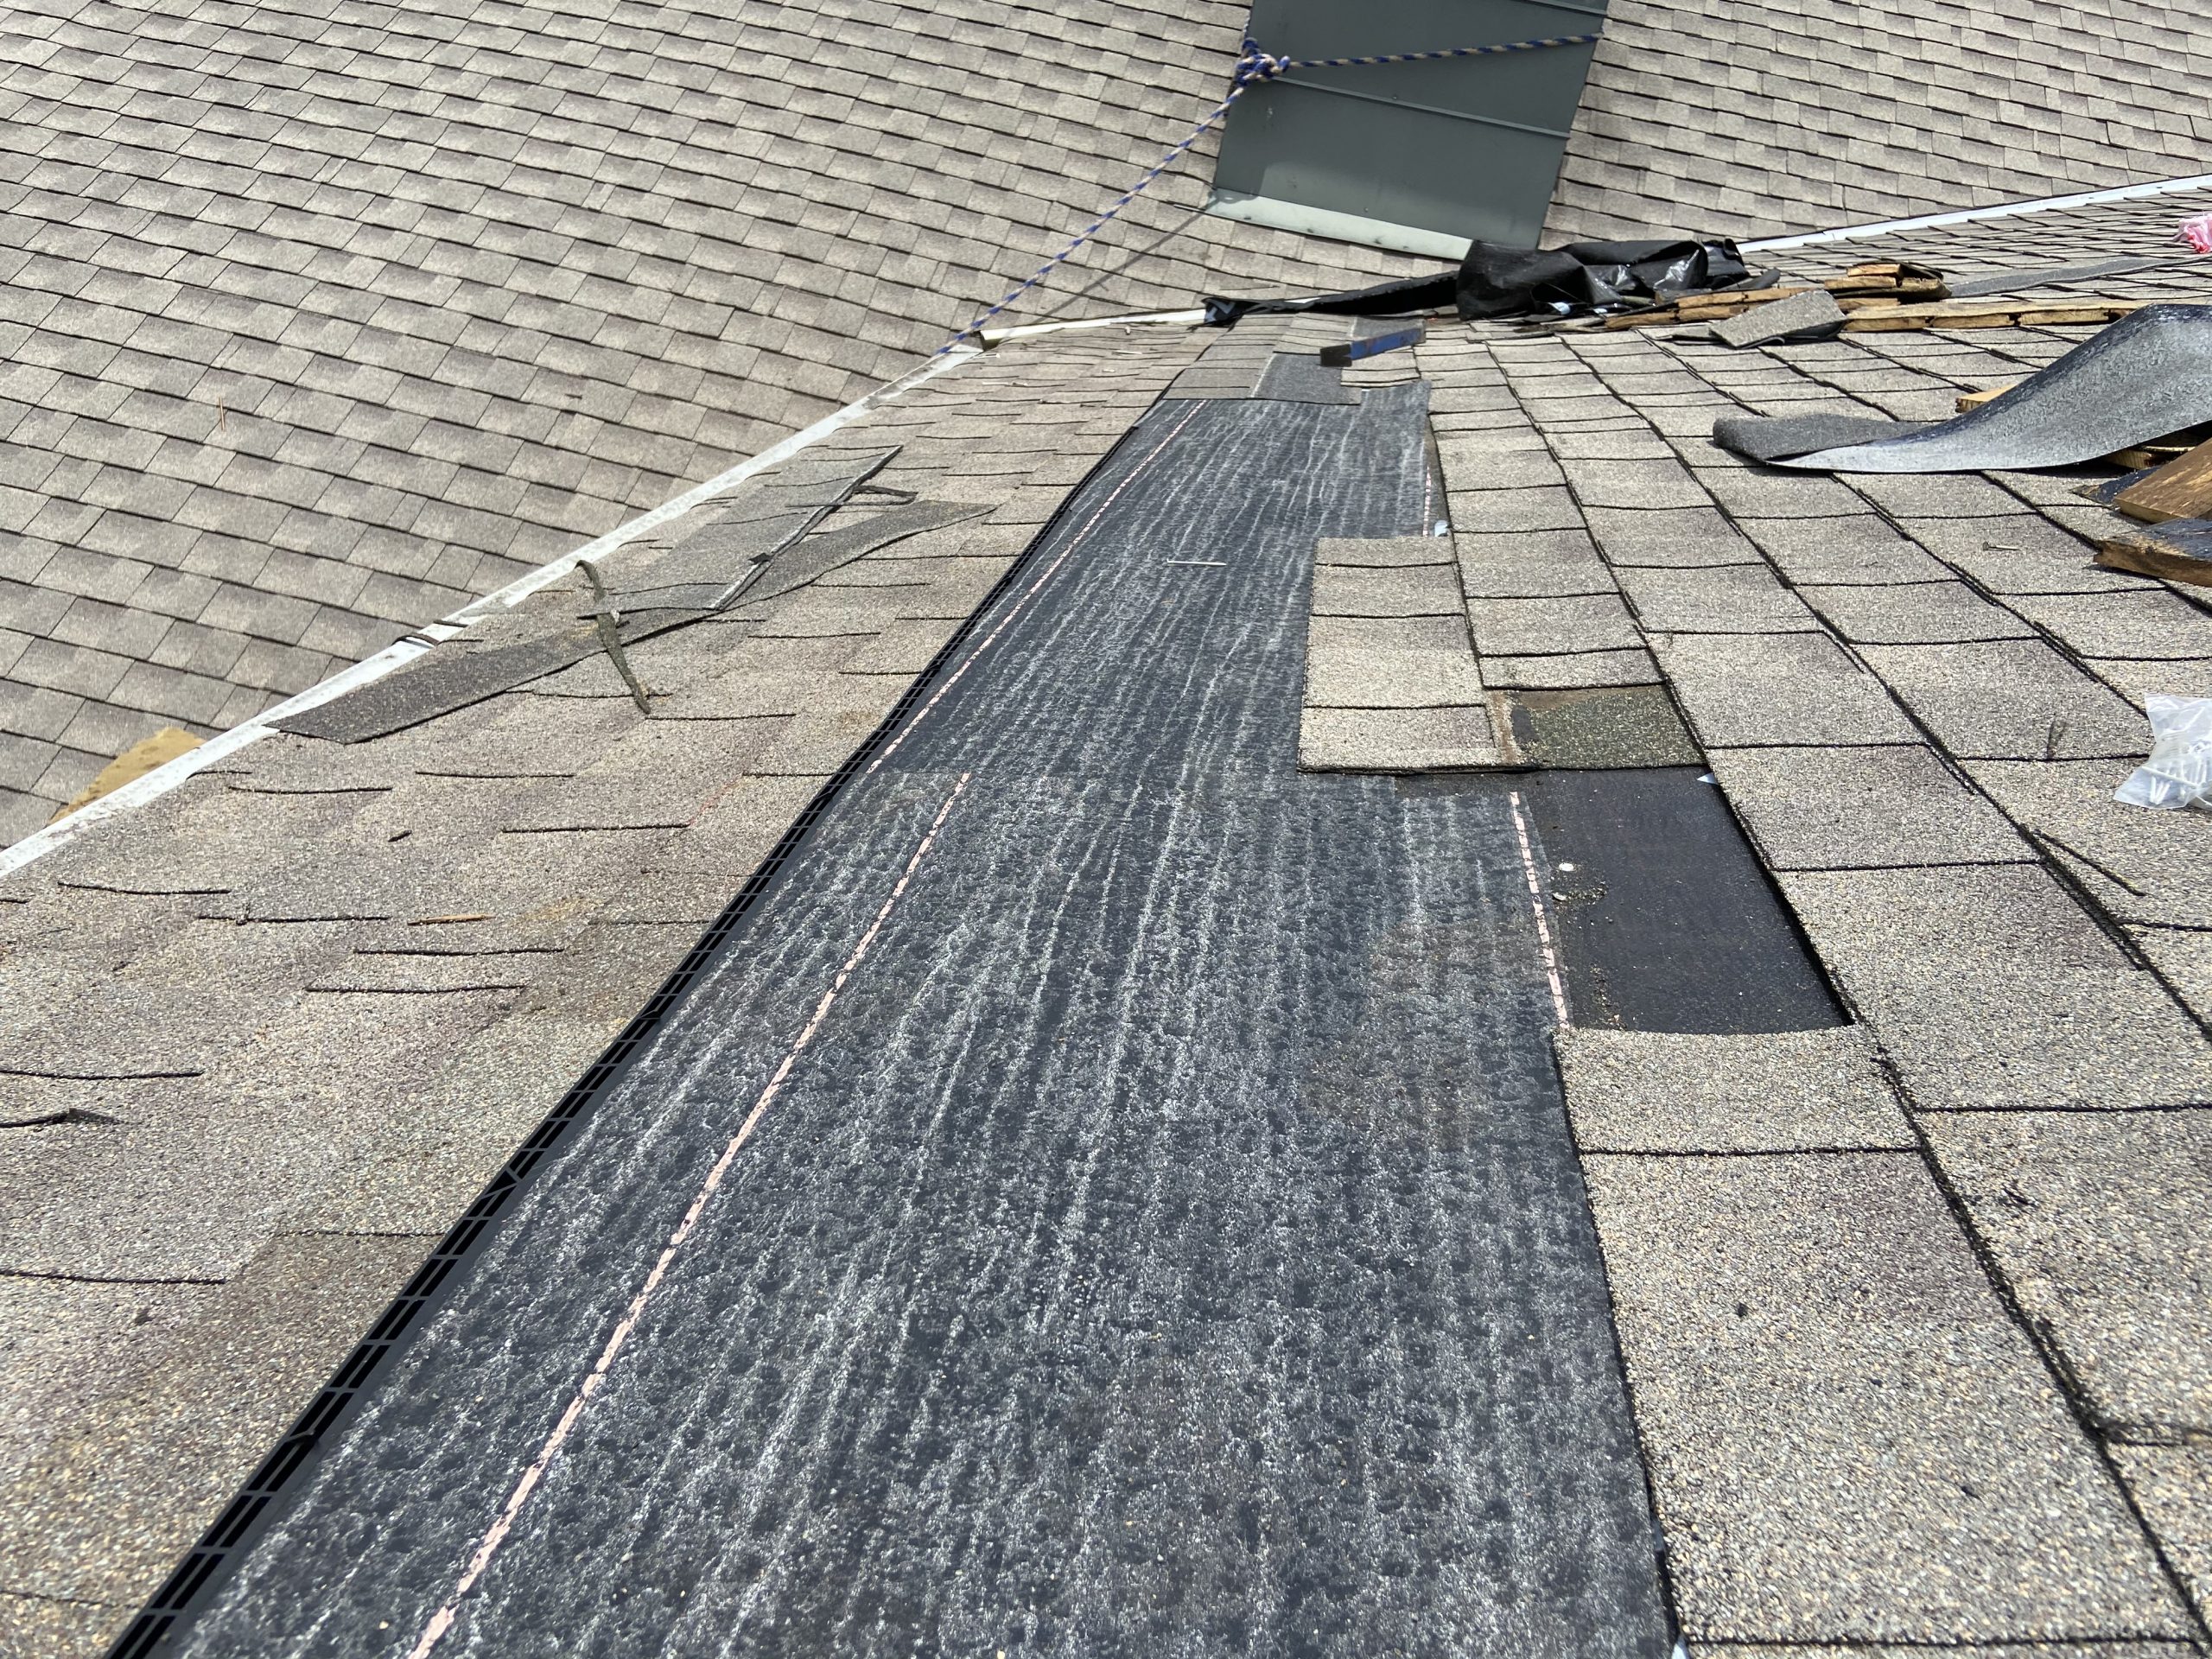
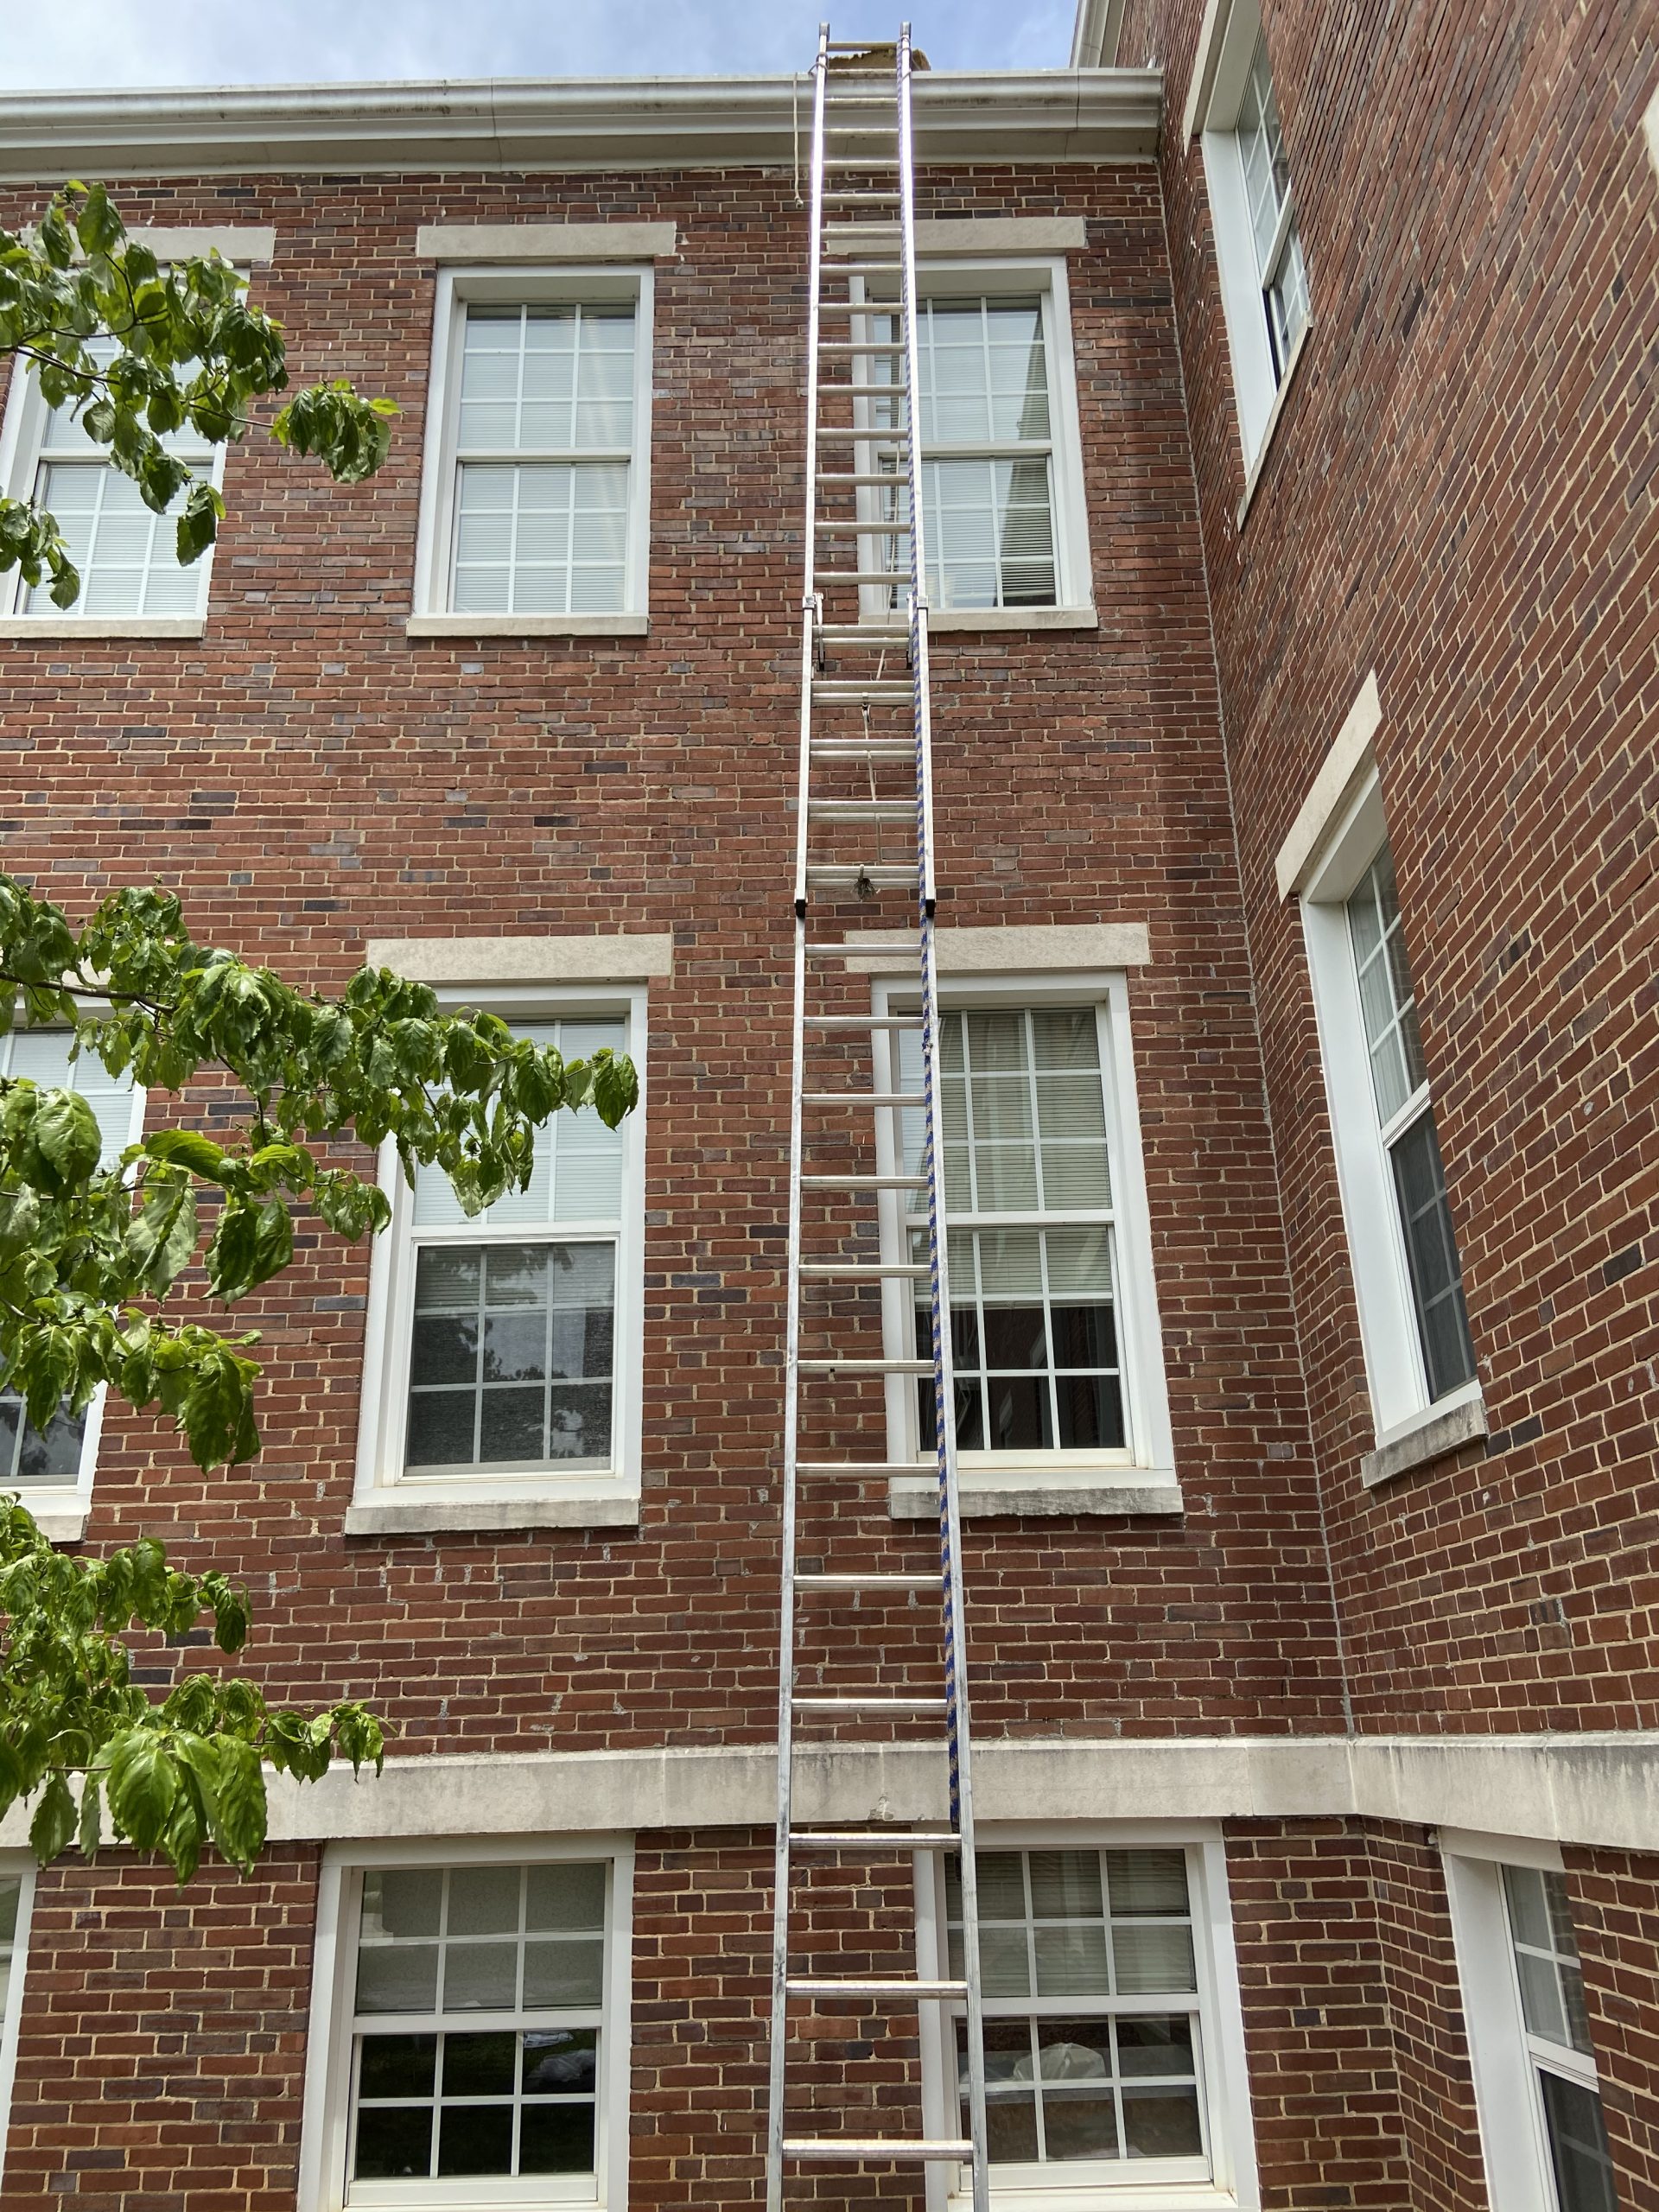
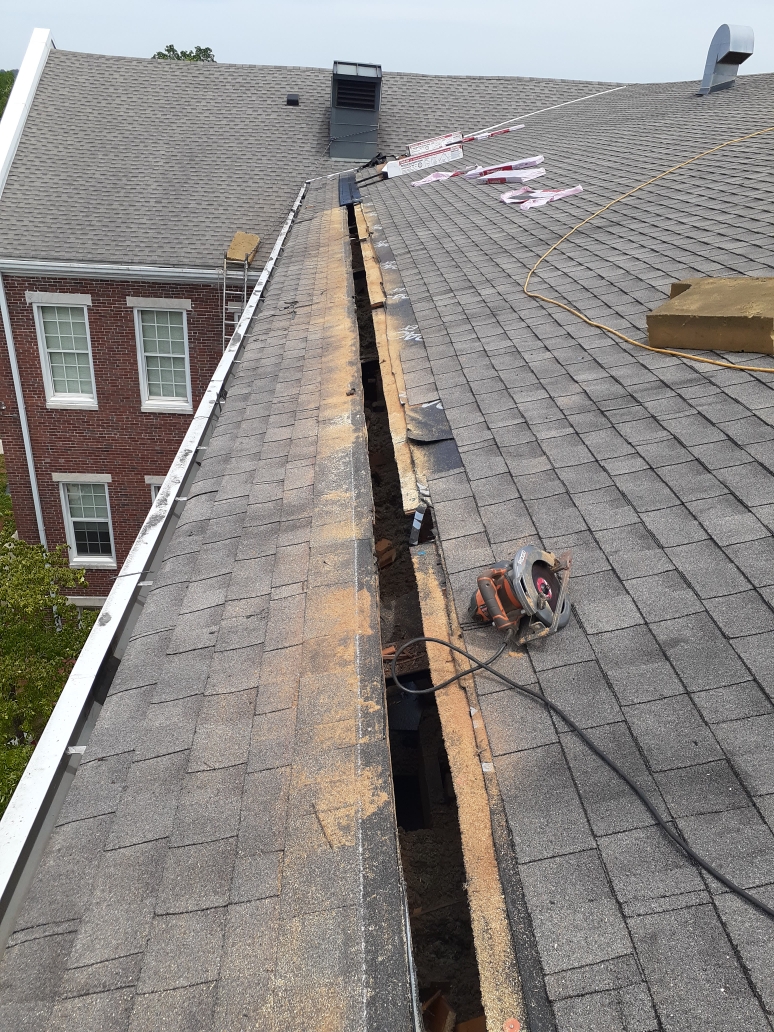
Louver vents are installed at the bottom edges of roofs to let air into the attic space.  They are used instead of soffit ventilation.  This project was tall but not too steep, so working near the edge was not too bad.  The soffit vents had to be placed over cuts into the roof decking and shingles over the soffit vents.

The air will breathe into the roof through the soffit vents and power vents near the roof’s ridgeline.


Roofing Material For new Louver Vents

  1. 1
    New Louver Vent Materials

    These are the new vent materials we are using.

    Click here to see them.

    Go To Pin
  2. 2
    New Vents Going Here

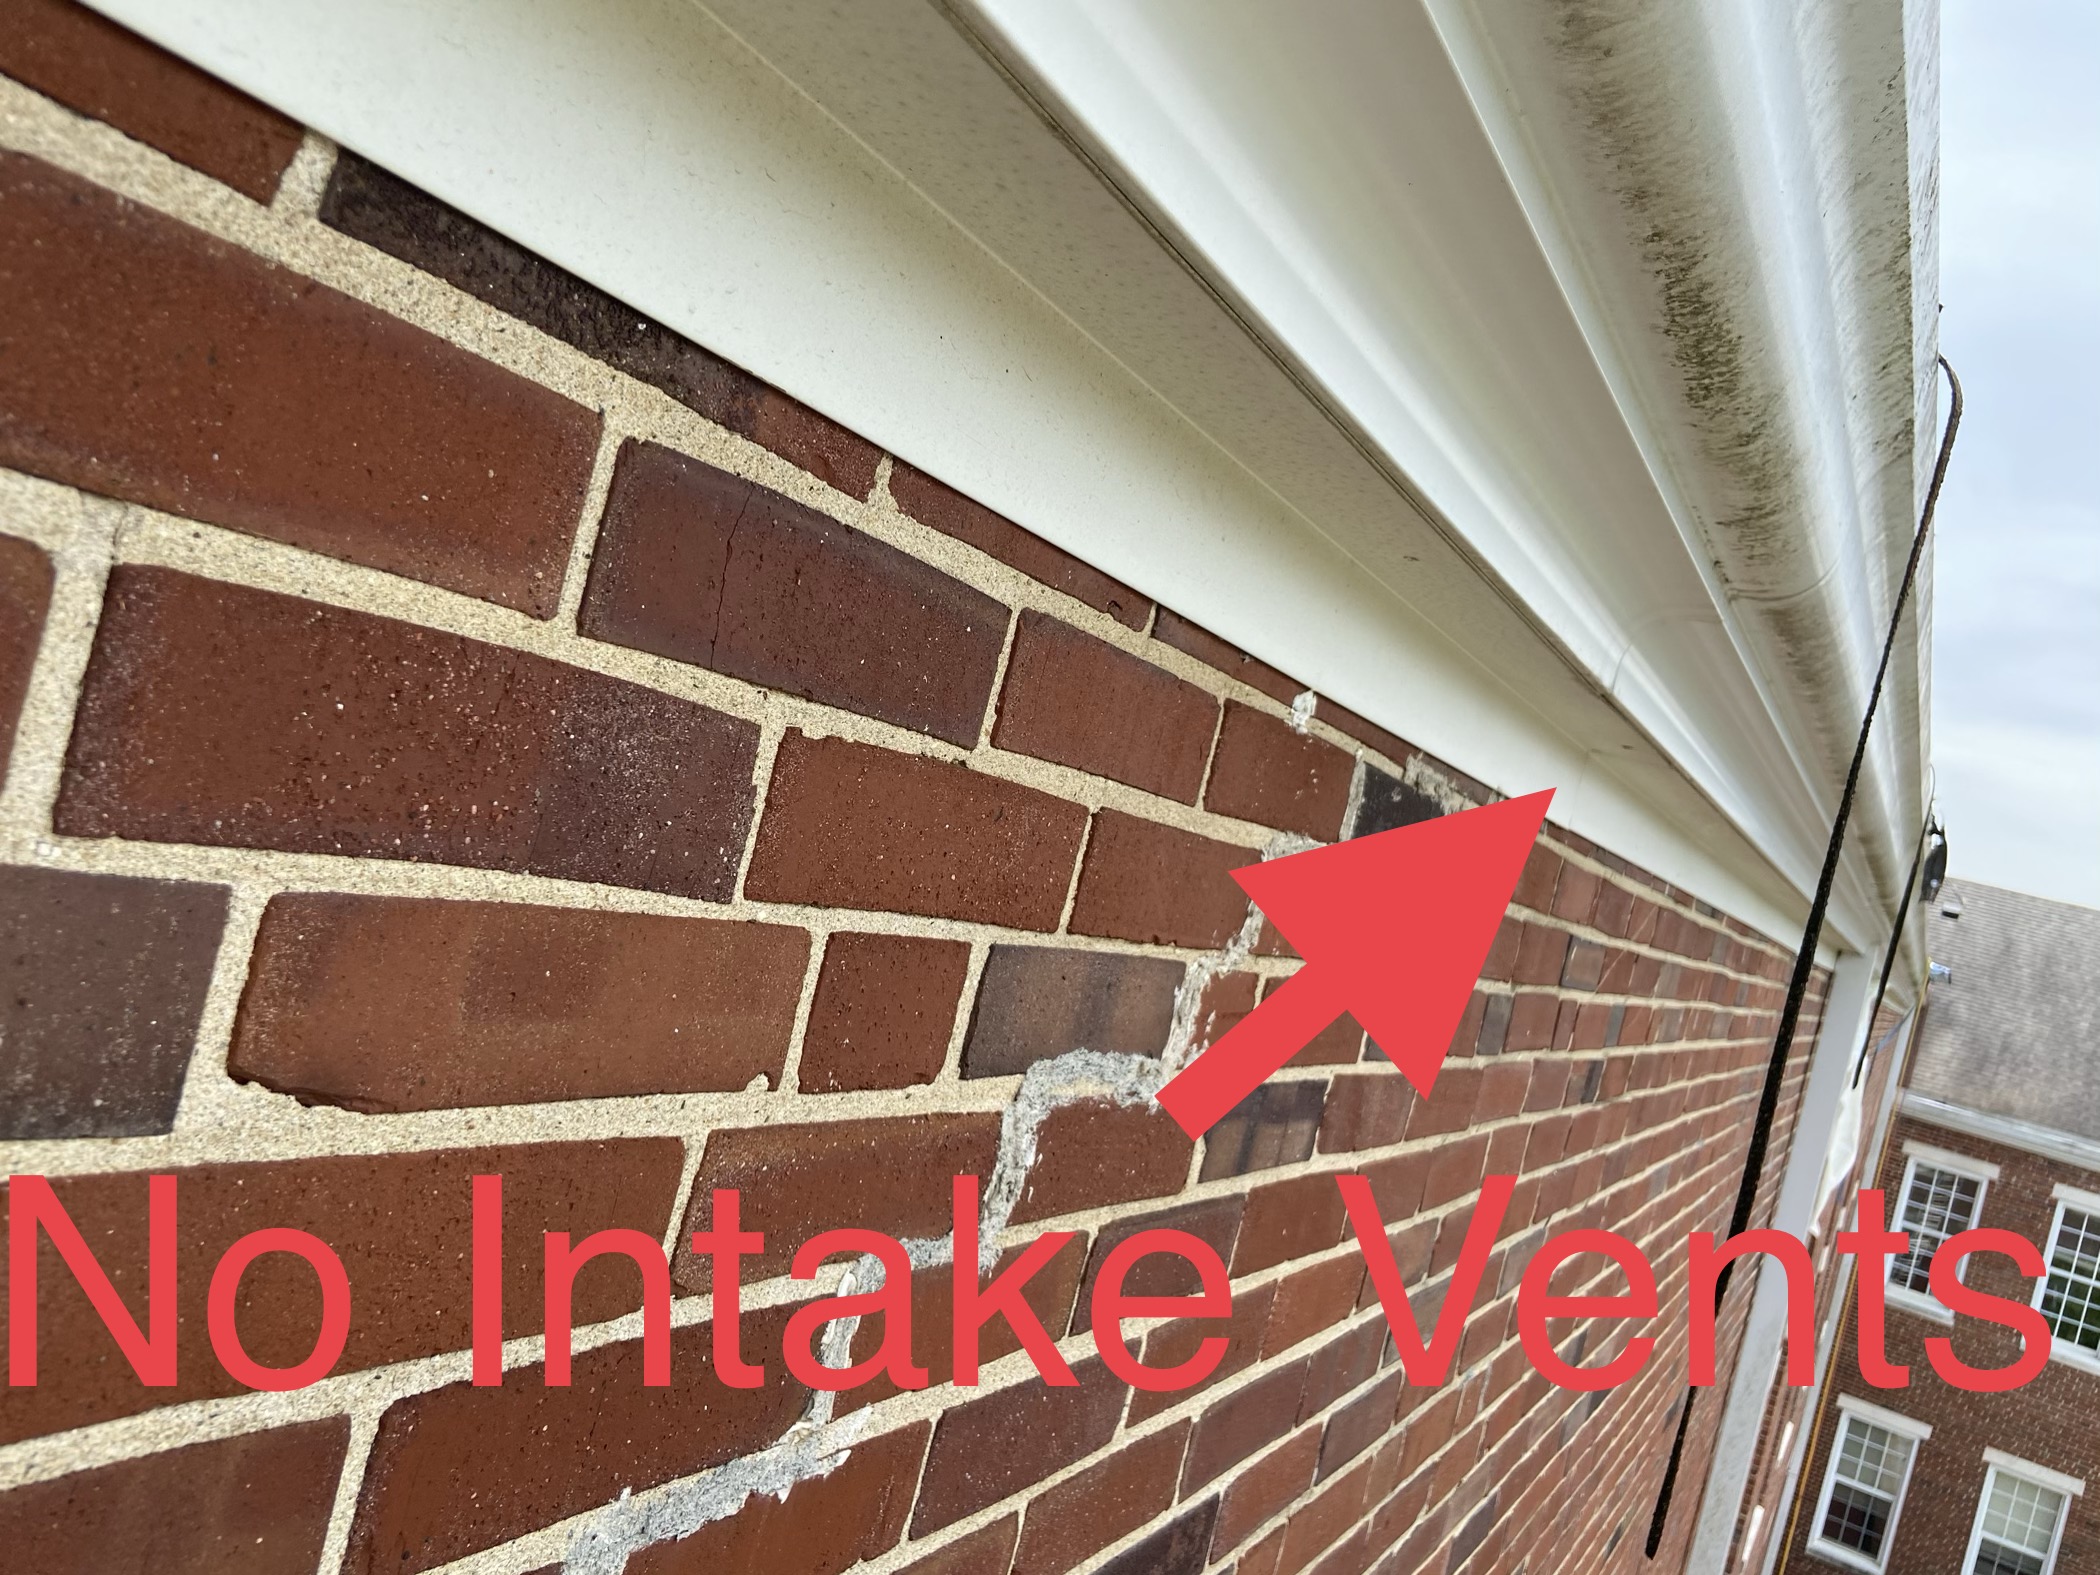
    We are putting these louver vents in because there are no intake vents at the soffit.


    New vents

    Go To Pin
  3. 3
    New Louver Vents

    New Louver Vents

    New Louver Vents New Louver Vents

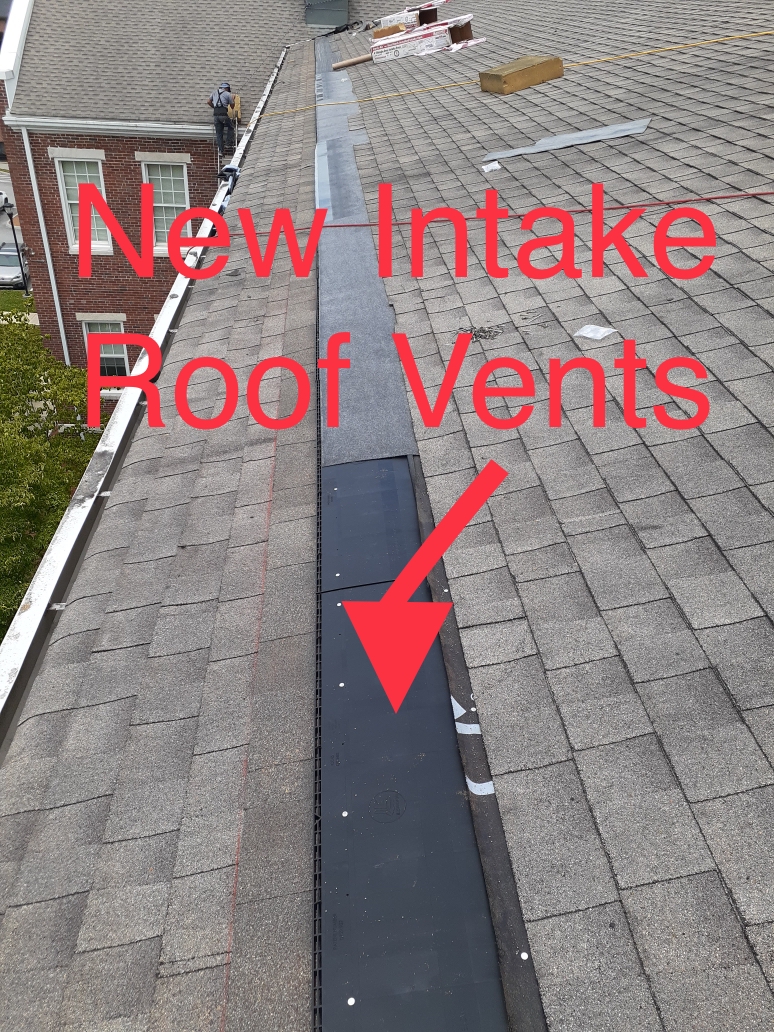
    This is what the new louver vents are installed at the roof edge. Lomanco Decker.


    They are low profile, so they will not blow off. Ice and water and shingles get nailed over them.

    Go To Pin
  4. 4
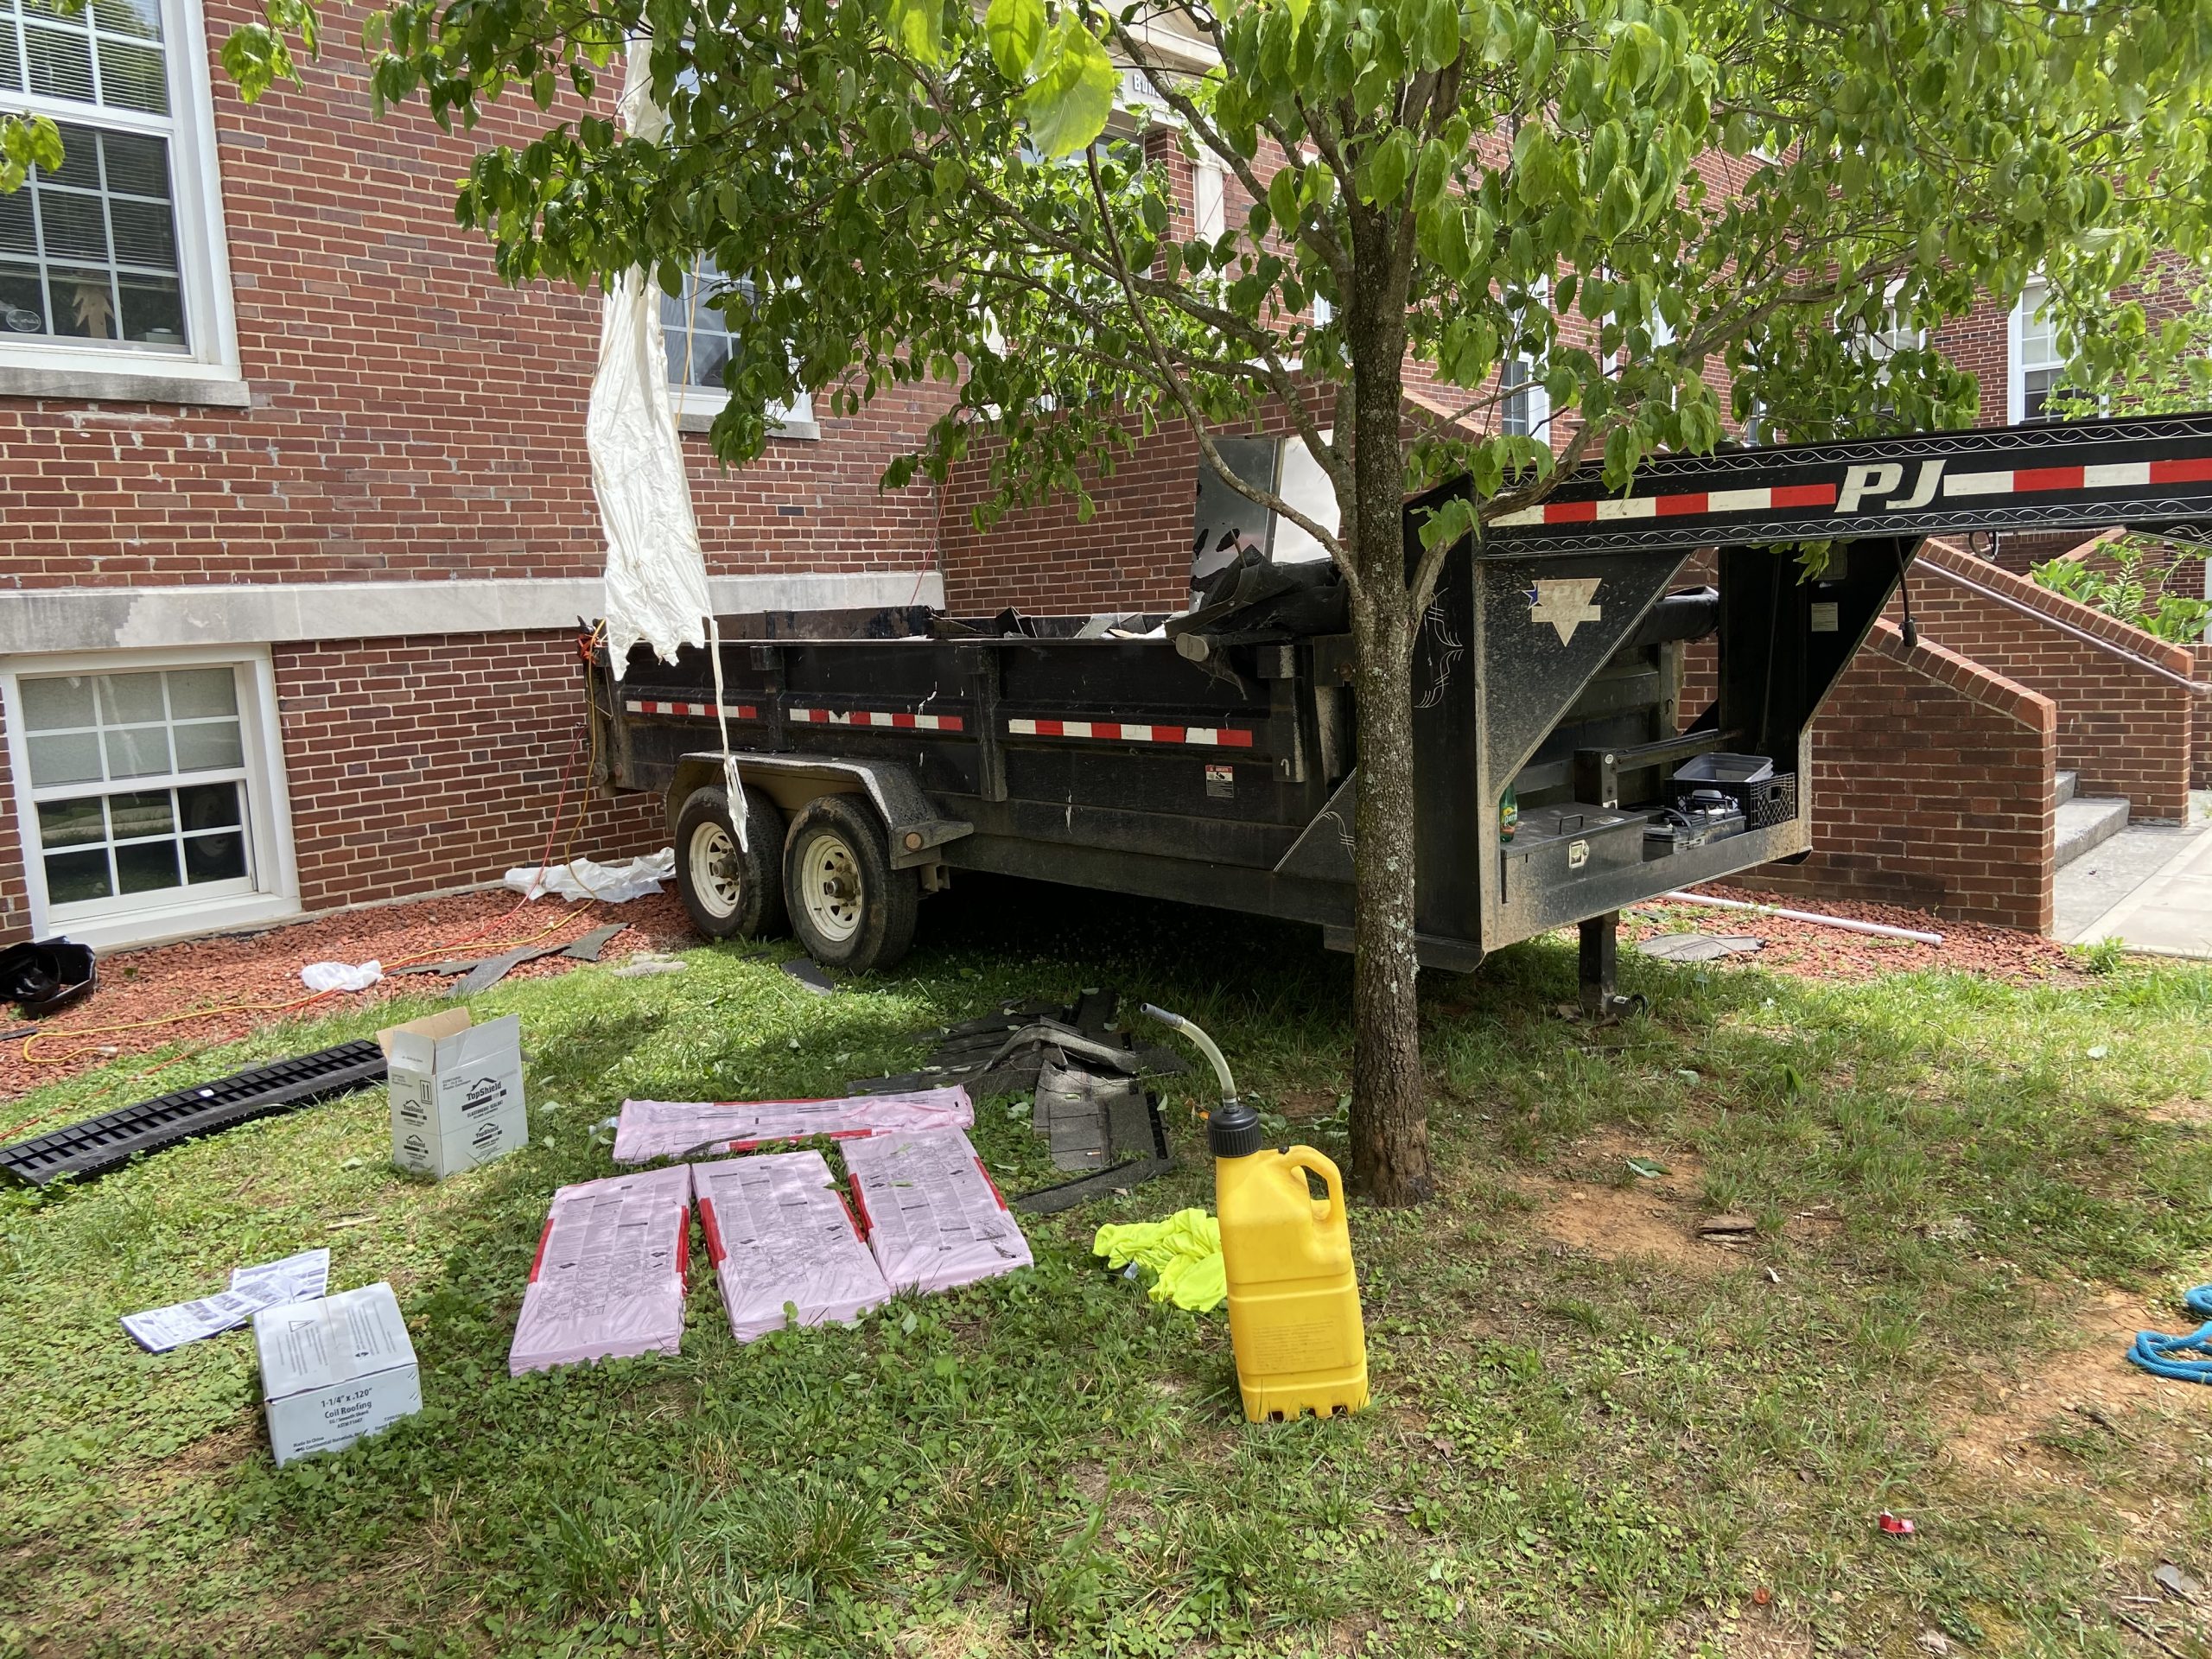
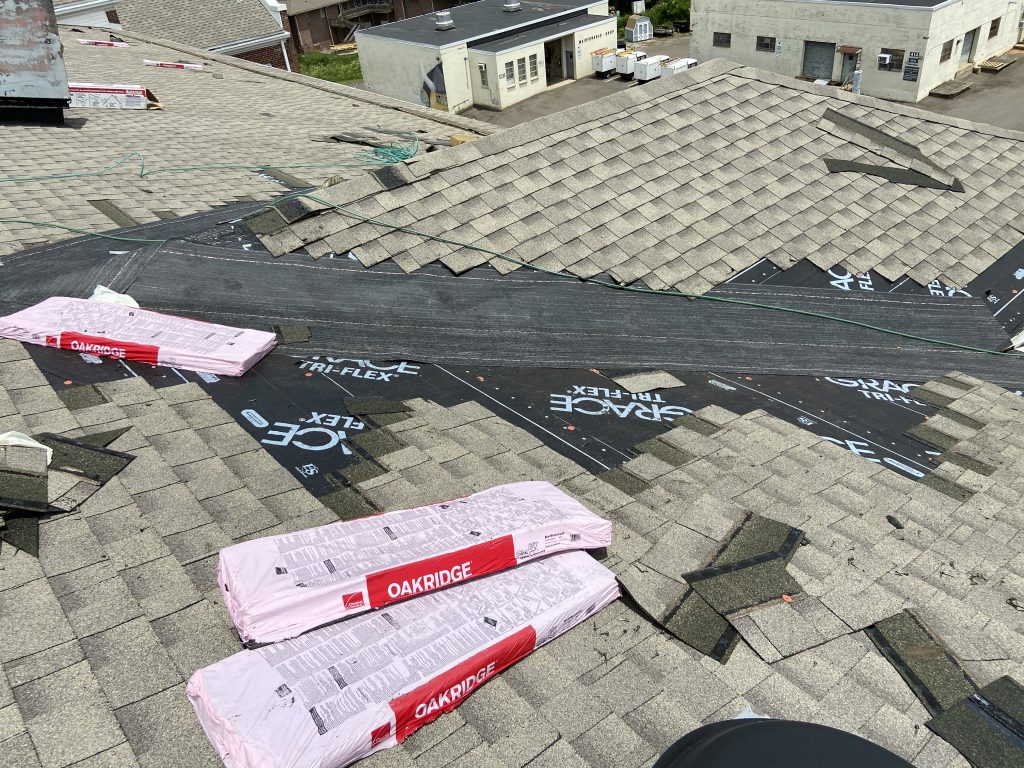
    Roof Project Staging and Dump Area

    It is imperative to be careful with existing building tenants. We decided with our building owners that this would be the safest location to stage our roofing project.


    Roof Project Staging and Dump Area

    Dump Area

    Go To Pin

Intake Vents Bring Air into the Attic Space-Outflow Vents lets Hot Air Out

  1. 1
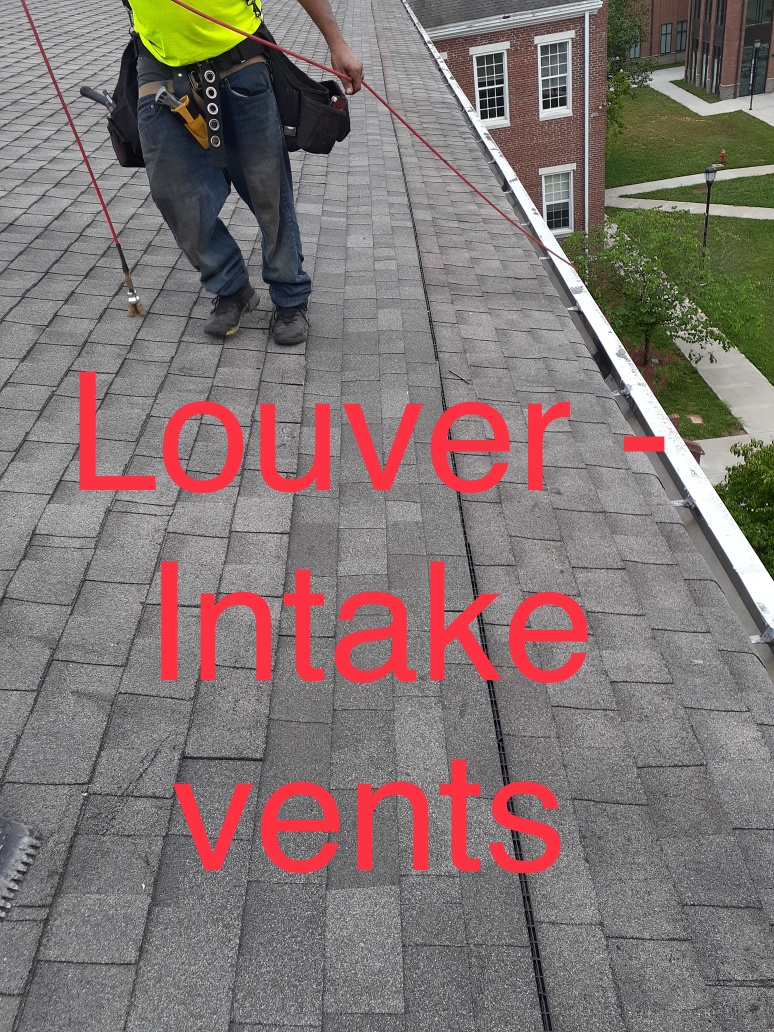
    The Intake Vents are at the Edge

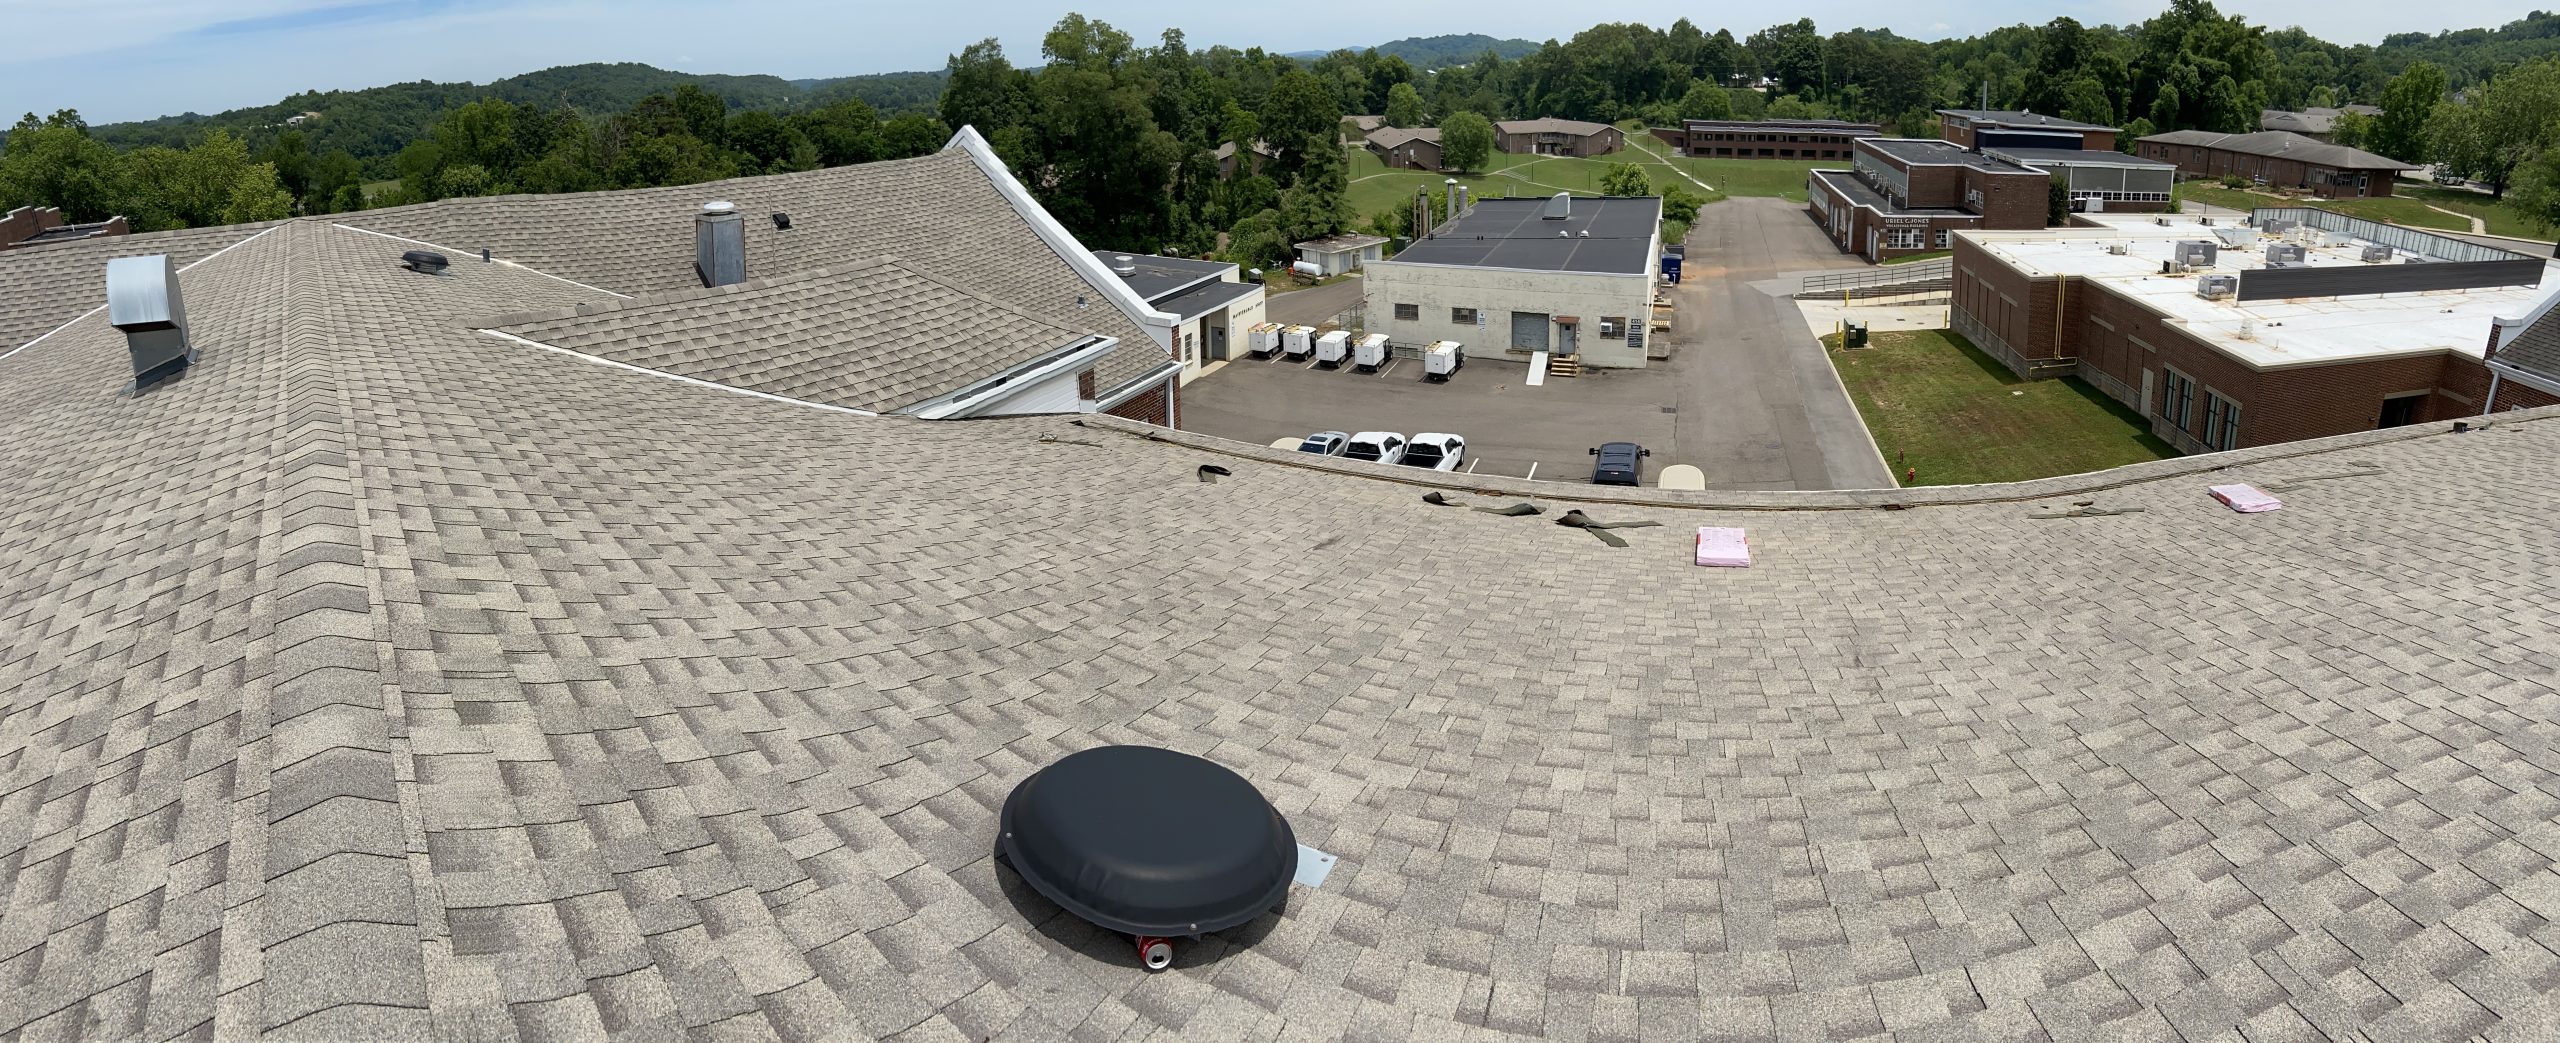
    Louver Vents allow air to come into the attic space.  Power vents or ridge vents allow hot air to go out.


    The Intake Vents are at the Edge

    The Intake Vents are at the Edge

    Go To Pin
  2. 2
    This is a Power Roof Vent

    It uses a thermostat to kick on.  
    Usually, the thermostat is set around 140 deg F.

    Once the vent comes on it pulls the hot air out of the attic.

    Go To Pin

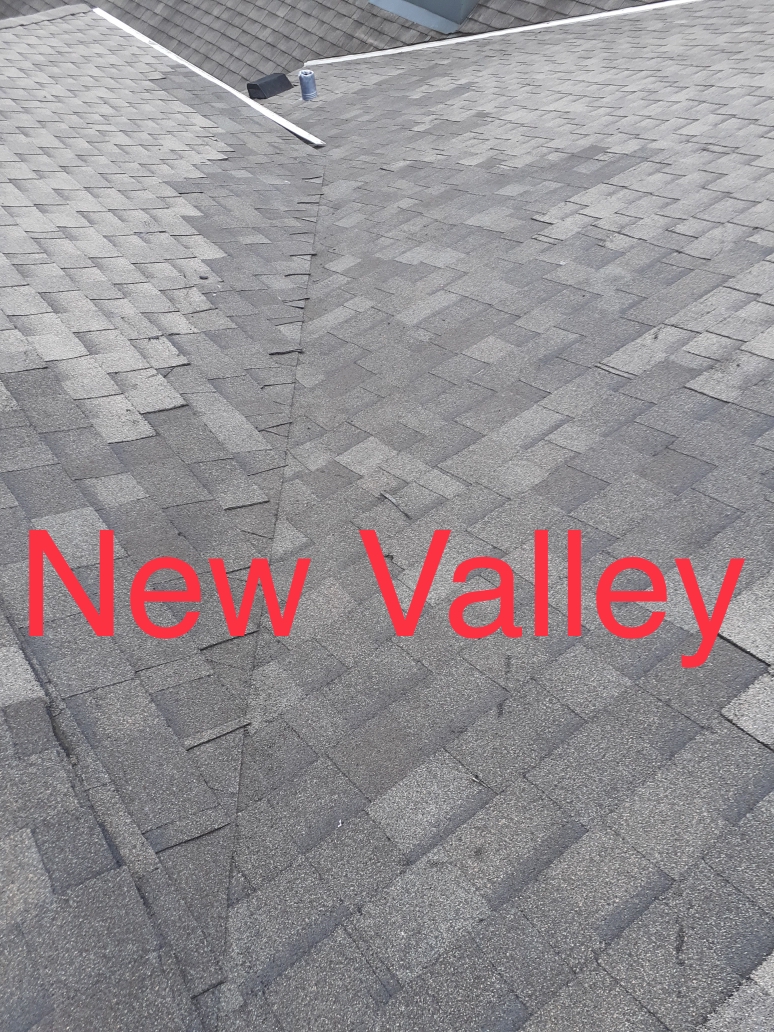
Replacing Old Roof Valleys that Leaks

  1. 1
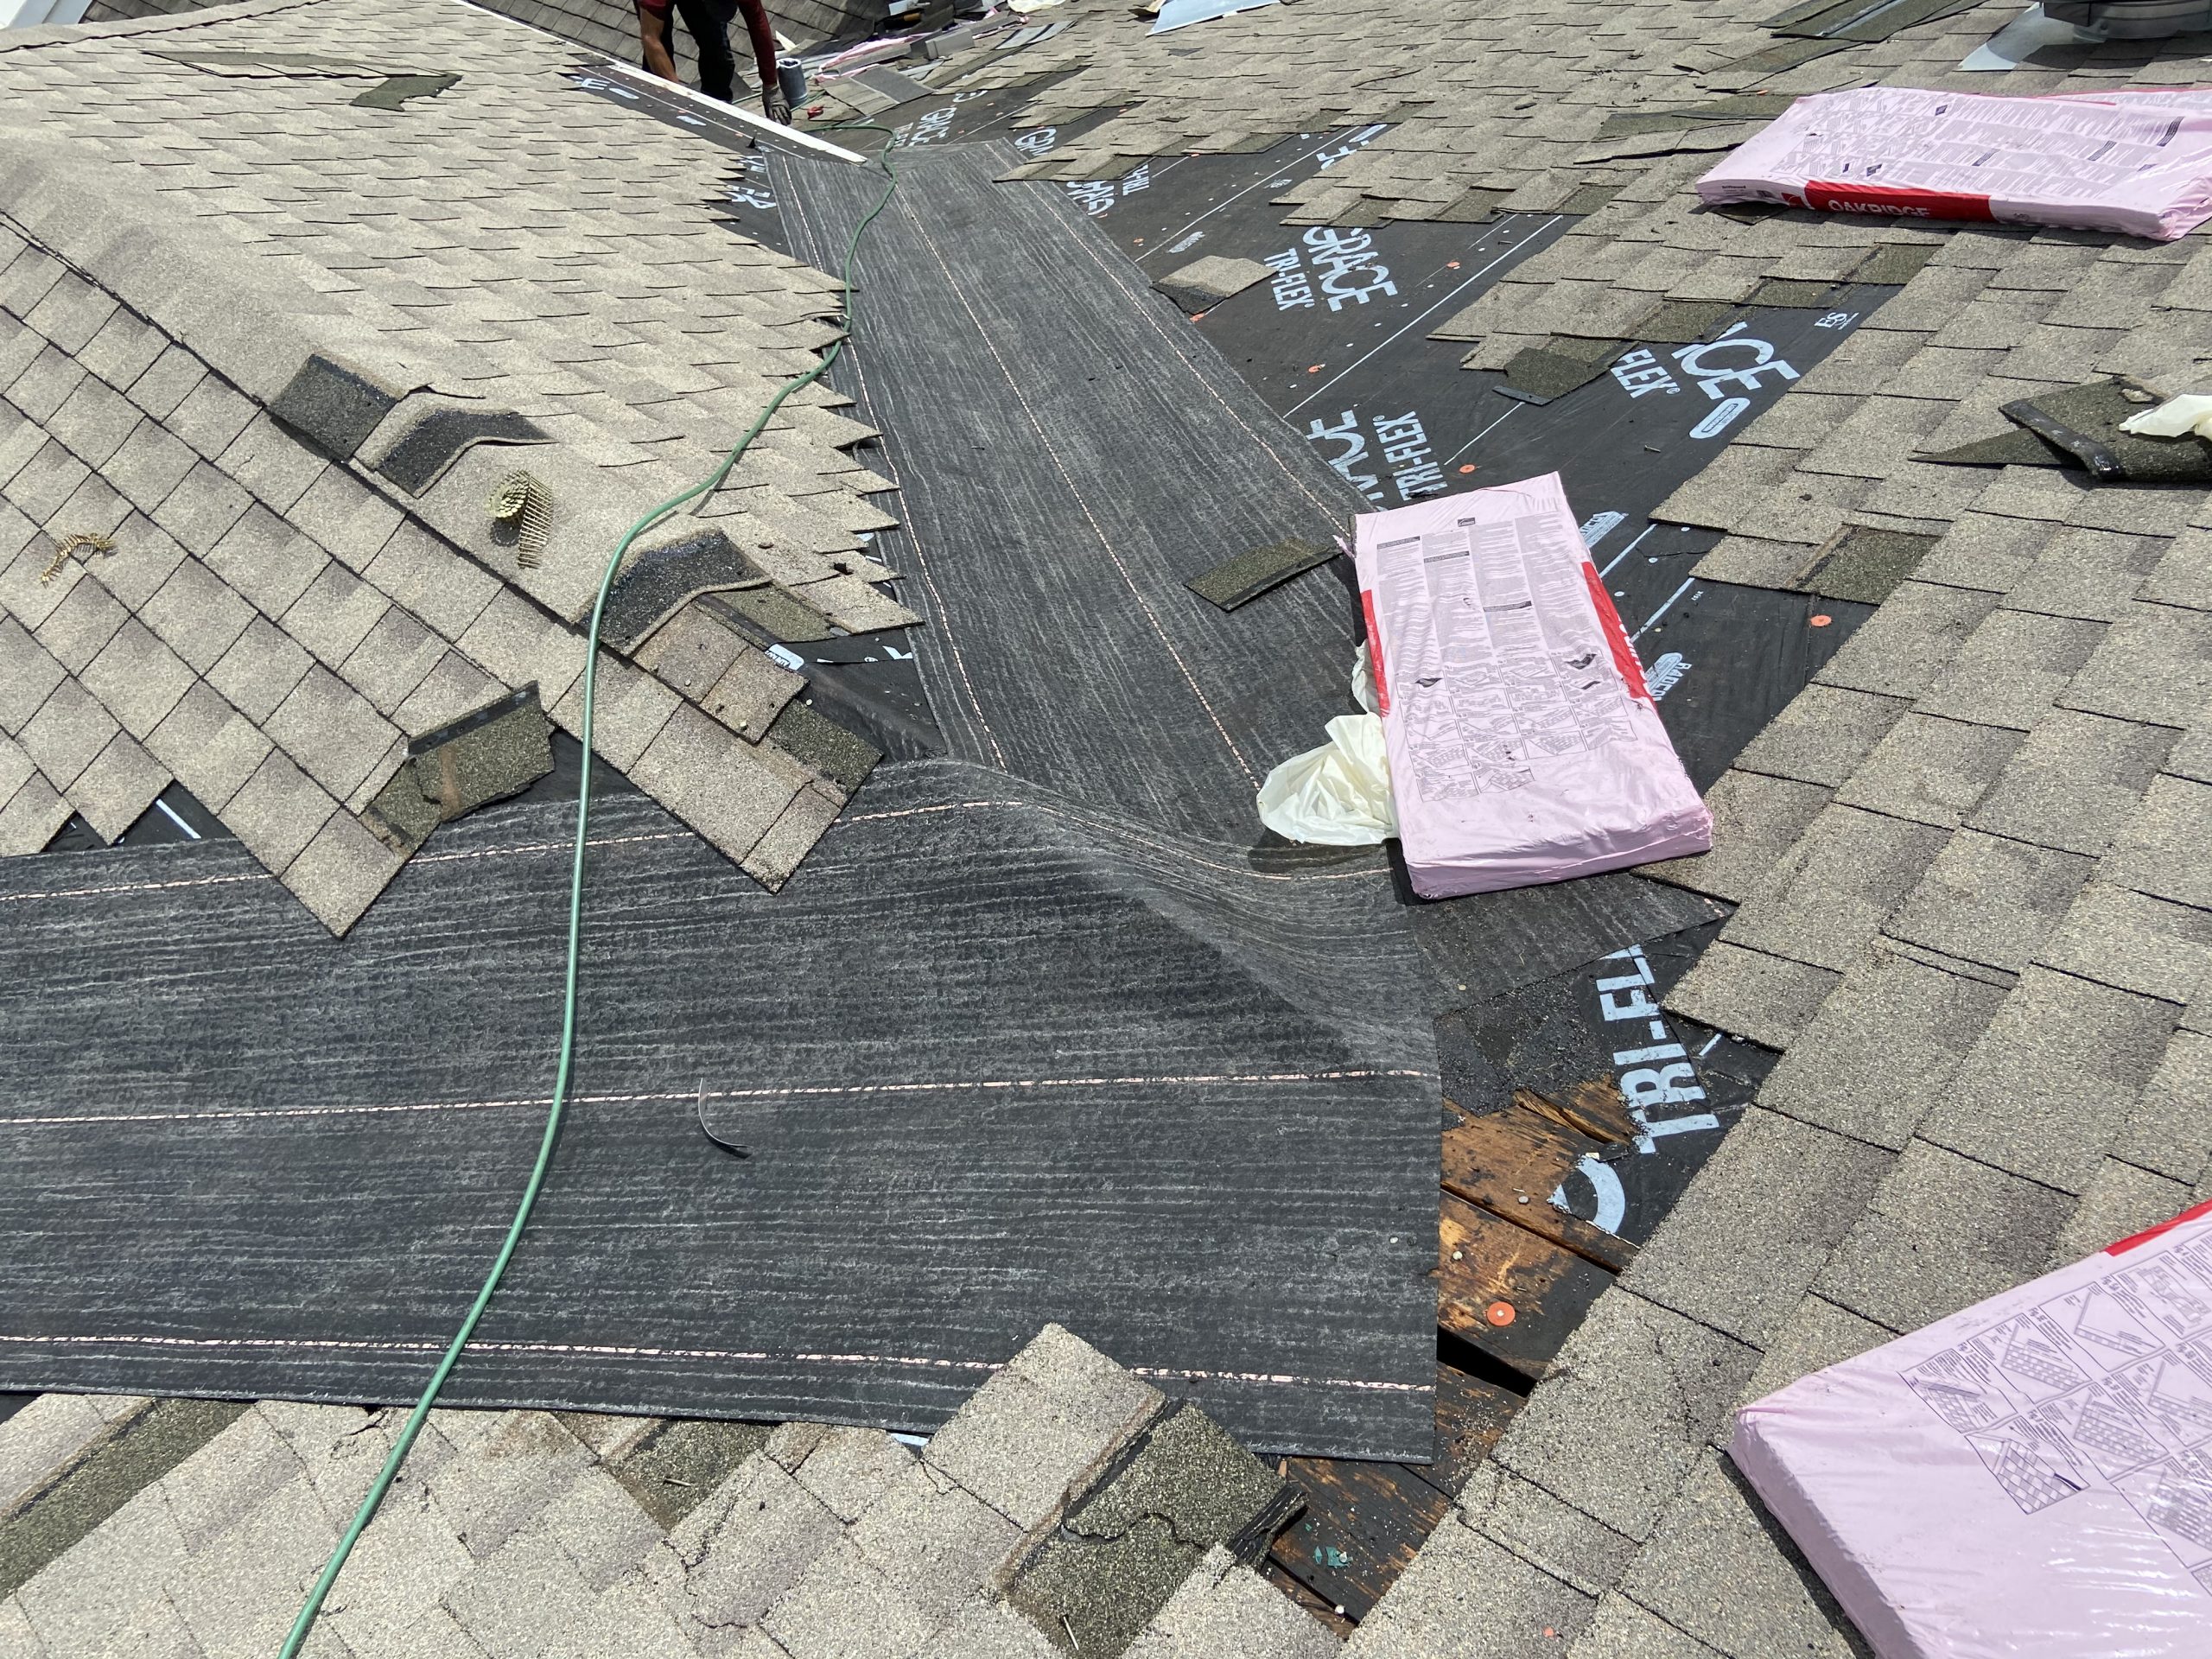
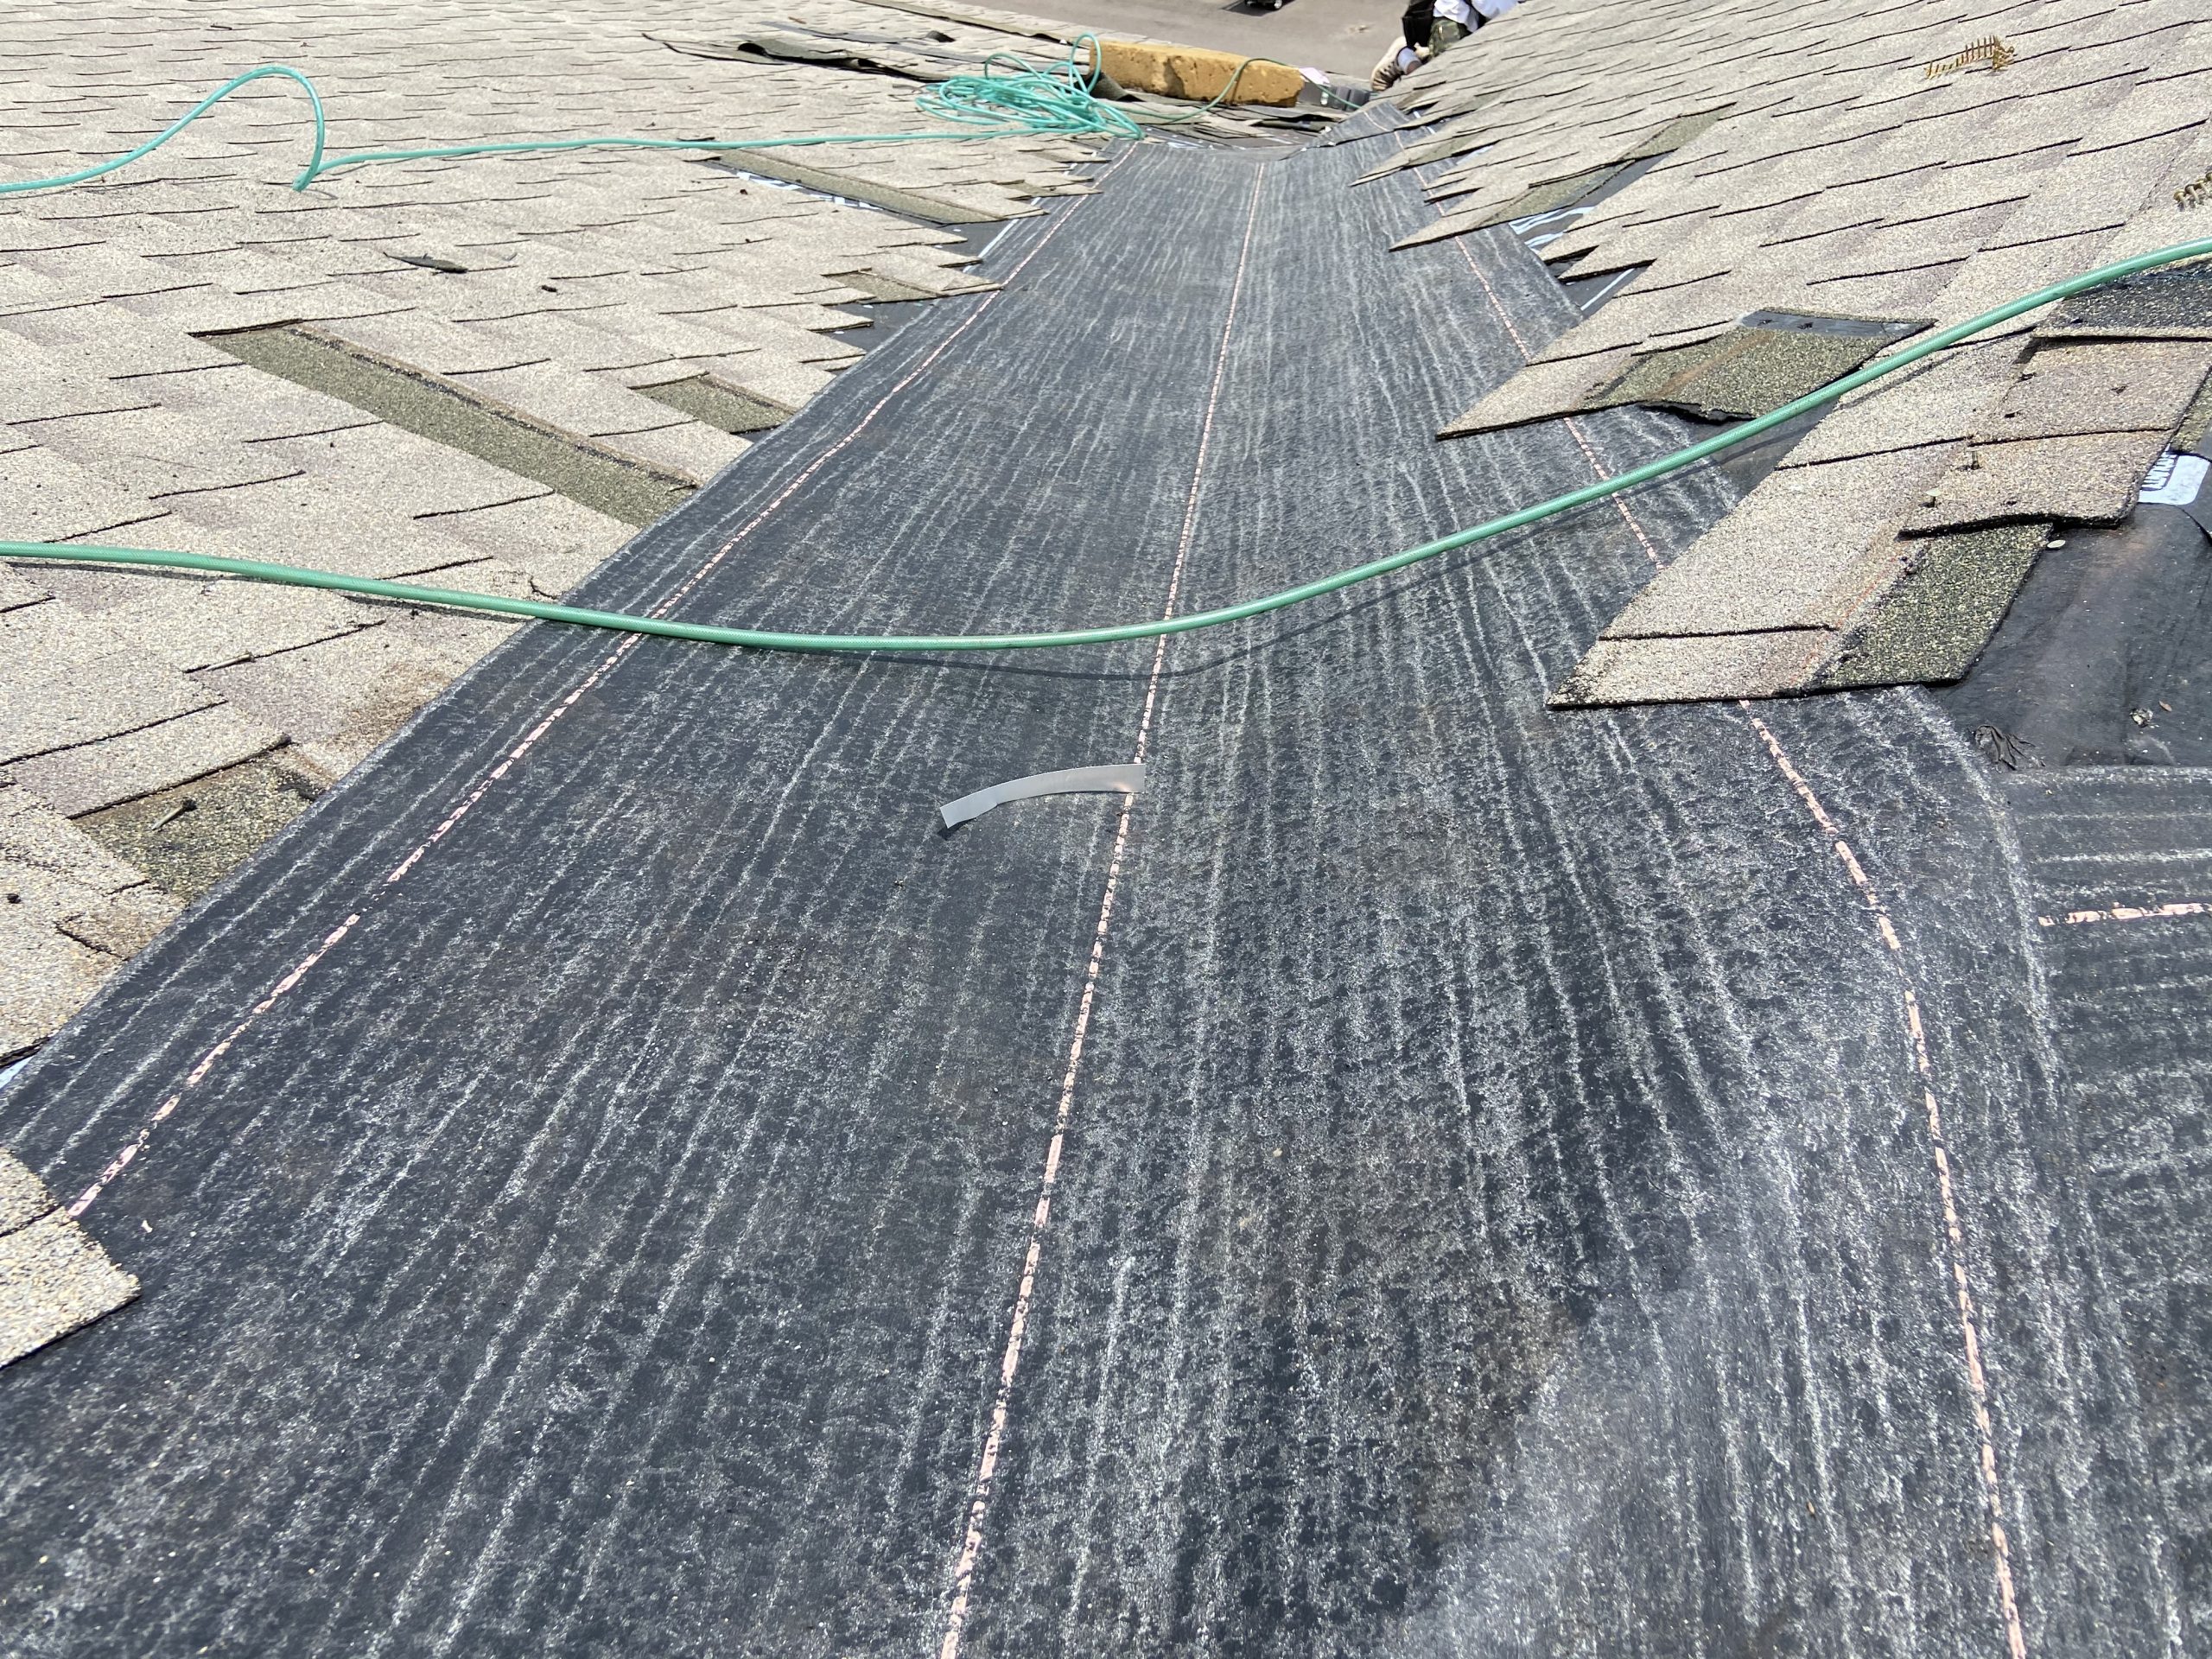
    Ice and Water at Roof Valley

    The Ice and Water go down in valleys instead of felting paper.  It protects better against roof leaks.


    Ice and Water at Roof Valley Ice and Water at Roof Valley

    Go To Pin
  2. 2
    Remove Old Shingles To Replace Valley

    Remove old shingles and add back ice and water shield. Lastly, add back the new shingles to complete the valley replacement job.

    Go To Pin
  3. 3
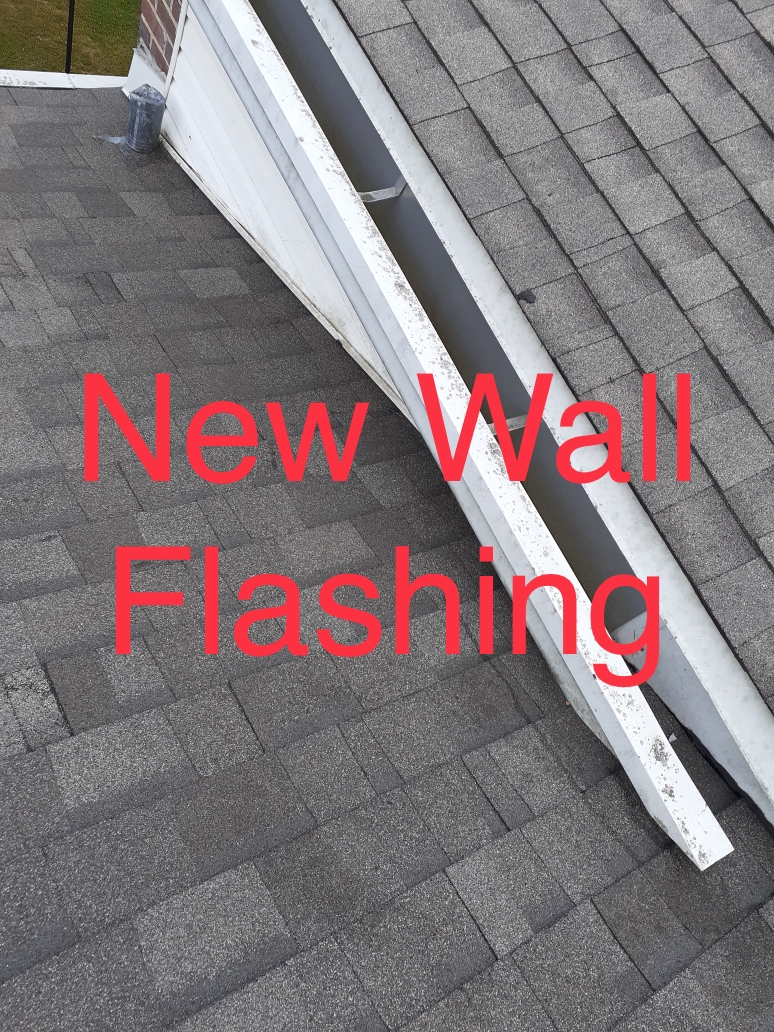
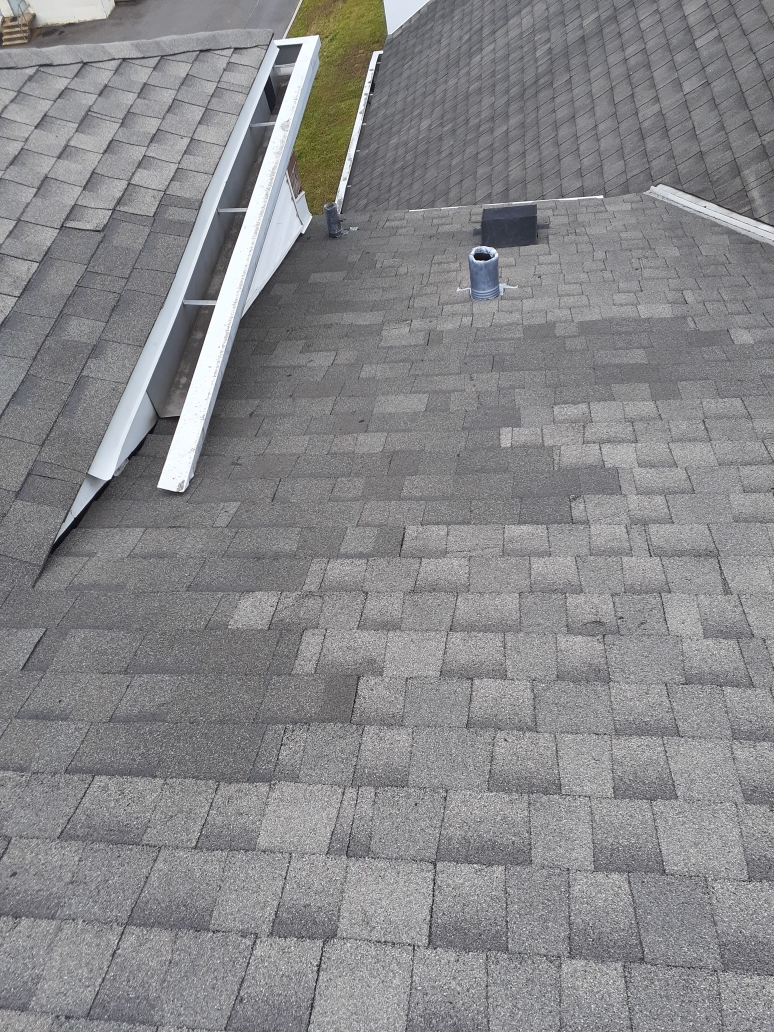
    Completed Roof Valley and Flashing

    These are the after photos of the leaking roof valleys.  

    The walls below the valleys were both replaced.  This way we can be sure there will be no roof leaks in this building.

    Completed Roof Valley and Flashing

    Completed Roof Valley and Flashing

    Completed Roof Valley and Flashing

    Go To Pin

Call Us – (865) 297-3286

Visual Marketing By Lead Symphony

Job Location

This area is an approximation and does not represent the exact location